简介
Oracle Database 10g引入了最新的数据泵(Data Dump)技术,数据泵导出导入(EXPDP和IMPDP)的作用
1.实现逻辑备份和逻辑恢复
2.数据库用户之间移动对象
3.数据库之间移动对象
4.实现表空间搬移
实验环境
系统环境:centos7.4
Oracle服务IP地址:192.168.100.99
光盘挂载目录:/mnt/sr0
安装相关目录:/opt
命令步骤
一、创建测试用户并授权
1、创建数据备份目录
[root@oracle ~]# mkdir /opt/app/bak #注意一定要保证oracle管理用户拥有写入权限
2、新建directory
[oracle@oracle ~]$ sqlplus / as sysdba #使用管理员身份进行登录
SQL> create directory dump_dir as '/opt/app/bak';     #新建目录对象dump_dir,将目录"/opt/app/bak"进行映射

目录已创建。
3、创建"c##scott"测试用户并授权
SQL> create user c##scott identified by scott123
  2  default tablespace users
  3  temporary tablespace temp
  4  quota unlimited on users;

用户已创建。
SQL> grant connect,resource,dba to c##scott; #授权连接、管理数据库以及dba管理员权限
授权成功。SQL> grant read,write on directory dump_dir to c##scott; #授权用户对directory目录进行读、写执行权限
授权成功。4、导入测试数据
SQL> conn c##scott/scott123   #使用"scott"用户连接数据库
已连接。
SQL> @/home/oracle/test.sql #导入数据SQL> select table_name from user_tables; #查看当前用户所存在的表
TABLE_NAME
--------------------------------------------------------------------------------
BONUS
DEPT
EMP
SALGRADE5、创建"c##jack"测试用户
SQL> conn system/123 as sysdba  #使用管理员身份连接
已连接。
SQL> create user c##jack identified by abc123; #创建"jack"测试用户
用户已创建。SQL> grant connect,resource to c##jack; #授权"jack"测试用户
授权成功。SQL> grant read,write on directory dump_dir to c##jack;
授权成功。SQL> grant unlimited tablespace to c##jack; #不限制"jack"用户磁盘配额限制
授权成功。二、备份数据
1、导出数据
SQL> exit #退出oracle[oracle@Oracle ~]$ expdp c##scott/scott123 directory=dump_dir
dumpfile=scotttab.dmp tables=emp,dept #导出scott用户下的表
解析:
directory    #指定其路径映射的别名名称,导出数据的路径
dumpfile   #指定转储文件的名称,默认名称为expdat.dmp
tables           #指定表模式导出
2、查看导出的数据文件
[oracle@oracle ~]$ ls /opt/app/bak/
三、恢复"c##scott"用户数据
1、模拟故障
[oracle@oracle ~]$ sqlplus c##scott/scott123 #使用"scott"用户登录
SQL> drop table emp;     #模拟故障删除其中一张表

表已删除。
2、恢复数据
SQL> exit #退出oracle[oracle@oracle ~]$ impdp c##scott/scott123 directory=dump_dir dumpfile=scotttab.dmp tables=emp #恢复emp表及其数据
[oracle@oracle ~]$ sqlplus c##scott/scott123 #登录"scott"用户
SQL> select table_name from user_tables; 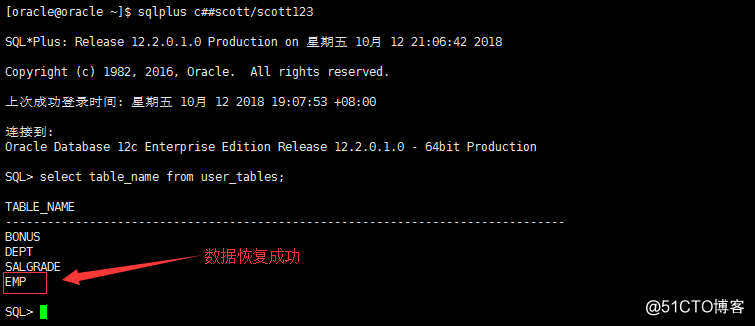
四、恢复"c##jack"用户数据(数据迁移)
1、查看用户数据信息
[oracle@oracle ~]$ sqlplus c##jack/abc123 #登录"scott"用户
SQL> select table_name from user_tables;         #"scott"用户下并数据

未选定行
SQL> exit #退出oracle2、导入数据
[oracle@oracle ~]$ impdp system/123 directory=dump_dir dumpfile=scotttab.dmp tables=c##scott.dept,c##scott.emp remap_schema=c##scott:c##jack; #将"scott"用户中的"dept","emp"表导入到"jack"用户中
3、再次查看用户数据信息
[oracle@oracle ~]$ sqlplus c##jack/abc123
SQL> select table_name from user_tables; 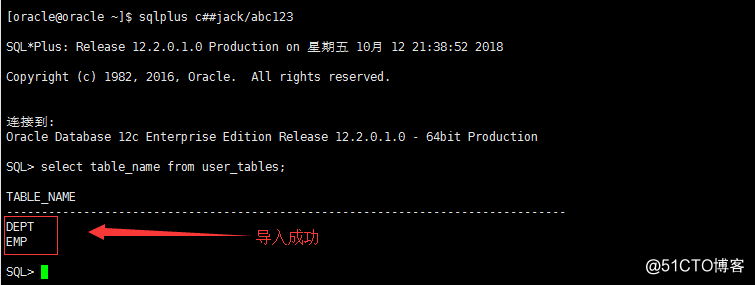
五、其他方式备份与恢复
1、指定用户模式
[oracle@oracle ~]$ expdp c##scott/scott123 directory=dump_dir dumpfile=scottschema.dmp schemas=c##scott #导出c##scott用户模式
[oracle@oracle ~]$ impdp c##scott/scott123 directory=dump_dir dumpfile=scottschema.dmp schemas=c##scott #导入c##scott用户模式
2、指定用户导入所有对象
[oracle@oracle ~]$ impdp system/123 directory=dump_dir dumpfile=scottschema.dmp schemas=c##scott remap_schema=c##scott:c##jack;
#将c##scott中所有对象导入c##jack中
3、备份、恢复表空间
[oracle@oracle ~]$ expdp system/123 directory=dump_dir dumpfile=tablespaceusers.dmp tablespaces=users #导出users表空间
[oracle@oracle ~]$ impdp system/123 directory=dump_dir dumpfile=tablespaceusers.dmp tablespaces=users #导入users表空间
4、备份、恢复整个库
[oracle@oracle ~]$ expdp system/123 directory=dump_dir dumpfile=full.dmp full=y #导出整个数据库
[oracle@oracle ~]$ impdp system/123 directory=dump_dir dumpfile=full.dmp full=y #导入整个数据库