linux centos6.9 的系统
安装git
yum -y install git
自定义一个裸仓库(仓库的位置可以自己定义)
cd /usr/local
mkdir git
cd git
git init --bare project.git
创建一个git账户以及设置改账户的密码
useradd git
passwd git
密码需要设置两次。
赋予git账户权限
chown -R git:git project.git
注意必须将仓库的所有权赋予给git用户,否则无法上传文件
禁止git用户使用shell登录
vim /etc/paasswd
在其中最下面添加下面这一行
git:x:1000:1000::/home/git:/usr/bin/git-shell
客户端安装
这里写链接内容
上面是git windows 2.18版安装包
安装完成之后打开git bash
创建用户
git config --global user.name "你的名字"
git config --global user.email "你的邮箱"
下面这个命令是创建秘匙
ssh-keygen -t rsa -C "你的邮箱"
运行完上面这个命令以后一直回车
打开秘匙文件id_rsa.pub复制,将他粘贴到服务器上
在root/.ssh/ 文件下创建authorized_keys文件
vim /root/.ssh/authorized_keys
复制你的秘匙,秘匙的最后是你的邮箱
然后保存
接下来就是测试了
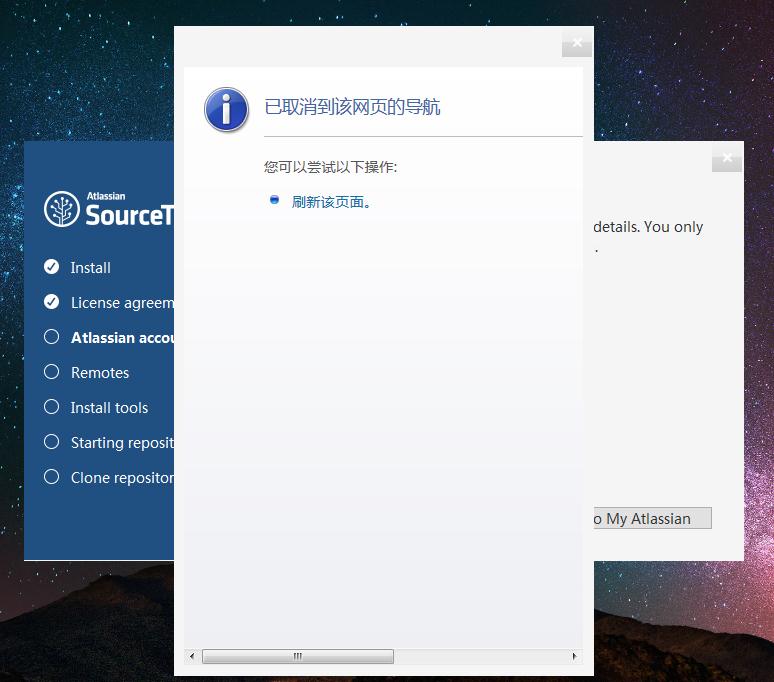
给大家一个sourcetree的安装包(这个还是比较好用的,我觉得比起小乌龟还是不错的)
这里写链接内容
点击上面就可以直接下载哦
安装这个软件的过程可能会出现一些问题
解决办法
在目录C:\Users{youruser}\AppData\Local\Atlassian\SourceTree 下创建文件accounts.json ,注意:{youruser}需要替换为登录系统用户名。
写入如下内容:
[
  {
    "$id": "1",
    "$type": "SourceTree.Api.Host.Identity.Model.IdentityAccount, SourceTree.Api.Host.Identity",
    "Authenticate": true,
    "HostInstance": {
      "$id": "2",
      "$type": "SourceTree.Host.Atlassianaccount.AtlassianAccountInstance, SourceTree.Host.AtlassianAccount",
      "Host": {
        "$id": "3",
        "$type": "SourceTree.Host.Atlassianaccount.AtlassianAccountHost, SourceTree.Host.AtlassianAccount",
        "Id": "atlassian account"
      },
      "BaseUrl": "https://id.atlassian.com/"
    },
    "Credentials": {
      "$id": "4",
      "$type": "SourceTree.Model.BasicAuthCredentials, SourceTree.Api.Account",
      "Username": "[email protected]"
    },
    "IsDefault": false
  }
]
下面可能还会出现安装另外一个插件,你选择不了解就可以
具体的sourcetree的使用办法会在下期给大家具体的展示。感谢大家的支持。