概述:
上一节讲到如何让新建立的虚拟机下载官方软件,那么难道我们每新建一个虚拟机都需要配置一次yum源吗?
所以我们需要部署共享型yum源,让多台主机也可以下载软件。

如果将yum源搭建在虚拟机中,那么每次开机都需要打开这个虚拟机才能实现yum源的共享,
这样比较麻烦,所以直接将yum源搭建在真机中,在真机中将yum源共享出去。
1.搭建yum源
(1).下载一个和系统匹配的镜像
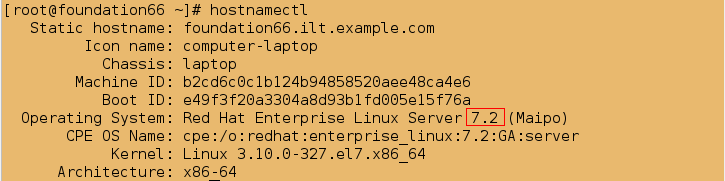
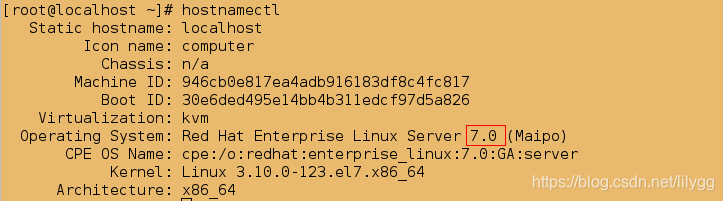
##查看系统版本信息
[root@foundation66 ~]# hostnamectl
[root@foundation66 ~]# cd /home/kiosk/Desktop
[root@foundation66 Desktop]# ls
rhel-server-7.2-x86_64-dvd.iso
##将桌面上的镜像移动到/iso中,防止误删
[root@foundation66 Desktop]# mkdir /iso
[root@foundation66 Desktop]# mv rhel-server-7.2-x86_64-dvd.iso /iso
[root@foundation66 Desktop]# cd /iso
[root@foundation66 iso]# ls
rhel-server-7.2-x86_64-dvd.iso
(2).挂载
之所以先临时挂载再永久性挂载,是为了挂载能立即生效,并且当系统关机再开机(重启)后挂载仍然存在
[root@foundation66 iso]# mkdir /source7.2
#临时挂载
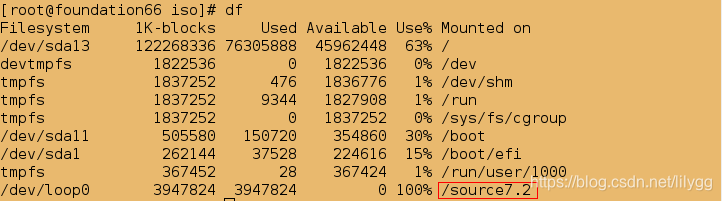
[root@foundation66 iso]# mount rhel-server-7.2-x86_64-dvd.iso /source7.2
mount: /dev/loop0 is write-protected, mounting read-only
[root@foundation66 iso]# df
##永久性挂载;/etc/rc.d/rc.local 为开机自动运行脚本
[root@foundation66 iso]# vim /etc/rc.d/rc.local
####################
mount rhel-server-7.2-x86_64-dvd.iso /source7.2

##给脚本一个可执行权限
[root@foundation66 iso]# chmod +x /etc/rc.d/rc.local
[root@foundation66 iso]# ll /etc/rc.d/rc.local

(3)设定yum源指向
[root@foundation66 iso]# cd /etc/yum.repos.d/
[root@foundation66 yum.repos.d]# ls
redhat.repo
[root@foundation66 yum.repos.d]# vim rhel7.2.repo
############################
[rhel7.2]                      #名字(任意)
name=rhel7.2                   #说明(任意)
baseurl=file:///source7.2      #告知系统镜像位置;file://表示本地文件
gpgcheck=0                     #安装时不检测

(4)测试
##清除历史yum源缓存信息
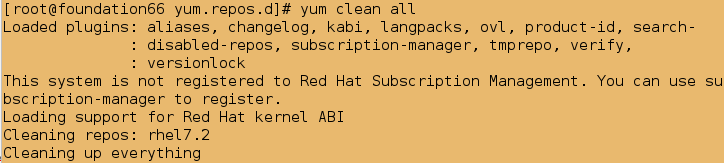
[root@foundation66 yum.repos.d]# yum clean all
##列出yum源详细信息
[root@foundation66 yum.repos.d]# yum repolist
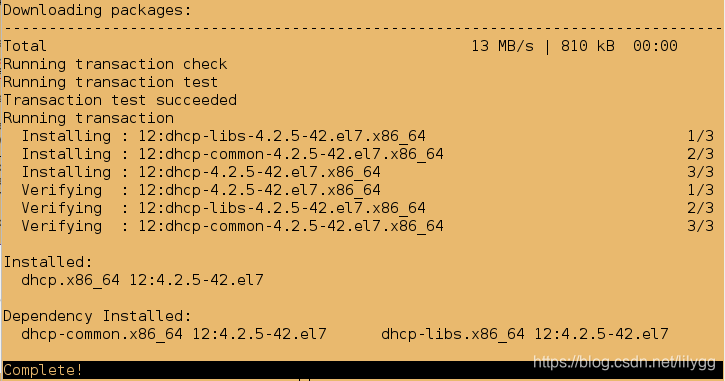
##测试:安装dhcp    -y 表示直接安装不提示
[root@foundation66 yum.repos.d]# yum install -y dhcp
排错:当有多个.repo文件同时被读取,生效的是最原始的那个文件,列出yum源信息时便会报错
[root@localhost yum.repos.d]# pwd
/etc/yum.repos.d
[root@foundation66 yum.repos.d]# yum clean all
Loaded plugins: langpacks, product-id, search-disabled-repos, subscription-
: manager
This system is not registered to Red Hat Subscription Management. You can use subscription-manager to register.
Cleaning repos: rhel-dvd rhel7.2 rht-ext
Cleaning up everything
##报错,因为多个.repo文件中的yum源指向均被读取
[root@foundation66 yum.repos.d]# yum repolist
Loaded plugins: langpacks, product-id, search-disabled-repos, subscription-
: manager
This system is not registered to Red Hat Subscription Management. You can use subscription-manager to register.
http://172.25.254.250/rhel7.0/x86_64/dvd/repodata/repomd.xml: [Errno 14] curl#7 - "Failed connect to 172.25.254.250:80; Connection refused"
Trying other mirror.
http://172.25.254.250/rhel7.0/x86_64/dvd/repodata/repomd.xml: [Errno 14] curl#7 - "Failed connect to 172.25.254.250:80; Connection refused"
Trying other mirror.
[root@foundation66 yum.repos.d]# ls
redhat.repo rhel7.2.repo rhel-dvd.repo rht-extras.repo
##解决方案:
[root@foundation66 yum.repos.d]# vim rhel-dvd.repo
###########################
enabled=0 #相当于注释,让系统不读此文件
[root@foundation66 yum.repos.d]# vim rht-extras.repo
###########################
enabled=0 #相当于注释,让系统不读此文件
[root@foundation66 yum.repos.d]# yum clean all
Loaded plugins: aliases, changelog, kabi, langpacks, ovl, product-id, search-
: disabled-repos, subscription-manager, tmprepo, verify,
: versionlock
This system is not registered to Red Hat Subscription Management. You can use subscription-manager to register.
Loading support for Red Hat kernel ABI
Cleaning repos: rhel7.2
Cleaning up everything
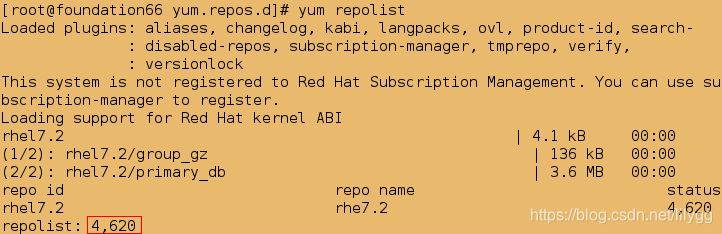
[root@foundation66 yum.repos.d]# yum repolist
Loaded plugins: aliases, changelog, kabi, langpacks, ovl, product-id, search-
: disabled-repos, subscription-manager, tmprepo, verify,
: versionlock
This system is not registered to Red Hat Subscription Management. You can use subscription-manager to register.
Loading support for Red Hat kernel ABI
rhel7.2 | 4.1 kB 00:00
(1/2): rhel7.2/group_gz | 136 kB 00:00
(2/2): rhel7.2/primary_db | 3.6 MB 00:00
repo id repo name status
rhel7.2 rhe7.2 4,620
repolist: 4,620
2.部署共享型yum源
 http 共享方式:
/var/www/html 为apache的默认发布目录
注意:我这里的客户端虚拟机版本为7.0 所以需要共享7.0镜像资源
(1).安装apache并开启服务
[root@foundation66 ~]# yum install -y httpd
[root@foundation66 ~]# systemctl start httpd
[root@foundation66 ~]# systemctl enable httpd
Created symlink from /etc/systemd/system/multi-user.target.wants/httpd.service to /usr/lib/systemd/system/httpd.service.
(2).关闭防火墙
##1.直接关闭火墙
[root@foundation66 ~]# systemctl stop firewalld
[root@foundation66 ~]# systemctl disable firewalld
##2.添加防火墙策略
如果真机需要被当作路由器(必须开启防火墙并添加防火墙策略,设定内核参数为1)使用,此时就不能关闭火墙;解决方案为直接在火墙策略中添加http服务
#模拟环境
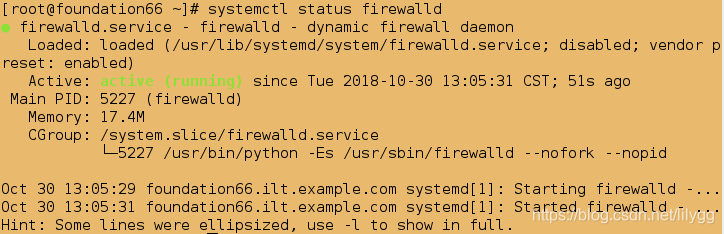
[root@foundation66 ~]# systemctl start firewalld
[root@foundation66 ~]# systemctl status firewalld
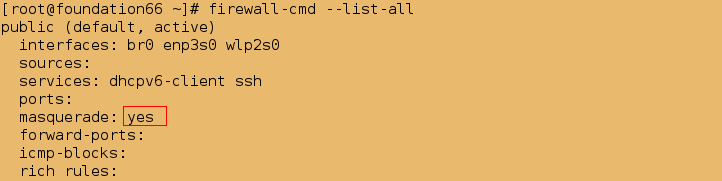
[root@foundation66 ~]# firewall-cmd --add-masquerade
success
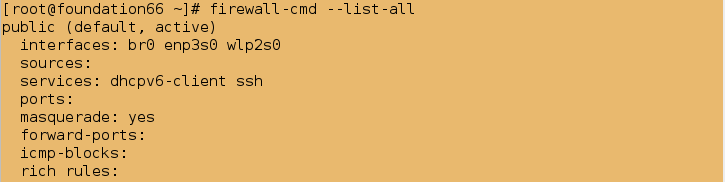
[root@foundation66 ~]# firewall-cmd --list-all
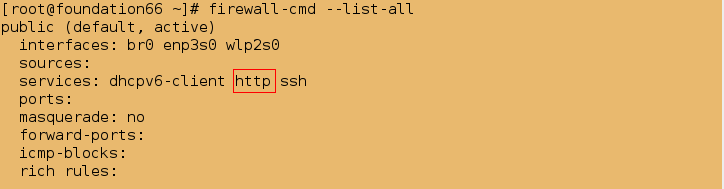
##添加http服务到防火墙策略中,即允许http服务被访问
[root@foundation66 ~]# firewall-cmd --permanent --add-service=http
success
[root@foundation66 ~]# firewall-cmd --list-all
##必须重新加载才能生效
[root@foundation66 ~]# firewall-cmd --reload
success
[root@foundation66 ~]# firewall-cmd --list-all
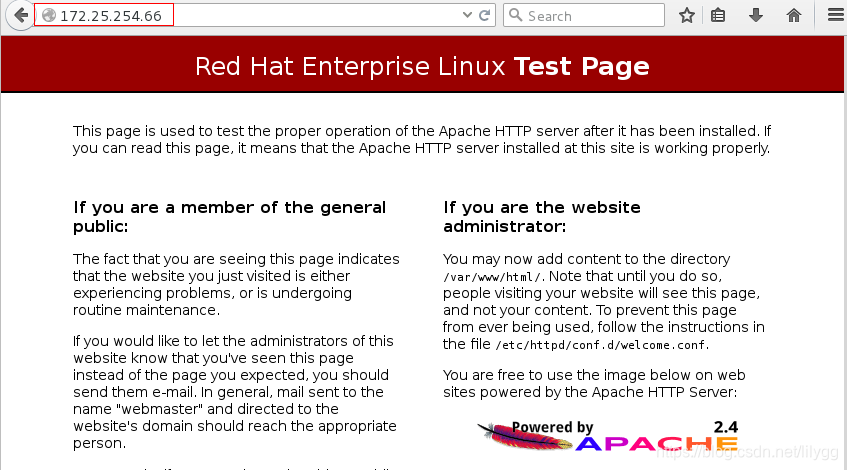
##检测真机自己是否可以访问apache
直接输入真机ip: 172.25.254.66
(3).挂载
将镜像挂载到/var/www/html/source7.0上;是为了共享镜像资源;必须挂载在/var/www/html/目录下的子目录source7.0中,
因为/var/www/html/为apache的默认发布目录,而真机火墙已经允许了别人访问它的apache;这样才能达到共享的目的
[root@foundation66 ~]# cd /var/www/html/
[root@foundation66 html]# ls
[root@foundation66 html]# mkdir source7.0
[root@foundation66 html]# cd
##临时挂载
[root@foundation66 html]# mount /iso/rhel-server-7.0-x86_64-dvd.iso /var/www/html/source7.0
mount: /dev/loop1 is write-protected, mounting read-only
[root@foundation66 html]# df

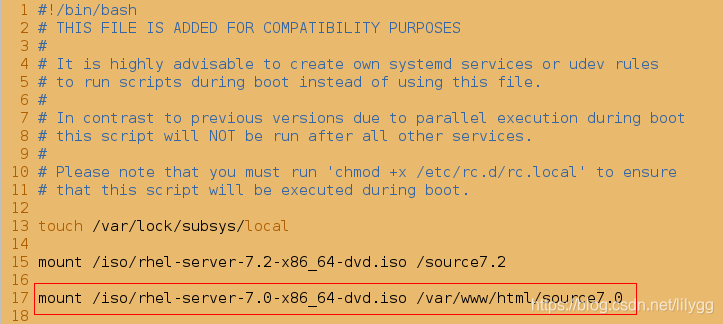
##永久性挂载
[root@foundation66 ~]# vim /etc/rc.d/rc.local
###################
mount /iso/rhel-server-7.0-x86_64-dvd.iso /var/www/html/source7.0
##给脚本一个可执行权限
[root@foundation66 ~]# chmod +x /etc/rc.d/rc.local
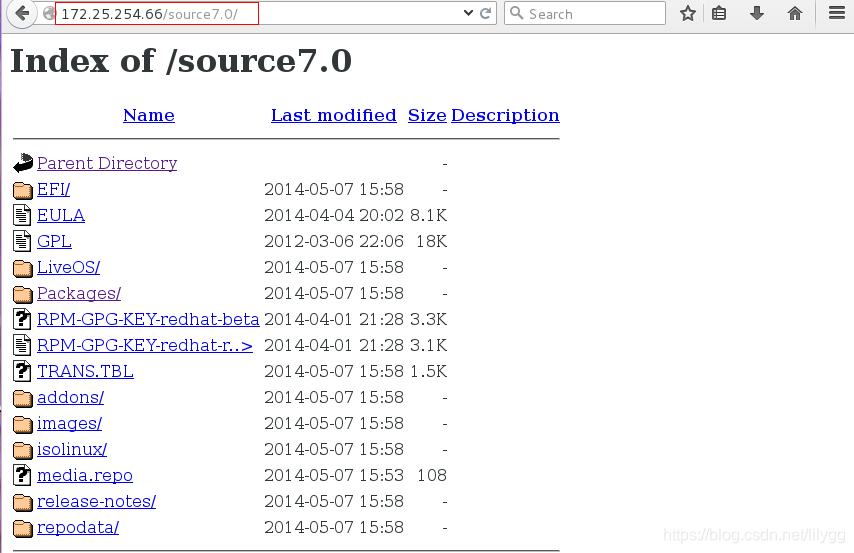
##测试:
首先是在真机中,检测自己能否访问到自己的镜像资源
输入: 172.25.254.66/source7.0/

其次在虚拟机中,检测是否能访问真机的镜像资源,即是否达到共享的目录
输入: 172.25.254.66/source7.0/
(4).配置客户端虚拟机
[root@localhost ~]# cd /etc/yum.repos.d/
[root@localhost yum.repos.d]# ls
rhel_dvd.repo
##设定yum源指向
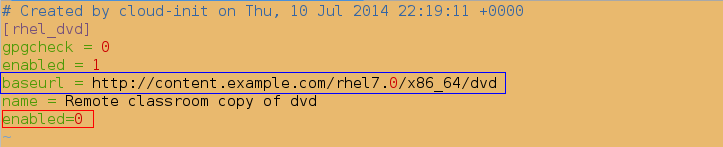
[root@localhost yum.repos.d]# vim rhel7.0.repo
########################
[rhel7.0]
name=rhel7.0
baseurl=http://172.25.254.66/source7.0 # yum源指向;写的必须是真机共享的挂载目录(即为/var/www/html目录下的source7.0子目录)
gpgcheck=0

##清除yum源历史缓存
[root@localhost yum.repos.d]# yum clean all

##列出yum源的详细信息;有报错
[root@localhost yum.repos.d]# yum repolist

##解决方案:
[root@localhost yum.repos.d]# ls
rhel7.0.repo  rhel_dvd.repo
[root@localhost yum.repos.d]# vim rhel_dvd.repo
########################
enabled=0   #相当于注释;让系统不读取此文件
##此时便不会报错
[root@localhost yum.repos.d]# yum clean all

[root@localhost yum.repos.d]# yum repolist

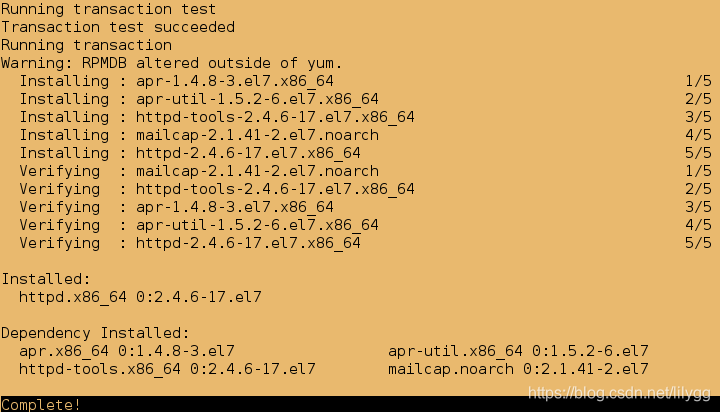
##测试:安装apache
[root@localhost yum.repos.d]# yum install -y httpd
3.挂载的两种方式:
(1)临时性挂载:(重启后挂载消失)
一般格式:mount 设备 挂载点
例如:
 mount rhel-server-7.2-x86_64-dvd.iso /source7.2
(2)永久性挂载:(重启后才会生效)
/etc/rc.d/rc.local 为开机自动运行脚本;将挂载命令直接写入此文件中即可实现永久性挂载
例如:
vim /etc/rc.d/rc.local
###########
mount rhel-server-7.2-x86_64-dvd.iso /source7.2

##给脚本一个可执行权限
chmod +x /etc/rc.d/rc.local
##必须重启,才能生效
reboot