最近有个app需要做一下后台,虽然自己前段时间学了php也试着做过了个人主页和app的接口,但感觉真的非常烂,没有任何的框架架构可言,在后边进行扩展或需求修改后会带来很大麻烦,代码也会越来越臃肿。所以准备学习一下ThinkPhp这个框架,很适合入门级别的人。
注:本人使用的ThinkPhp5版本。
这篇博文是入门的第一天。
·完成了Thinkphp包的“安装”
·基本了解了入口文件功能
·自定义控制器的调用
·简单的视图(view)的渲染调用
·数据库的配置链接及查询操作

一、ThinkPhp包的安装
在开发文档中给出了三中方式,描述的很清楚,这里我采用了直接下载的方式。
①、下来压缩文件包;
②、创建一个Php的工程目录(用的Zender studio不会有人笑我吧 );
);
③、解压下载的压缩包到工程目录;
④、在浏览器中输入localhost\工程目录\public\index.php
可以看到一个这样的图片就代表成功了(当然这一切的前提是你必须配置好了web服务器,我用的apach+php+mysql)
二、入口文件
我们看到上面是访问public\index.php进行访问的,这也是这个框架对外的(最好做到唯一吧)的一个访问目录。
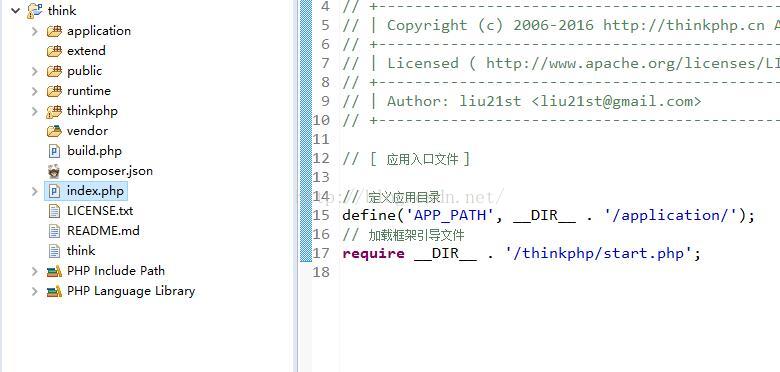
入口文件有这样的代码
// 定义应用目录 define('APP_PATH', __DIR__ . '/../application/'); // 加载框架引导文件 require __DIR__ . '/../thinkphp/start.php';这段代码的作用就是定义应用目录 APP_PATH 和加载 ThinkPHP 框架的入口文件,这是所有基于 ThinkPHP 开发应用的第一步。
实际url访问的目录为 http://localhost/think/index.php/index/index/index;依次为index.php/模块/控制器/操作/参数...
那么我们的url就要始终带着public喽?当然不是。我们可以把index.php复制到工程根目录,也要修改内容
到这里就可以直接访问了localhost/think/index.php
三、自定义控制器的调用
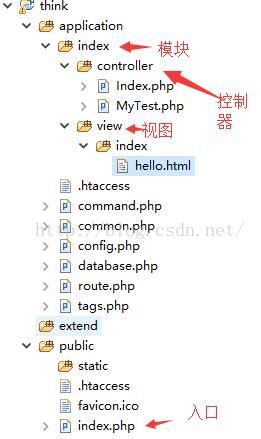
自己可以在controller中创建一个控制器MyTest.php(注意命名规则,这样单词首字母大写称为驼峰法)然后写一个类
<?php
namespace app\index\controller;
class MyTest{
public function hello(){
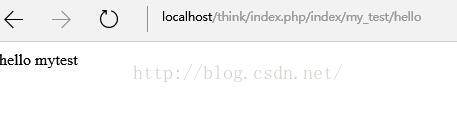
return "hello mytest";
}
}然后以这个url访问:localhost/index.php/index/my_test/hello
四、view的渲染
要在index中创建视图view;
如果为index控制器创建,还要创建index文件
命名一个hello.html文件;
修改控制器index
class Index extends Controller
{
    public function hello(){
        $db = Db::name('student')->find();
        $this->assign("result",$db);
        return $this->fetch();
    }
}
这里连数据库也说了算了,要链接数据库你需要在php.ini中把
extension=php_pdo_mysql.dll
extension=php_pdo_firebird.dll
打开。然后配置database.php文件
然后通过上边调用Db,记得use,类似java import;
<?php
namespace app\index\controller;

use think\Controller;
use think\Db;
class Index extends Controller
{
    public function hello(){
        $db = Db::name('student')->find();
        $this->assign("result",$db);
        return $this->fetch();
    }

}
student为表名,assign标识返回的查询结果存在$result中。
这样才能在html中这样显示出来
<html>
<head>
<title>hello</title>
</head>
 <body>
 {$result.sname}----{$result.sno}----{$result.sage}
 </body>
 </html>
Ok, it's too late.Good Night!