rpm -i http://repo.zabbix.com/zabbix/3.4/rhel/7/x86_64/zabbix-release-3.4-2.el7.noarch.rpm
使用MySQL数据库安装存储库
yum install zabbix-server-mysql zabbix-web-mysql zabbix-agent
安装Zabbix服务器,前端,代理
按两次Y确认
mysql -uroot -p
登录数据库
输入密码
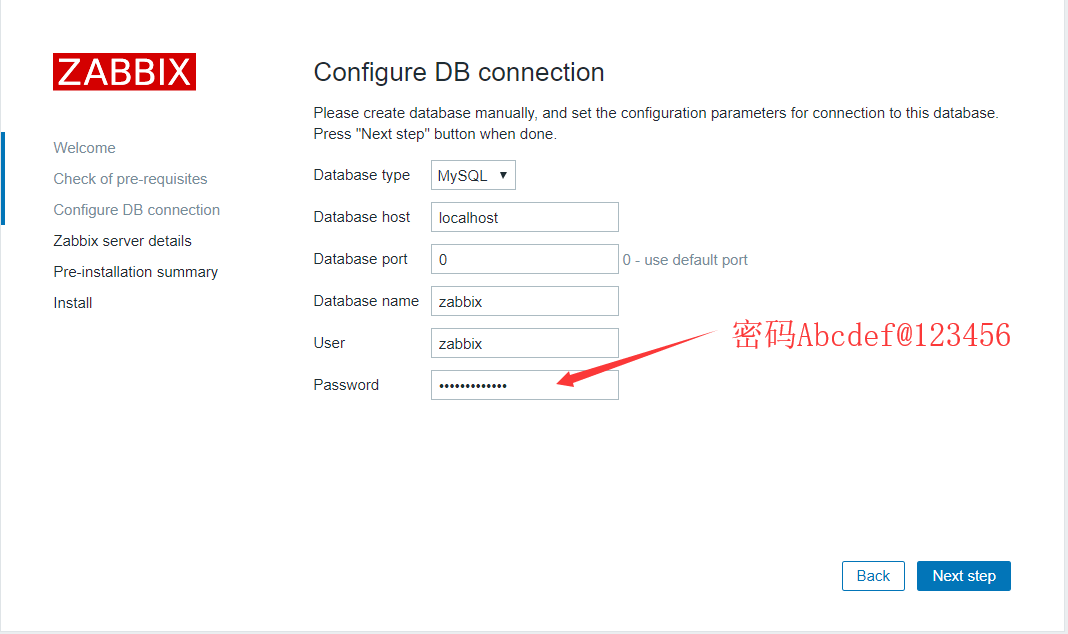
Abcdef@123456
create database zabbix character set utf8 collate utf8_bin;
创建一个zabbix库
grant all privileges on zabbix.* to zabbix@localhost identified by 'Abcdef@123456';
给zabbix用户授权
quit;
退出
zcat /usr/share/doc/zabbix-server-mysql*/create.sql.gz | mysql -uzabbix -p zabbix
导入初始模式和数据
输入密码
Abcdef@123456
vim /etc/zabbix/zabbix_server.conf
修改zabbix配置文件
找到 # DBPassword=
取消注释#,改为 DBPassword=Abcdef@123456
找到 # DBPassword=
取消注释
vim /etc/httpd/conf.d/zabbix.conf
修改PHP时区
找到 # php_value date.timezone Europe/Rome
取消注释#,改为php_value date.timezone Asia/Shanghai
vim /etc/httpd/conf/httpd.conf
把Apache默认端口号Listen 80改为Listen 8989
firewall-cmd --zone=public --permanent --add-port=8989/tcp
firewall-cmd --reload
开放防火墙8989端口
vim /etc/selinux/config
找到SELINUX=enforcing修改为SELINUX=disable
setenforce 0
该命令使用后不用重启也可以生效
systemctl restart zabbix-server zabbix-agent httpd
systemctl enable zabbix-server zabbix-agent httpd
启动Zabbix服务器和代理进程,并在系统启动时启动
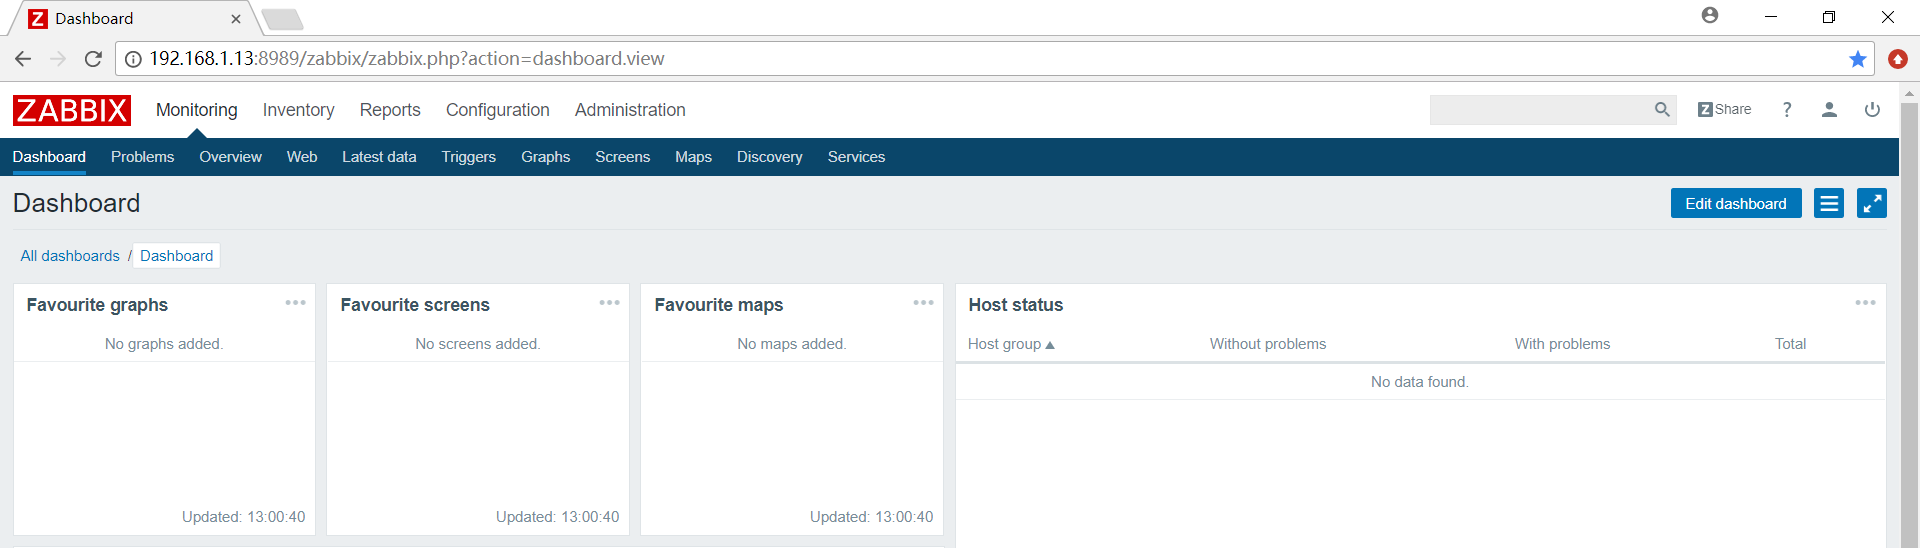
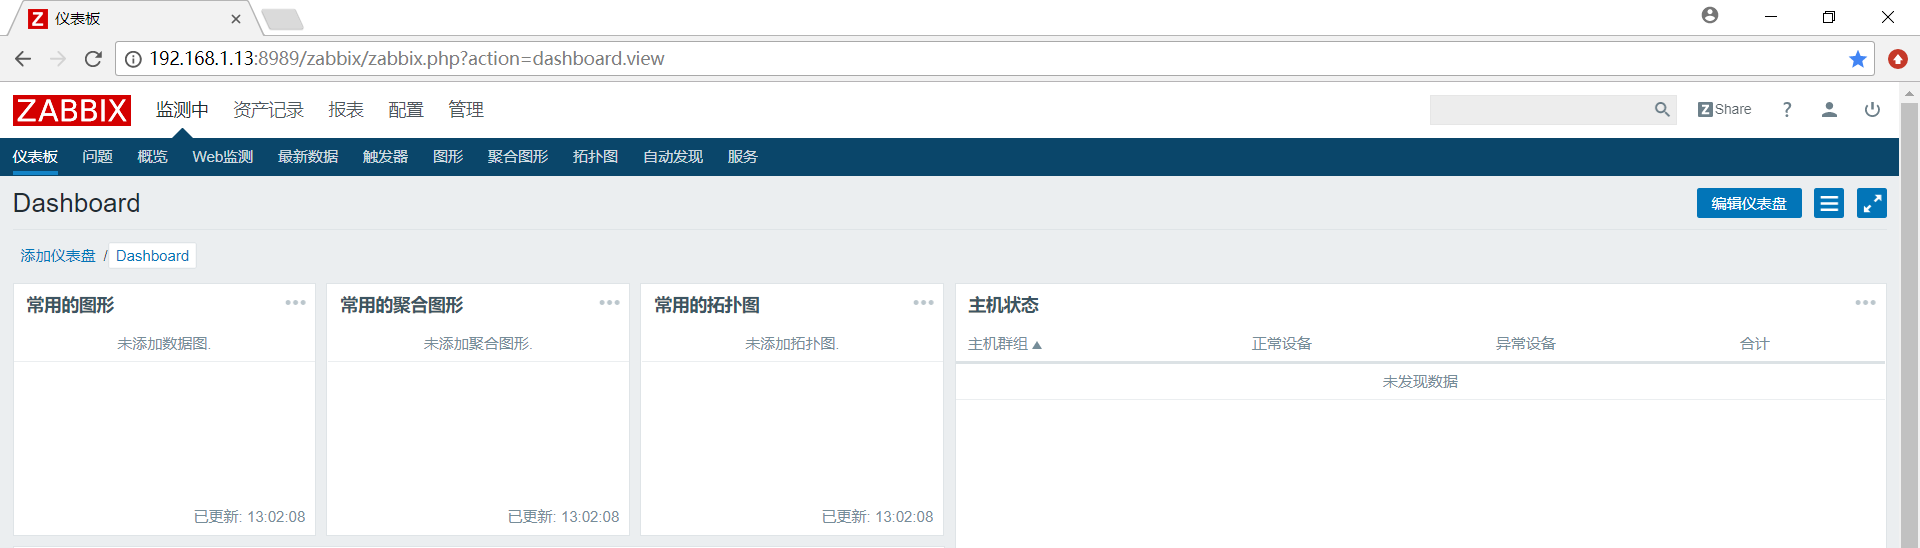
访问http://192.168.1.13:8989/zabbix/