版权声明:本文为博主原创文章,未经博主允许不得转载。 https://blog.csdn.net/ITdevil/article/details/79187147
一、Spring整合MyBatis
即让Spring来创建SqlSessionFactory和SqlSession,并且Mapper的代理对象也从Spring中获取。(配置文件如下)1.整合思路:
1.1、SqlSessionFactory对象应该放到spring容器中作为单例存在。
1.2、传统的dao的开发方式中,应该从spring容器中获得sqlsession对象。
1.3、Mapper代理形式中,应该从spring容器中获得mapper的代理对象。
1.4、数据库的链接以及数据库连接池事务管理都交给spring容器来完成。
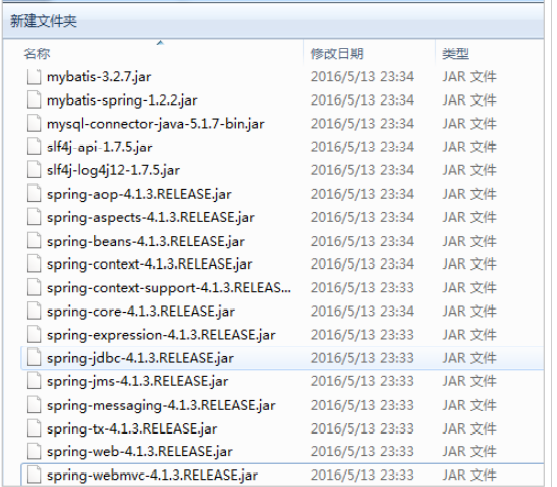
2.整合需要的jar包:
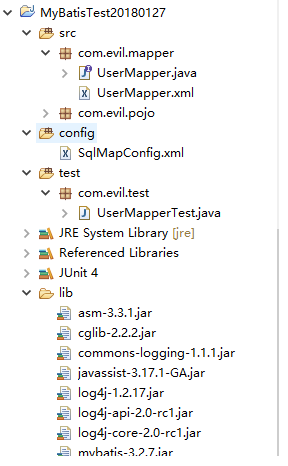
3.创建java工程(结构如下)
4.创建applicationContext.xml配置文件,将数据库连接池和MyBtis的配置文件SqlMapConfig.xml中配置的内容都交给Spring来管理。
db.properties文件:
jdbc.driver=com.mysql.jdbc.Driver
jdbc.url=jdbc:mysql://localhost:3306/mybatis?characterEncoding=utf-8
jdbc.username=root
jdbc.password=rootapplicationContext.xml配置文件:<?xml version="1.0" encoding="UTF-8"?>
<beans xmlns="http://www.springframework.org/schema/beans"
xmlns:context="http://www.springframework.org/schema/context" xmlns:p="http://www.springframework.org/schema/p"
xmlns:aop="http://www.springframework.org/schema/aop" xmlns:tx="http://www.springframework.org/schema/tx"
xmlns:xsi="http://www.w3.org/2001/XMLSchema-instance"
xsi:schemaLocation="http://www.springframework.org/schema/beans http://www.springframework.org/schema/beans/spring-beans-4.0.xsd
http://www.springframework.org/schema/context http://www.springframework.org/schema/context/spring-context-4.0.xsd
http://www.springframework.org/schema/aop http://www.springframework.org/schema/aop/spring-aop-4.0.xsd http://www.springframework.org/schema/tx http://www.springframework.org/schema/tx/spring-tx-4.0.xsd
http://www.springframework.org/schema/util http://www.springframework.org/schema/util/spring-util-4.0.xsd">
<!-- 加载配置文件 -->
<context:property-placeholder location="classpath:db.properties" />
<!-- 数据库连接池 -->
<bean id="dataSource" class="org.apache.commons.dbcp.BasicDataSource"
destroy-method="close">
<property name="driverClassName" value="${jdbc.driver}" />
<property name="url" value="${jdbc.url}" />
<property name="username" value="${jdbc.username}" />
<property name="password" value="${jdbc.password}" />
<property name="maxActive" value="10" />
<property name="maxIdle" value="5" />
</bean>
<!-- 配置SqlSessionFactory -->
<bean id="sqlSessionFactory" class="org.mybatis.spring.SqlSessionFactoryBean">
<!-- 配置mybatis核心配置文件,后期可以将分页插件,以及通用mapper插件放入该配置文件 -->
<!-- <property name="configLocation" value="classpath:SqlMapConfig.xml" /> -->
<!-- 配置数据源 -->
<property name="dataSource" ref="dataSource" />
<!-- 配置批量起别名,同时支持子包下的扫描,就是com也可以扫描的到 -->
<property name="typeAliasesPackage" value="com.evil.pojo"></property>
<!-- 加载映射文件 -->
<property name="mapperLocations">
<list>
<!-- <value>User.xml</value> -->
</list>
</property>
</bean>
<!-- Mapper的开发整合 :方式一:配置mapper代理-->
<!-- MapperFactoryBean作用: 拿到mybatis帮我们自动生成的实现类,放入spring容器中 -->
<!-- <bean id="userMapper" class="org.mybatis.spring.mapper.MapperFactoryBean">
加载映射文件,跟mybatis核心配置文件的class属性特点一样
<property name="mapperInterface" value="com.evil.mapper.UserMapper"></property>
<property name="sqlSessionFactory" ref="sqlSessionFactory"></property>
</bean> -->
<!-- Mapper的开发整合 :方式二:扫描包形式配置mapper-->
<bean class="org.mybatis.spring.mapper.MapperScannerConfigurer">
<property name="basePackage" value="com.evil.mapper"></property>
<!--
MapperScannerConfigurer已经主动到spring容器中拿sqlSessionFactory,不需要手动注入
<property name="sqlSessionFactory" ref="sqlSessionFactory"></property>
-->
</bean>
</beans>
5.创建user的实体类
6.创建UserMapper.java接口,相当于dao。定义查询方法:按照id进行查询用户package com.evil.pojo; import java.util.Date; import java.util.List; public class User { private Integer id; private String username;// 用户姓名 private String sex;// 性别 private Date birthday;// 生日 private String address;// 地址 private List<Orders> orders; ......package com.evil.mapper; import com.evil.pojo.User; public interface UserMapper { User findUserById(Integer id);//按用户Id进行查询 }
7.定义mapper.xml映射文件8.创建测试类,执行测试<?xml version="1.0" encoding="UTF-8" ?> <!DOCTYPE mapper PUBLIC "-//mybatis.org//DTD Mapper 3.0//EN" "http://mybatis.org/dtd/mybatis-3-mapper.dtd"> <mapper namespace="com.evil.mapper.UserMapper"> <select id="findUserById" parameterType="int" resultType="User"> select * from user where id=#{id}; </select> </mapper>package com.evil.test; import org.junit.Before; import org.junit.Test; import org.springframework.context.ApplicationContext; import org.springframework.context.support.ClassPathXmlApplicationContext; import com.evil.mapper.UserMapper; import com.evil.pojo.User; public class NewMapperTest { UserMapper userMapper; @Before public void initUserMapper() throws Exception { ApplicationContext context = new ClassPathXmlApplicationContext("applicationContext.xml"); userMapper=context.getBean(UserMapper.class); } //根据id进行查询 @Test public void findUserById(){ User user =userMapper.findUserById(1); System.out.println(user); } }
查询结果为:User [id=1, username=王五, sex=2, birthday=null, address=null, orders=null]