整合swagger2生成Restful Api接口文档
swagger Restful文档生成工具 2017-9-30
官方地址:https://swagger.io/docs/specification/about/
官方Github:https://github.com/swagger-api/swagger-core/wiki/Annotations
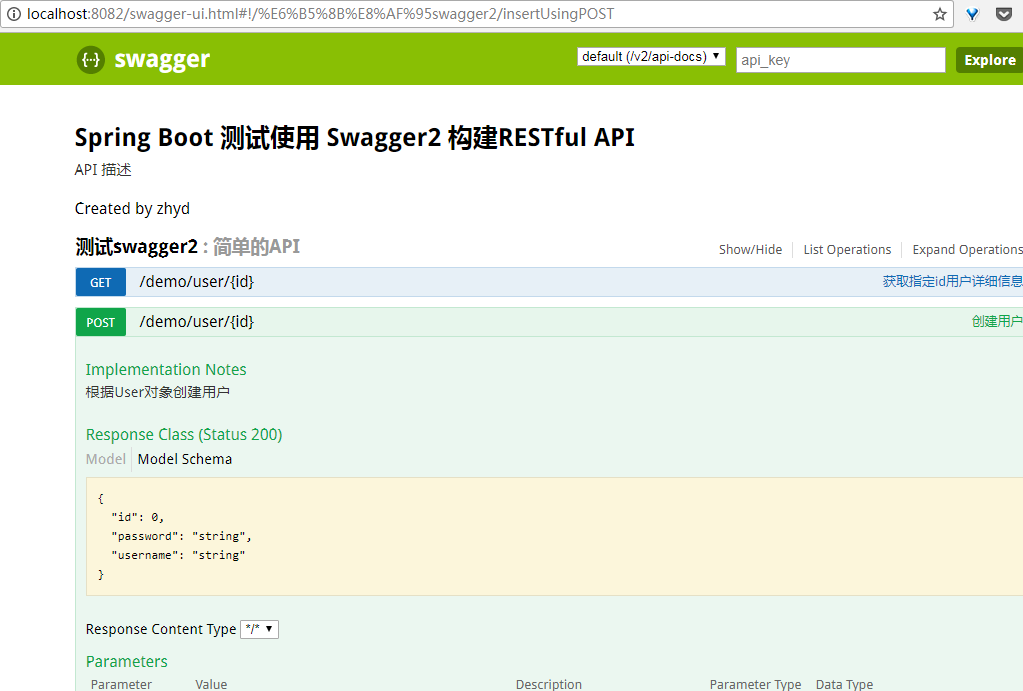
启动项目,访问http://localhost:8082/swagger-ui.html查看API
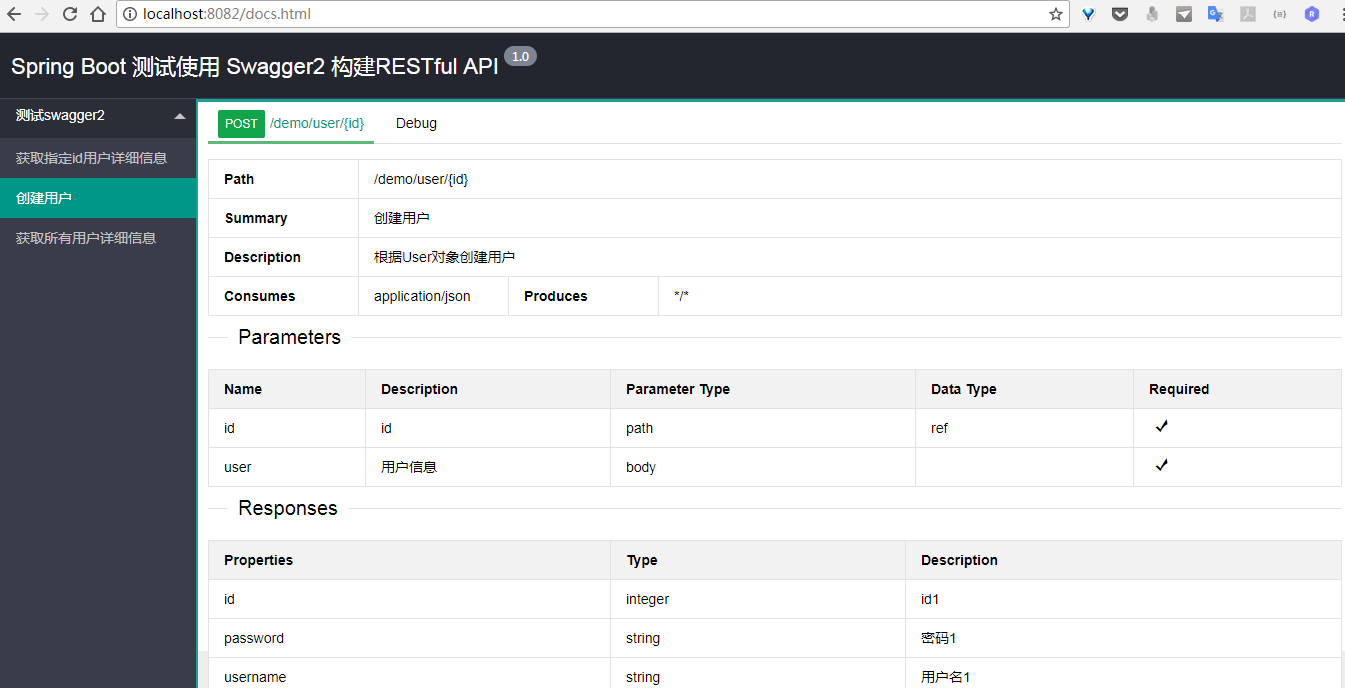
注意,此项目示例中,使用了三种ui依赖,每种依赖对应的访问页面不同:
springfox-swagger-ui -> http://localhost:8082/swagger-ui.html
swagger-bootstrap-ui -> http://localhost:8082/doc.html
swagger-ui-layer -> http://localhost:8082/docs.html
使用方法:
1.添加依赖(springfox-swagger2依赖是必须的,三种ui依赖只需要使用一个就行)
<dependency>
    <groupId>io.springfox</groupId> <artifactId>springfox-swagger2</artifactId> <version>2.2.2</version> </dependency> <dependency> <groupId>io.springfox</groupId> <artifactId>springfox-swagger-ui</artifactId> <version>2.2.2</version> </dependency>
2.创建配置文件Swagger2Config.java
@EnableSwagger2
@Configuration
public class Swagger2Config { @Bean public Docket createRestApi() { return new Docket(DocumentationType.SWAGGER_2) .apiInfo(apiInfo()) .select() //为当前包路径 .apis(RequestHandlerSelectors.basePackage("com.zyd.controller")) .paths(PathSelectors.any()) .build(); } //构建 api文档的详细信息函数 private ApiInfo apiInfo() { return new ApiInfoBuilder() //页面标题 .title("Spring Boot 测试使用 Swagger2 构建RESTful API") .termsOfServiceUrl("http://localhost/") //创建人 .contact("zhyd") //版本号 .version("1.0") //描述 .description("API 描述") .build(); } }注:@EnableSwagger2注解一定不要漏掉
3.编写文档
@RestController
@RequestMapping("/demo") @Api(value = "测试Swagger2",description="简单的API") public class UserController { @ApiOperation(value = "创建用户", notes = "根据User对象创建用户") @ApiImplicitParams({ @ApiImplicitParam(dataType = "java.lang.Long", name = "id", value = "id", required = true, paramType = "path"), @ApiImplicitParam(dataType = "User", name = "user", value = "用户信息", required = true) }) @ApiResponses({ @ApiResponse(code = 500, message = "接口异常"), }) @RequestMapping(value = "/user/{id}", method = RequestMethod.POST) public User insert(@PathVariable Long id, @RequestBody User user) { System.out.println("id:" + id + ", user:" + user); user.setId(id); return user; } }
注意:如果api文档只是针对开发人员使用的,就需要后台对v2/api-docs路径进行过滤,对非开发人员应该是不可见的。
自定义api页面
本例是使用的swagger-ui-layer主题(链接请见本文最后)。使用自定义api页面就不需要在pom中配置ui依赖了,详情查看static目录
api页面访问地址:http://localhost:8082/api.html
页面效果参考
swagger-ui.html

bootstrap-ui.html

layer-ui.html.html

layer-ui-custom.html

参考链接
swagger-ui-layer地址:https://github.com/caspar-chen/swagger-ui-layer
Swagger-Bootstrap-UI地址:https://github.com/xiaoymin/Swagger-Bootstrap-UI
有问题欢迎留言(可能回复有延迟,见谅)。
其他
源码请移步:Github源码
相关文章导读
- SpringBoot项目实战(8):四种读取properties文件的方式
- SpringBoot项目实战(7):自定义异常处理界面
- SpringBoot项目实战(6):开启定时任务
- SpringBoot项目实战(5):集成分页插件
- SpringBoot项目实战(4):集成Mybatis
- SpringBoot项目实战(3):整合Freemark模板
- SpringBoot项目实战(2):集成SpringBoot
- SpringBoot项目实战(1):新建Maven项目
https://www.imooc.com/article/20521
https://www.codercto.com/a/23839.html
http://blog.didispace.com/spring-boot-starter-swagger-1.2.0/
慕课手记:
http://www.imooc.com/article/15384