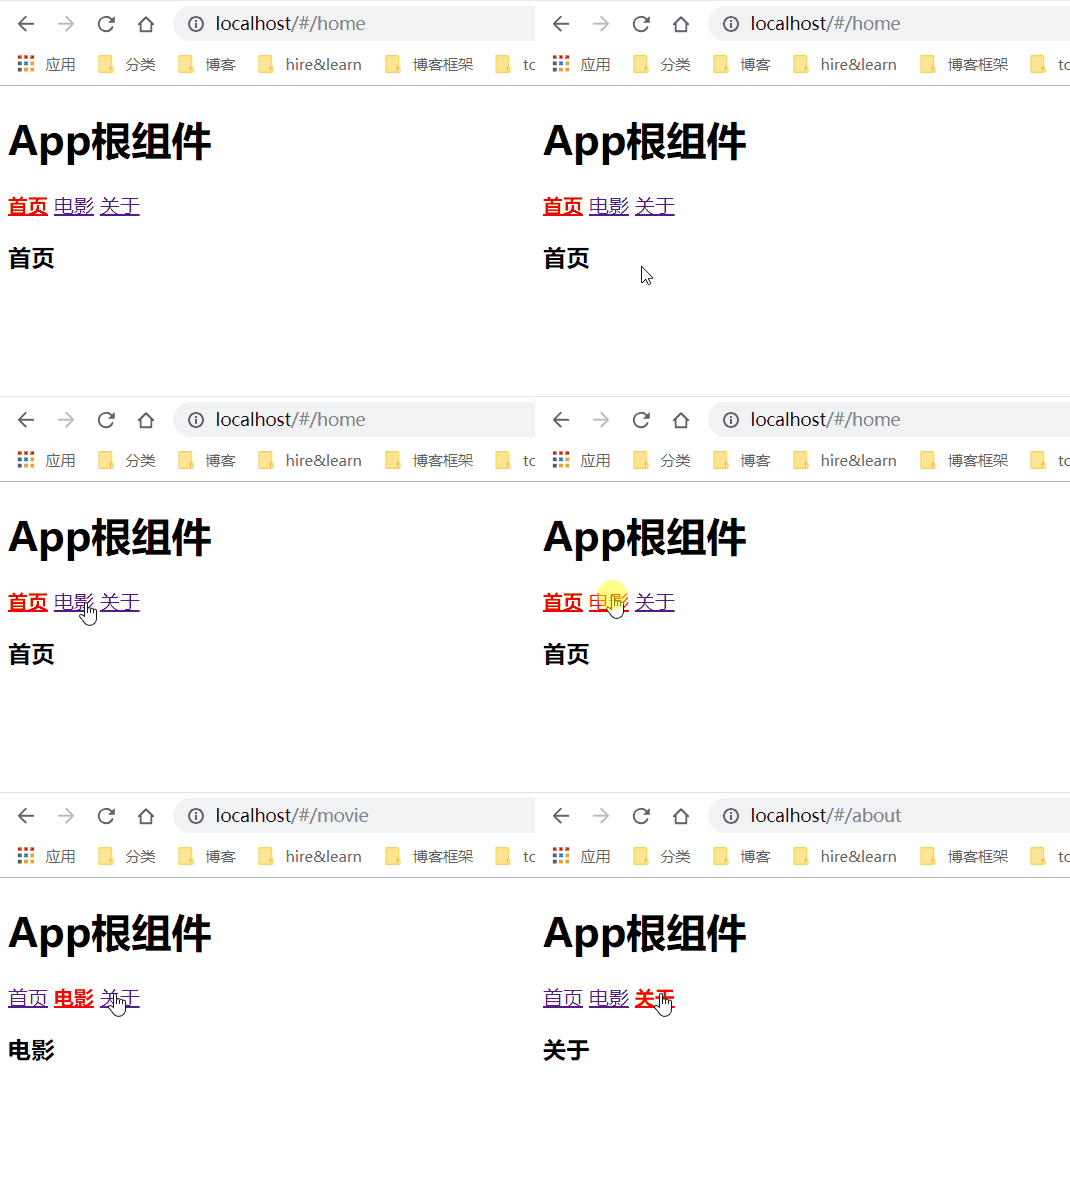
在 vue 中使用 vue-router
1、
-
-
在
index.js中导入并注册路由模块
// 导入路由模块
import VueRouter from 'vue-router'
// 注册路由模块
Vue.use(VueRouter)
2、在vue文件创建路由链接:
<!-- router-link 就是 第一步,创建 路由的 hash 链接的 -->
<!-- to 属性,表示 点击此链接,要跳转到哪个 hash 地址, 注意:to 属性中,大家不需要以 # 开头 -->
<router-link to="/home">首页</router-link>
<router-link to="/movie">电影</router-link>
<router-link to="/about">关于</router-link>
3、
import Home from './components/Home.vue'
import Movie from './components/Movie.vue'
import About from './components/About.vue'
4、创建路由规则
// 创建路由规则(对应关系)
const router = new VueRouter({ // 配置对象中,要提供 hash 地址 到 组件之间的 对应关系
  routes: [ // 这个 routes 就是 路由 规则 的数组,里面要放很多的对应关系
    // { path: 'hash地址', component: 配置对象 }
    { path: '/home', component: Home },
    { path: '/movie', component: Movie },
    { path: '/about', component: About }
  ]
})

// 创建的 router 对象,千万要记得,挂载到 vm 实例上
const vm = new Vue({
  el: '#app',
  render: c => c(App),
  router // 把 创建的路由对象,一定要挂载到 VM 实例上,否则路由不会生效
})
5、在页面上放路由容器
<!-- 这是路由的容器,将来,通过路由规则,匹配到的组件,都会被展示到这个 容器中 -->
<router-view></router-view>
-
用户点击 页面的 路由链接
router-link,点击的一瞬间,就会修改 浏览器 地址栏 中的 Hash 地址; -
当 hash 地址被修改以后,会立即被
vue-router监听到,然后进行 路由规则的 匹配;最终,找到 要显示的组件; -
当 路由规则匹配成功以后,就找到了 要显示的 组件,然后 把 这个组件,替换到 页面 指定的 路由容器
router-view中
设置路由高亮的两种方式和重定向
-
通过路由默认提供的
router-link-active, 为这个类添加自己的高亮样式即可; -
通过路由构造函数,在传递路由配置对象的时候,提供
linkActiveClass
// 3. 创建路由对象   前端路由: hash 值 到 组件的对应关系; 一个 hash 对应一个要展示的组件
const router = new VueRouter({
  // routes 是 路由规则数组,其中的每个对象,都是一条路由规则:
  // 路由规则的基本组成部分:  { path: 'hash值', component: 要展示的组件 }
  routes: [
    // 通过 redirect 属性,可以实现前端路由的重定向;
    { path: '/', redirect: '/home' },
    { path: '/home', component: Home },
    { path: '/movie', component: Movie },
    { path: '/about', component: About }
  ],
  linkActiveClass: 'my-active' // 被激活的路由的类名, 默认类名为 router-link-active
})
案例实现

src/index.js
import Vue from 'vue'

// 1. 导入路由包,并得到 路由的构造函数
import VueRouter from 'vue-router'
// 2. 把 路由 安装到 Vue 上
Vue.use(VueRouter)

// 导入需要使用路由切换的组件
import Home from './Home.vue'
import Movie from './Movie.vue'
import About from './About.vue'

// 3. 创建路由对象   前端路由: hash 值 到 组件的对应关系; 一个 hash 对应一个要展示的组件
const router = new VueRouter({
  // routes 是 路由规则数组,其中的每个对象,都是一条路由规则:
  // 路由规则的基本组成部分:  { path: 'hash值', component: 要展示的组件 }
  routes: [
    // 通过 redirect 属性,可以实现前端路由的重定向;
    { path: '/', redirect: '/home' },
    { path: '/home', component: Home },
    { path: '/movie', component: Movie },
    { path: '/about', component: About }
  ],
  linkActiveClass: 'my-active' // 被激活的路由的类名, 默认类名为 router-link-active
})

// 导入根组件
import app from './app.vue'
const vm = new Vue({
  el: '#app',
  render: c => c(app),
  router // 4. 把路由对象,挂载到VM上
})
app.vue
<template>
  <div>
    <h1>App根组件</h1>

    <!-- 记住:router-link 标签,将来会被 默认 渲染为 a 链接 -->
    <!-- to 属性,表示 点击这个链接,要跳转到哪个 hash 值 -->
    <router-link to="/home">首页</router-link>
    <router-link to="/movie">电影</router-link>
    <router-link to="/about">关于</router-link>

    <!-- 这是一个占位符,将来,通过路由规则,匹配到的组件,会被替换到 router-view 所在的位置 -->
    <router-view></router-view>
  </div>
</template>

<script>
export default {}
</script>

<style lang="less" scoped>
.router-link-active {
  color: red;
}

.my-active {
  color: red;
  font-weight: bold;
}
</style>