1、私服的使用场景
1)、公司不能连接公网,可以用一个私服务来统一连接
2)、公司内部jar 组件的共享
2、nexus下载与安装
1)、下载nexus(nexus下载)
2)、解压并设置环境变量
#解压
tar -zxvf nexus-2.14.5-02-bundle.tar.gz
#在环境变量当中设置启动用户
vim /etc/profile
#添加profile文件。安全起见不建议使用root用户,如果使用其它用户需要加相应权限
export RUN_AS_USER=root
3)、进入nexus安装目录启动/停止nexus
#启动
./bin/nexus start
#停止
./bin/nexus stop
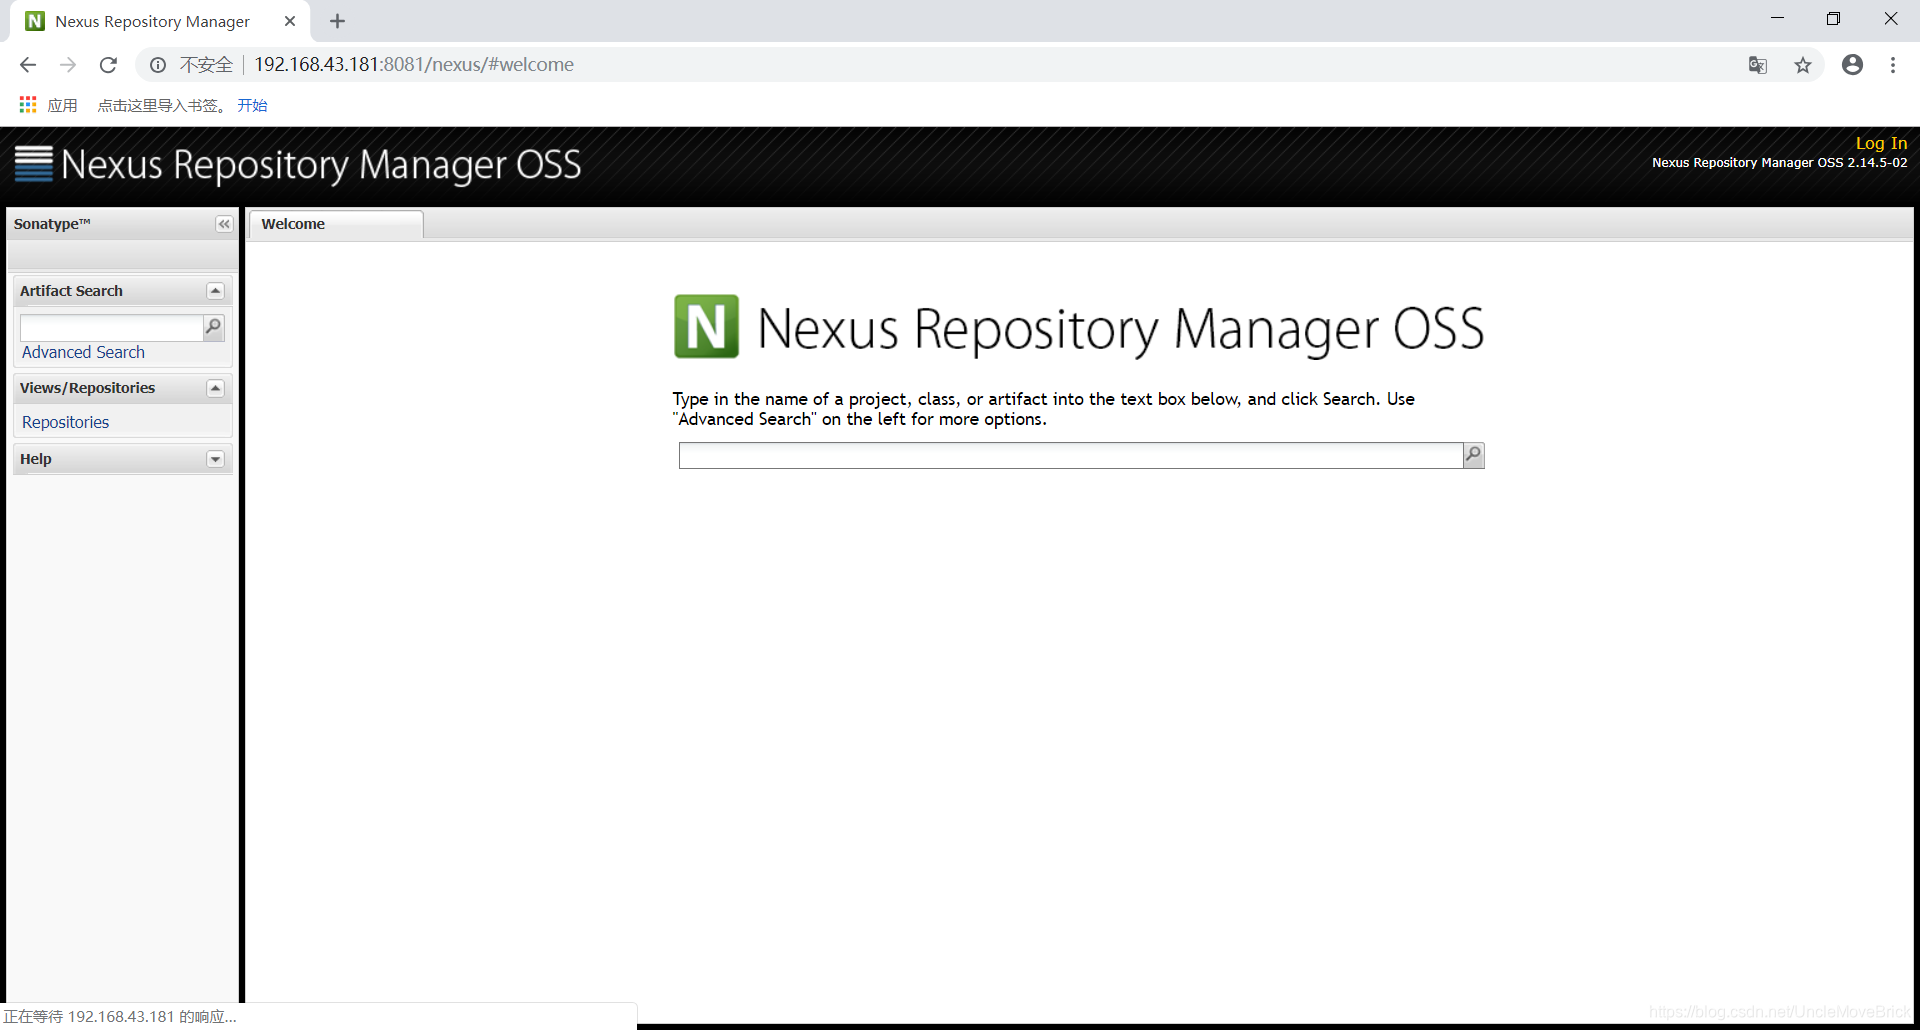
在浏览器输入IP和端口号启动后如下图所示:
4)、nexus.conf配置文件:进入nexus安装目录内的conf文件夹,里面有一个nexus.properties文件,文件内容大致如下:
#端口号
application-port=8081
#限定使用的IP
application-host=0.0.0.0
#应用程序目录
nexus-webapp=${bundleBasedir}/nexus
#context目录
nexus-webapp-context-path=/nexus
# Nexus仓库地址
nexus-work=${bundleBasedir}/../sonatype-work/nexus
runtime=${bundleBasedir}/nexus/WEB-INF
storage.diskCache.bufferSize=4096
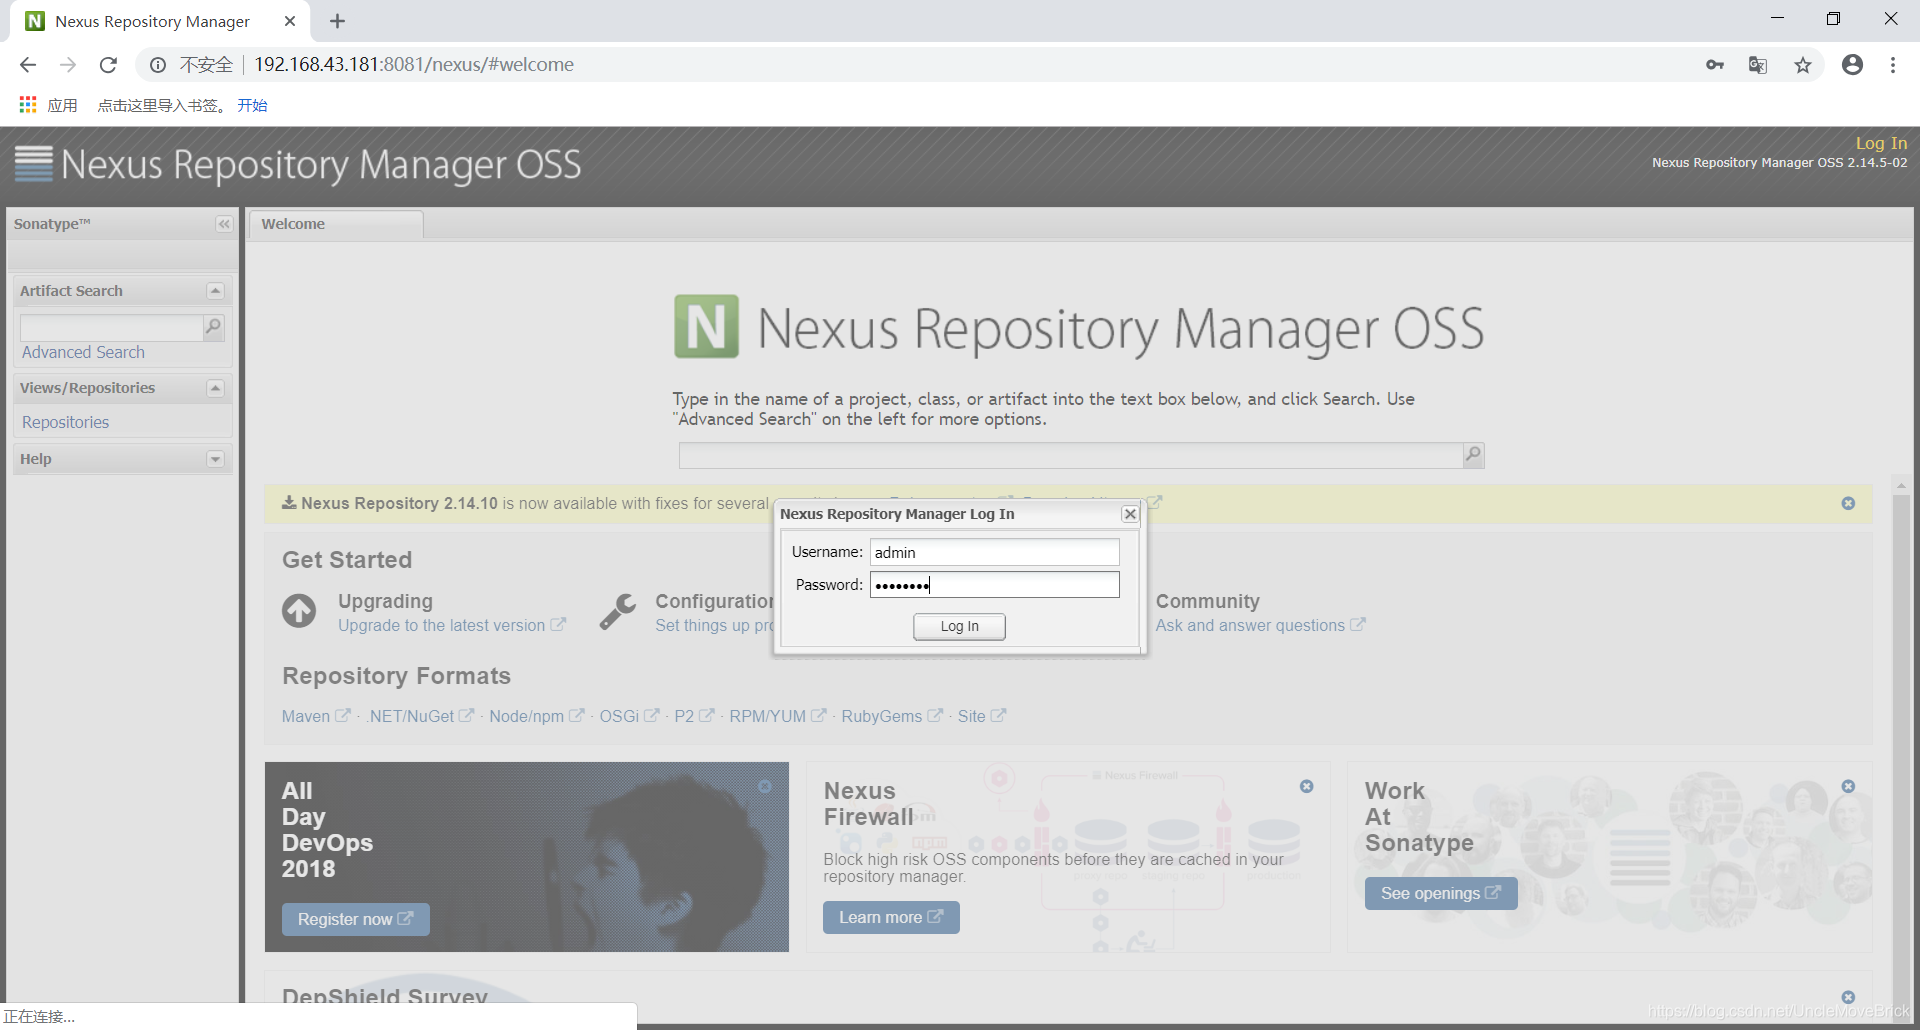
5)、我们点击页面右上角的Log In以管理员的身份登录,用户名和密码分别默认是admin和admin123
6)、点击左侧菜单的Repositories进入页面,nexus的仓库如下图:
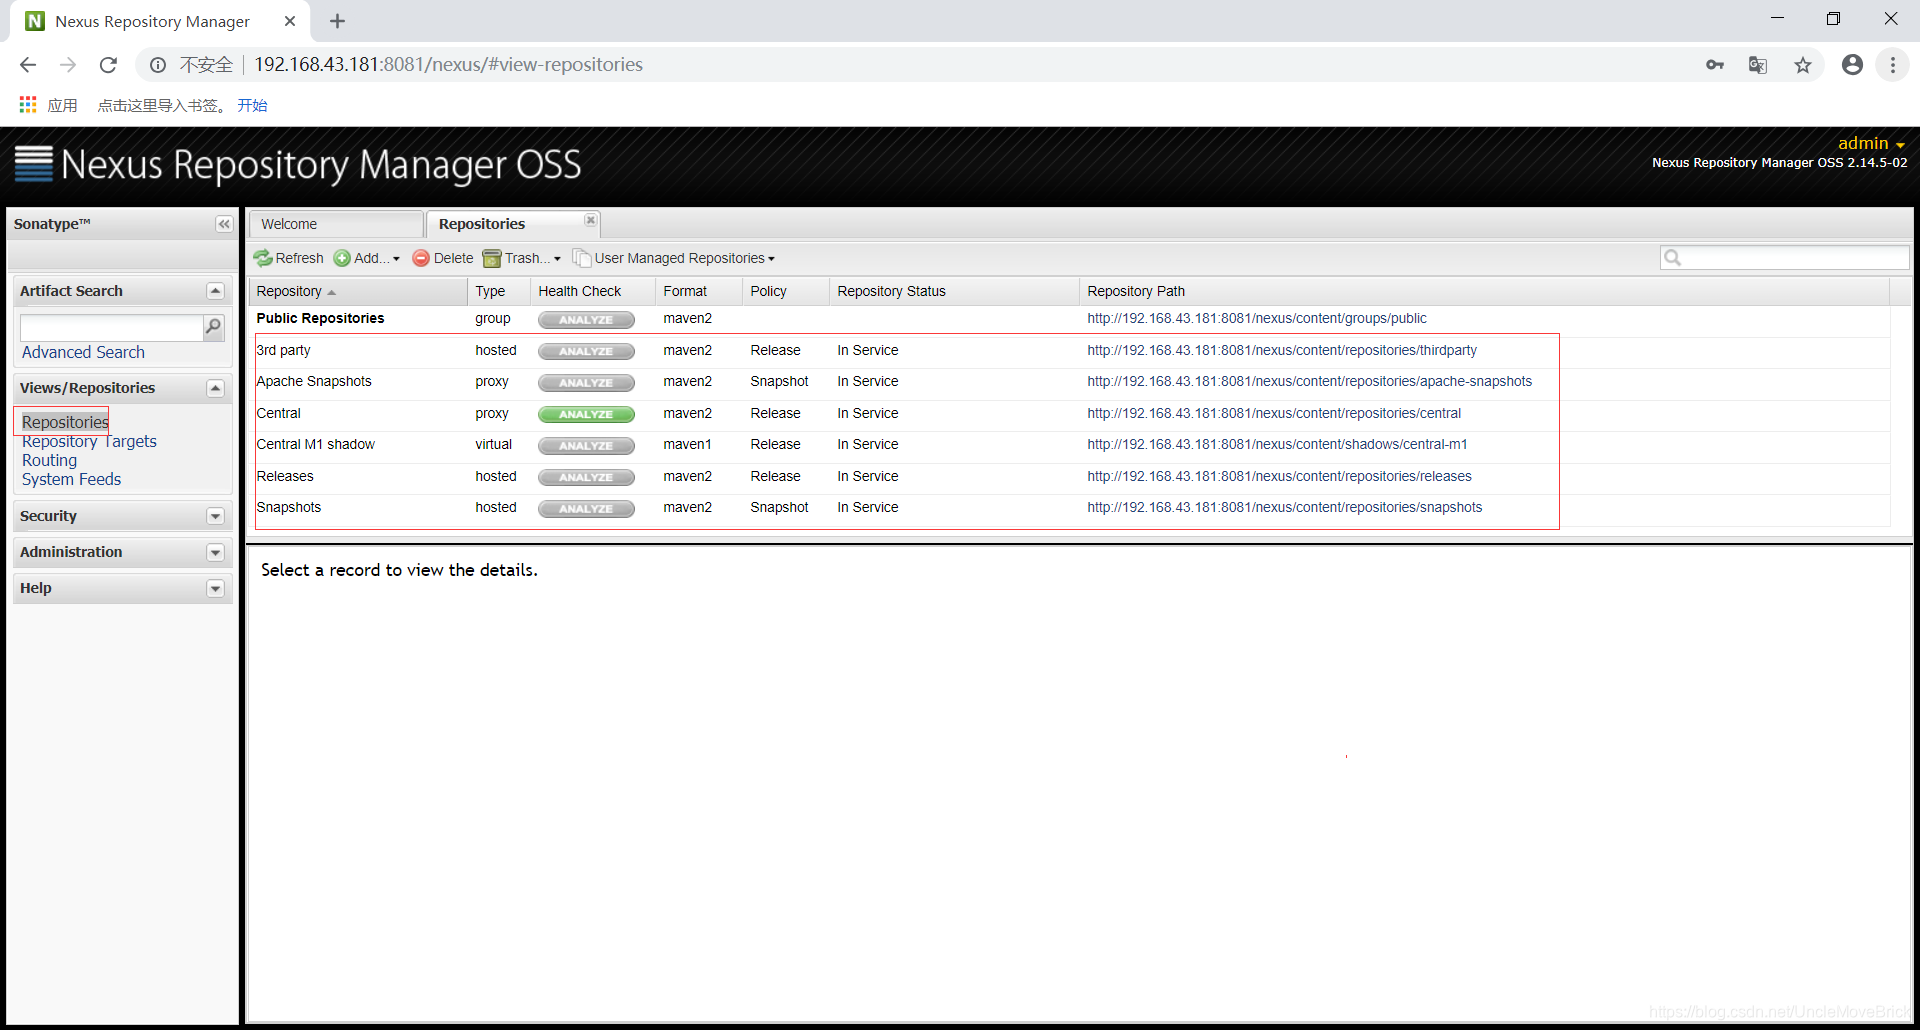
1、3rd party:第三方仓库;
2、Apache Snapshots:apache 快照仓库;
3、Central: maven 中央仓库;
4、Central M1 shadow:M1版本的仓库,现在用的很少;
5、Releases:私有发布版本仓库;
6、Snapshots:私有 快照版本仓库;
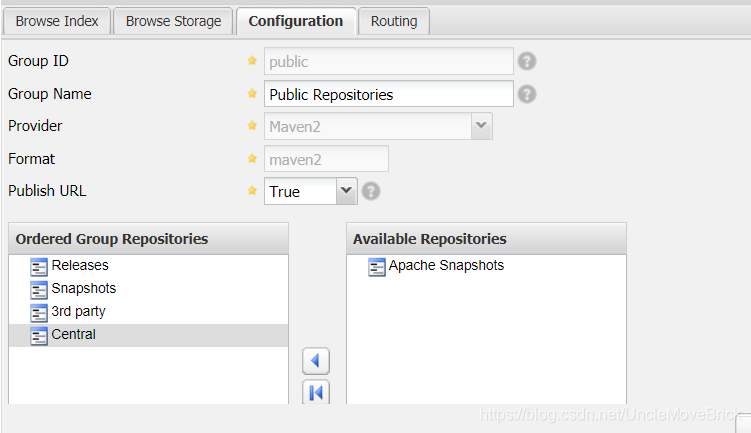
7、Public Repositories:不是一个仓库,但是通过Public Repositories的地址可以访问其它除了Apache Snapshots之外的任意一个仓库。因为在Public Repositories下的Configuration做了配置,如下图所示:
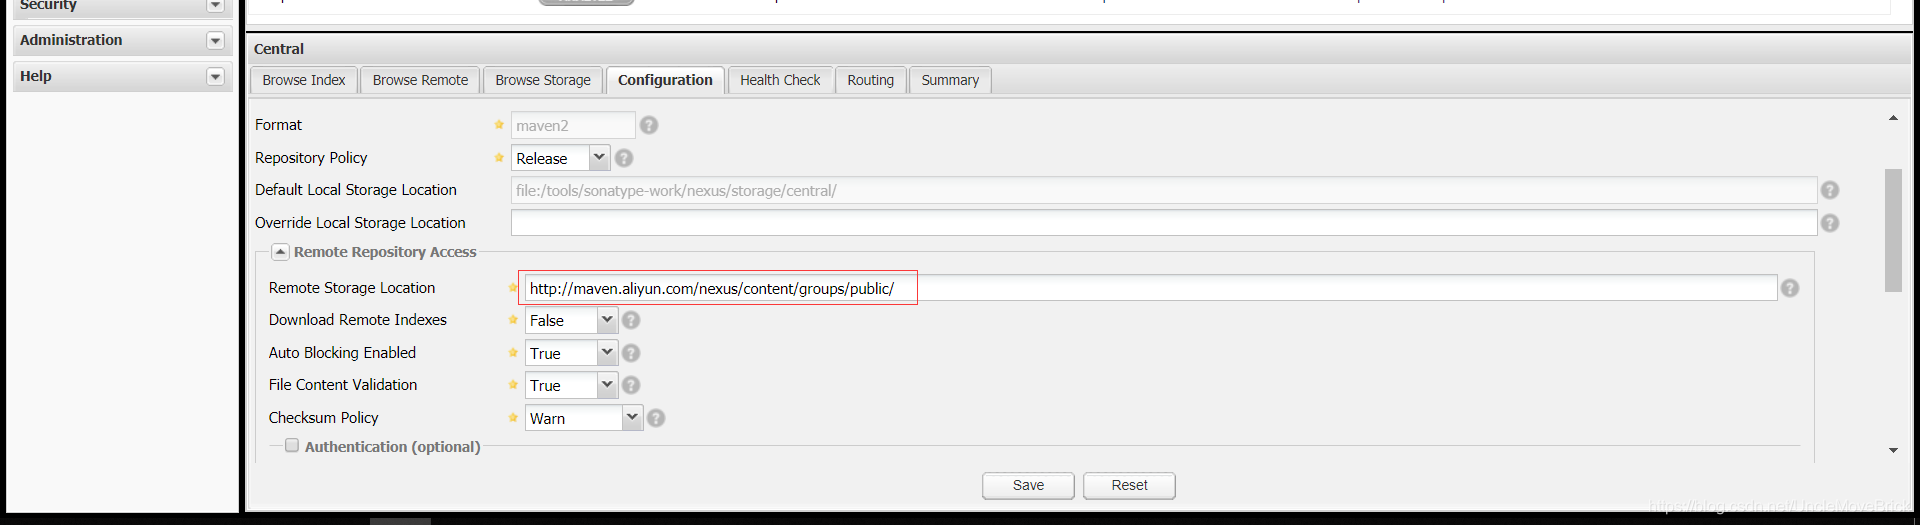
7)、我们jar包的下载顺序是本地仓库,本地仓库没有去nexus私服,nexus私服没有才会去远程仓库下载,远程仓库默认是在Central仓库的https://repo1.maven.org/maven2/下载,这个地址下载很慢,因为它的服务器是在国外的,我们可以在这里改成国内的一些中央仓库。可以改成阿里云的地址http://maven.aliyun.com/nexus/content/groups/public/然后点击save即可。如下图所示:

3、本地项目连接nexus私服
我们可以直接用Public Repositories的地址在pom.xml文件中配置。如下图所示:

1、配置pom.xml文件(作用范围仅限该项目)。配置如下:
<?xml version="1.0" encoding="UTF-8"?>
<project xmlns="http://maven.apache.org/POM/4.0.0"
         xmlns:xsi="http://www.w3.org/2001/XMLSchema-instance"
         xsi:schemaLocation="http://maven.apache.org/POM/4.0.0 http://maven.apache.org/xsd/maven-4.0.0.xsd">
    <modelVersion>4.0.0</modelVersion>

    <groupId>demo-parent</groupId>
    <artifactId>demo-parent</artifactId>
    <packaging>pom</packaging>
    <version>1.0-SNAPSHOT</version>
    <modules>
        <module>demo-server</module>
        <module>demo-client</module>
    </modules>

    <repositories>
        <repository>
            <id>nexus-repository</id>
            <name>nexus repository</name>
            <url>http://192.168.43.181:8081/nexus/content/groups/public/</url>
        </repository>
    </repositories>
    <!--依赖fastjson1.2.47版本-->
    <dependencies>
        <dependency>
            <groupId>com.alibaba</groupId>
            <artifactId>fastjson</artifactId>
            <version>1.2.47</version>
        </dependency>
    </dependencies>
</project>
2、配置maven的settings.xml文件(作用于所有用到该配置的项目)。配置如下:
<mirror>
	<id>nexus-aliyun</id>
	<mirrorOf>*</mirrorOf>
	<name>Nexus aliyun</name>
	<url>http://192.168.43.181:8081/nexus/content/groups/public/</url>
</mirror>
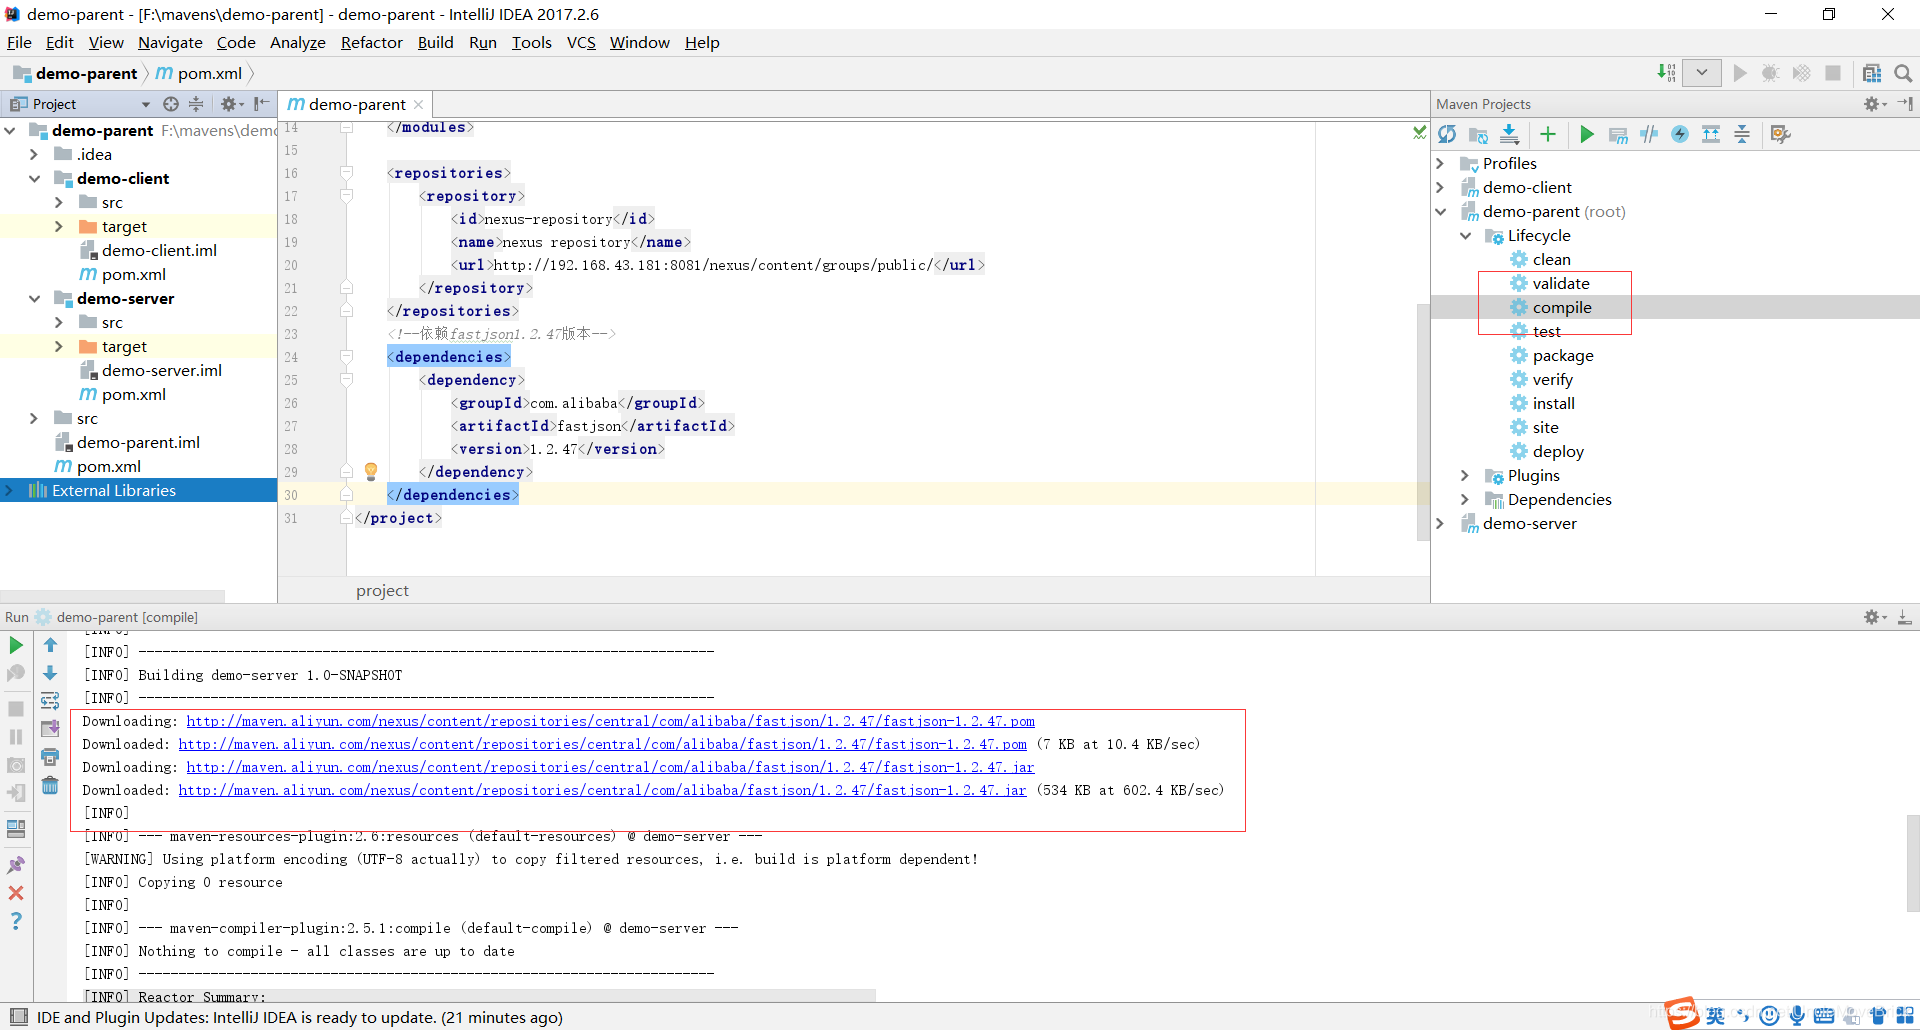
我们执行compile命令可以从打印的日志看出来是从我的nexus私服下载的fastjson包。
4、将项目发布到nexus
1、在pom.xml中配置如下:
<!--
	将项目发布到nexus私服配置
	url:发布到nexus仓库的地址
-->
    <distributionManagement>
        <repository>
            <uniqueVersion>false</uniqueVersion>
            <id>releases-respository</id>
            <name>releases-respository</name>
            <url>http://192.168.43.181:8081/nexus/content/repositories/releases/</url>
            <layout>default</layout>
        </repository>

        <snapshotRepository>
            <id>snapshot-respository</id>
            <name>snapshot-respository</name>
            <url>http://192.168.43.181:8081/nexus/content/repositories/snapshots/</url>
        </snapshotRepository>
</distributionManagement>
2、在setting.xls配置如下:
<mirror>
    	<id>nexus-aliyun</id>
        <mirrorOf>*</mirrorOf>
        <name>Nexus aliyun</name>
        <url>http://192.168.43.181:8081/nexus/content/groups/public/</url>
</mirror>


	<server>
		<id>releases-respository</id>
		<username>deployment</username>
		<password>deployment123</password>
    </server>
	<server>
      	<id>snapshot-respository</id>
      	<username>deployment</username>
      	<password>deployment123</password>
    </server>
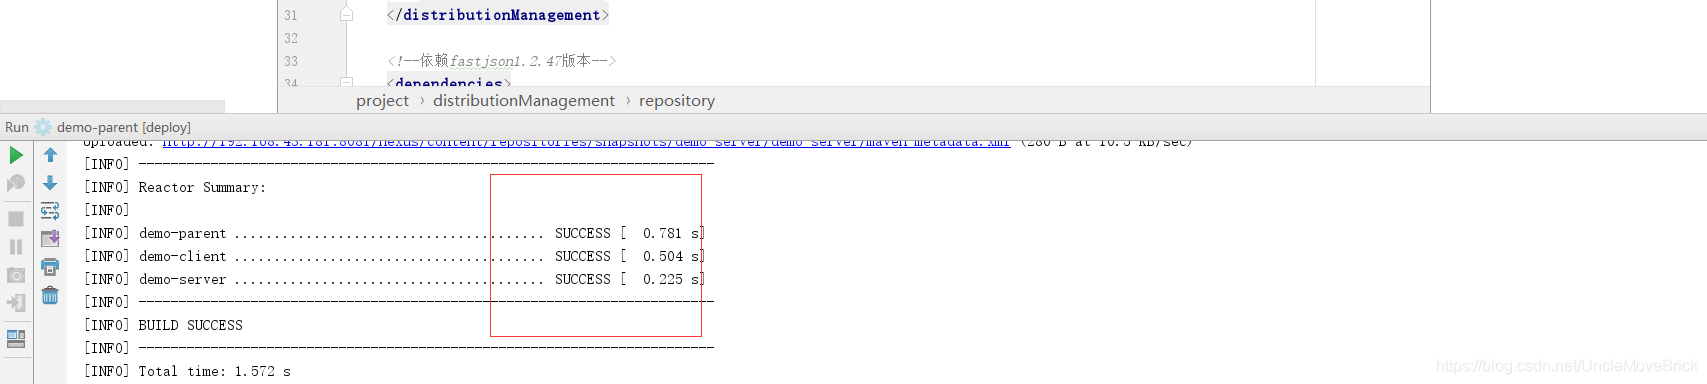
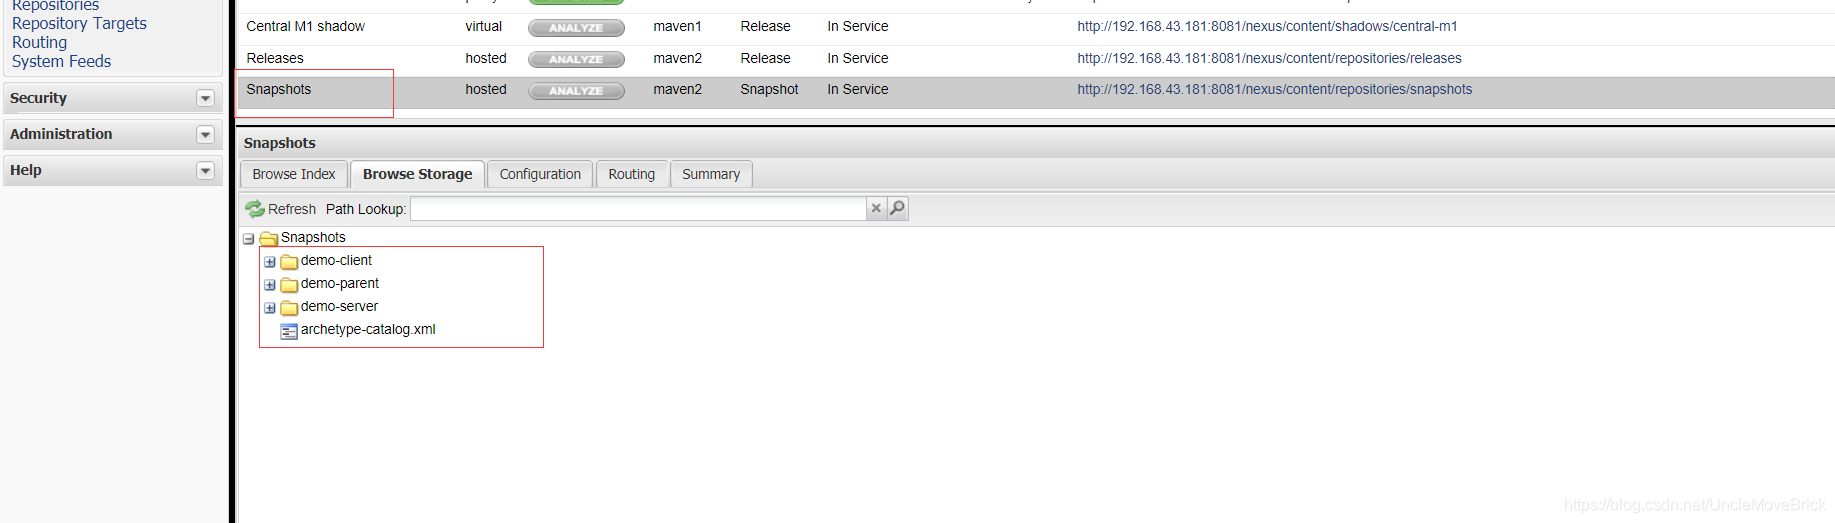
3、运行deploy命令,成功如下图所示: