模块化开发:优点嘛,项目过大时便于管理;
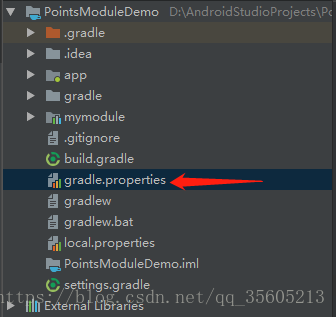
1、在根目录的gradle.properties文件下添加 isBuildModule=false;
使用isBuildModule来控制这个是Library还是独立的APP;
2、创建一个新的Module,在其build.gradle中添加:
if (isBuildModule.toBoolean()) {
apply plugin: 'com.android.application'
} else {
apply plugin: 'com.android.library'
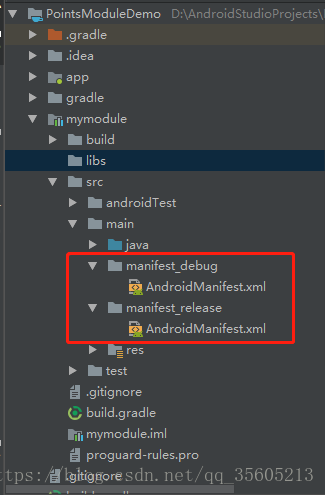
}3、新的Module创建两套Manifest文件,两套Manifest分别用于APP模式和Library模式;
也是在build.gradle文件中添加:
    sourceSets{
        main{
            if (isBuildModule.toBoolean()){
                manifest.srcFile'src/main/manifest_debug/AndroidManifest.xml'
            }else {
                manifest.srcFile'src/main/manifest_release/AndroidManifest.xml'
            }
        }
    }
debug下的Manifest:
<application
        android:allowBackup="true"
        android:icon="@mipmap/ic_launcher"
        android:label="@string/app_name"
        android:supportsRtl="true"
        android:roundIcon="@mipmap/ic_launcher_round"
        android:theme="@style/AppTheme">
        <activity android:name=".HomeActivity">
            <intent-filter>
                <action android:name="android.intent.action.MAIN" />

                <category android:name="android.intent.category.LAUNCHER" />
            </intent-filter>
        </activity>
    </application>
releaes下的Manifest:
<application>
        <activity android:name=".HomeActivity"></activity>
    </application>
这个是我的目录结构:
扫描二维码关注公众号,回复:
4292201 查看本文章

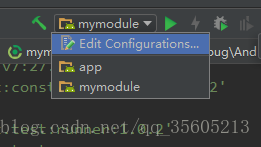
好了,这样就基本完成模块化开发的架子了;在某个模块调试时只需要把gradle.properties文件下的isBuildModule=true就行了,运行的时候应该是这样:
模块之间的界面跳转和数据传递推荐使用:ARouter和EventBus;方便管理可以使用config.gradle;