Introduction to Udacity Self-Driving Car Simulator
Udacity recently made its self-driving car simulator source code available on their GitHub which was originally built to teach their Self-Driving Car Engineer Nanodegree students.
Now, anybody can take advantage of the useful tool to train your machine learning models to clone driving behavior.
In this article, I’ll explain:
- What you can do with it
- How to set up the simulator
- Deep Learning driver example
What You Can Do with it?
You can manually drive a car to generate training data, or your machine learning model can autonomously drive for testing.
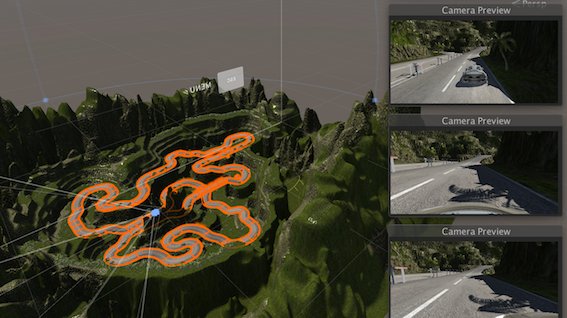
In the main screen of the simulator, you can choose a scene and a mode.
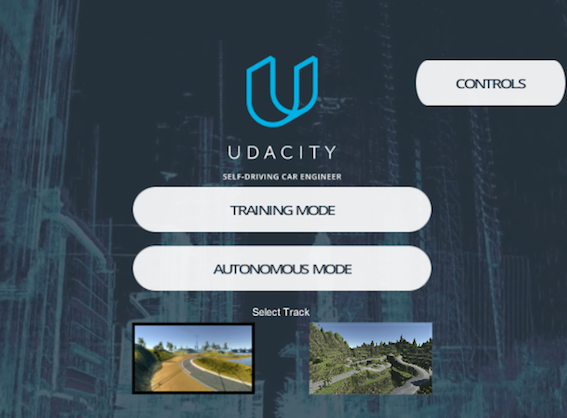
First, you choose a scene by clicking one of the scene pictures. In the above, the lake side scene (the left) is selected.
Next, you choose a mode: Training Mode or Autonomous Mode. As soon as you click one of the mode buttons, a car appears at the start position.
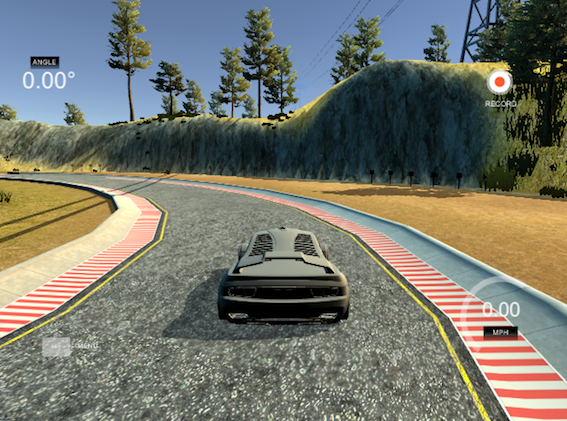
Training Mode
In the training mode, you drive the car manually to record the driving behavior. You can use the recorded images to train your machine learning model.
To drive the car, use the following keys:

If you like using mouse to direct the car, you can do so by dragging:

To start a recording your driving behavior, press R on your keyboard.
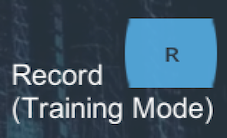
You can press R again to stop the recording.
Finally, use ESC to exit the training mode.

You can see the driving instructions any time by clicking CONTROLS button in the top right of the main screen.
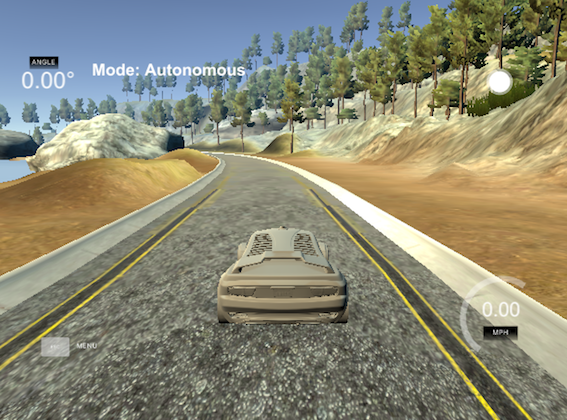
Autonomous Mode
In the autonomous mode, you are testing your machine learning model to see how well your model can drive the car without dropping off the road / falling into the lake.
Although the driving in the above video may not be the best ever possible, it is quite rewarding to watch a trained model autonomously driving the car without going off the road.
Technically, the simulator is acting as a server where your program can connect to and receive a stream of image frames from.
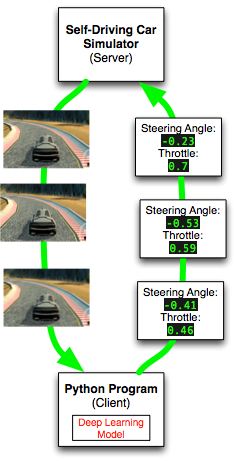
For example, your Python program can use a machine learning model to process the road images to predict the best driving instructions, and send them back to the server.
Each driving instruction contains a steering angle and an acceleration throttle, which changes the car’s direction and the speed (via acceleration). As this happens, your program will receive new image frames at real time.
How to Set Up the Simulator
You’ll need the following:
- Unity Game Engine
- Git LFS
- Udacity Self-Driving Car Simulator Github
Unity
Unity is a game development environment in which Udacity self-driving car simulator is built.
You can install it as follows:
- Go to https://unity3d.com and download the Unity installer. Choose the right version for your license requirement. The Personal version works fine with the Udacity simulator.
- Start the installer. It will download necessary components and begin the installation process.
- Follow the instruction to install Unity on your computer.
Git LFS
The Udacity self-driving car simulator uses Git LFS to manage large files.
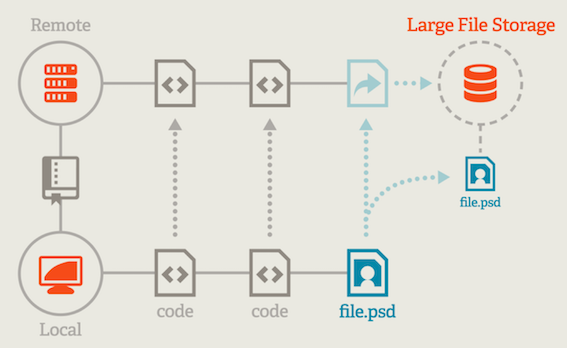
The above image is from https://git-lfs.github.com. The below is a quote from the site:
Git Large File Storage (LFS) replaces large files such as audio samples, videos, datasets, and graphics with text pointers inside Git, while storing the file contents on a remote server like GitHub.com or GitHub Enterprise.
For Mac, you can use brew to install it:
brew install git-lfsOnce installed, you need to enable it for Git on your machine.
git lfs installFor Windows and Linux, please see https://git-lfs.github.com for details.
Note: I’m assuming you already have the git command in your environment. If not, please follow the instruction to install git before installing git-lft.
Udacity Self-Driving Car Simulator Github
This Github project contains a Unity project for building the simulator.
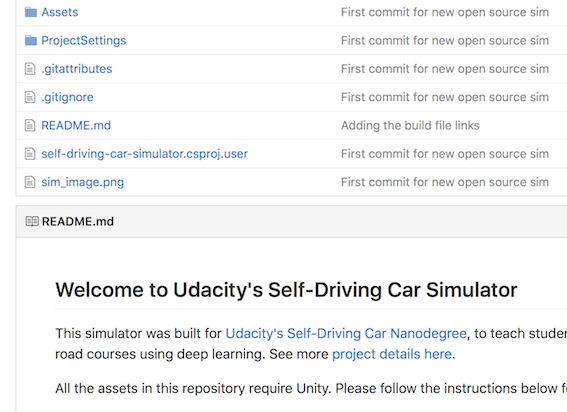
- Open a terminal on your computer and clone the self-driving car GitHub project:
git clone https://github.com/udacity/self-driving-car-sim.gitThat’s it for preparation.
Quick Start
Let’s build the self driving car simulator.
In Unity,
- Go to File > Open Project to open the self-driving-car-sim folder
- Go to File > Build Settings to open the build setting window
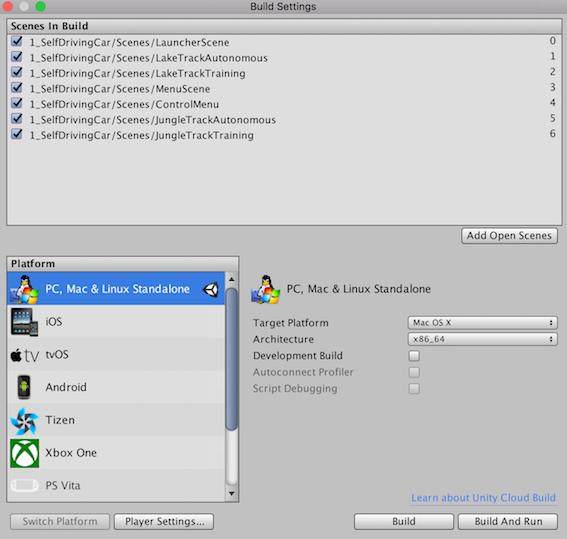
- Choose the right platform for your computer and then press the Build button
- Specify the location and name of the generated executable file
- Double click the executable file to start the simulator.
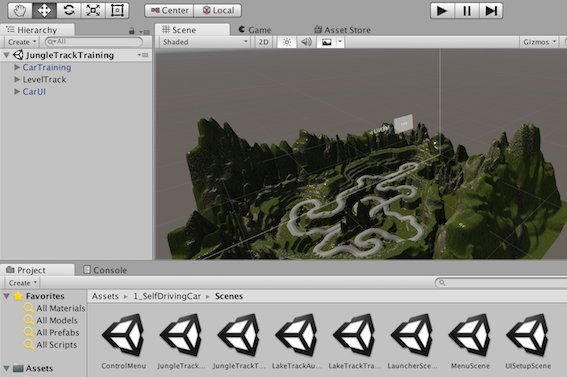
Modifying the Scenes in the Simulator
If you want to modify the scenes in the simulator, you’ll need to deep dive into the Unity projects and rebuild the project to generate a new executable file.
For this, I suggest that you first read the README.md in the Self-Driving Car Simulator GitHub to learn the basics of how to navigate in the Unity project.
For more details on Unity itself, please visit https://unity3d.com.
Deep Learning Driver Example
You can try a predefined model to see how a deep learning model drives autonomously.
- Open a terminal, then execute the following command to clone the project to your computer.
git clone https://github.com/naokishibuya/car-behavioral-cloning.git- Create a python environment used by the model using
conda:
cd car-behavioral-cloning
conda env create -f environments.xml- Activate the python environment used by the model
source activate car-behavioral-cloning- Double click your simulator executable to show the start-up screen
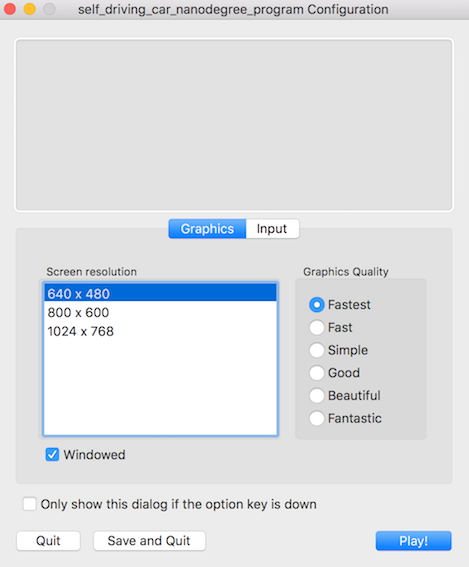
- Choose 640 x 480 screen resolution and the Fastest graphics quality (making sure it works with the lowest requirements)
- Press the Play! button
- Choose the lake side track (on the left)
- Click the Autonomous Mode button
- Go back to the terminal and run the pre-trained model by the following command
python drive.py model.h5You can choose a different image quality in the simulator startup screen to see how it affects the car’s driving.
The README.md has more details of the Deep Learning model. You can modify the model parameters and train it to generate different model files using the saved train data from the Training Mode.
Enjoy !
References
- Udacity open sources its self-driving car simulator for anyone to use (Tech Crunch): https://techcrunch.com/2017/02/08/udacity-open-sources-its-self-driving-car-simulator-for-anyone-to-use/
- Udacity Releases Self-Driving Car Simulator Source Code (Campus Technology): https://campustechnology.com/articles/2017/02/09/udacity-releases-self-driving-car-simulator-source-code.aspx?admgarea=news
- Self-Driving Car Engineer Project 3: Use Deep Learning to Clone Driving Behavior (Udacity): https://github.com/udacity/CarND-Behavioral-Cloning-P3
- Deep Learning Example: https://github.com/naokishibuya/car-behavioral-cloning