环境:
| 系统 | CentOS Linux release 7.5.1804 (Core) |
| 内核 | 3.10.0-862.el7.x86_64 |
| 数据库 | MySQL5.7 |
| PHP | PHP5.6 |
| 软件 | OCS server 2.4.1 GLPI 9.2.3 OCS-NG-Windows-Agent 2.3.1 glpi-ocsinventoryng-1.4.3 |
防火墙关一下
一:配置系统环境
1.1:配置YUM扩展源
  [root@tiger ~]#  rpm -Uvh http://ftp.iij.ad.jp/pub/linux/fedora/epel/epel-release-latest-7.noarch.rpm
  [root@tiger ~]# rpm -Uvh http://rpms.famillecollet.com/enterprise/remi-release-7.rpm
1.2:修改remi.repo 源 (默认安装为php5.4 修改开启此PHP5.6 , 新的客户端最低支持5.6好像)
  [root@tiger ~]# vim /etc/yum.repos.d/remi.repo
  [remi-php56]
  name=Remi's PHP 5.6 RPM repository for Enterprise Linux 7 - $basearch
  #baseurl=http://rpms.remirepo.net/enterprise/7/php56/$basearch/
  #mirrorlist=https://rpms.remirepo.net/enterprise/7/php56/httpsmirror
  mirrorlist=http://cdn.remirepo.net/enterprise/7/php56/mirror
  # NOTICE: common dependencies are in "remi-safe"
  enabled=1
  gpgcheck=1
  gpgkey=file:///etc/pki/rpm-gpg/RPM-GPG-KEY-remi
1.3:安装依懒及LAMP
[root@tiger ~]# wget http://repo.mysql.com/mysql57-community-release-el7-8.noarch.rpm

[root@tiger ~]# rpm -ivh mysql57-community-release-el7-8.noarch.rpm

[root@tiger ~]# yum install mysql-server -y

[root@tiger ~]# yum install -y httpd  php-mysql gcc gcc-c++ glibc-devel glibc-headers autoconf automake bzip2-devel zlib-devel ncurses-devel libjpeg-devel libpng-devel libtiff-devel freetype-devel pam-devel openssl-devel libXpm libX11 libxml2-devel gettext-devel pcre-devel php php-devel php-gd php-pecl-zip php-devel php-pear php-imap php-ldap php-odbc php-xml php-xmlrpc mod_perl php-mbstring perl mod_perl perl-XML-Simple perl-Compress-Zlib perl-DBI perl-DBD-MySQL perl-Net-IP perl-Apache-DBI perl-Apache2-SOAP php-common   perl-XML-Entities perl-Mojolicious

[root@tiger ~]# yum install http://rpmfind.net/linux/remi/enterprise/7/remi/x86_64/perl-Apache2-SOAP-0.73-13.el7.remi.noarch.rpm

[root@tiger ~]# yum -y install https://mirrors.aliyun.com/centos/7.5.1804/os/x86_64/Packages/perl-Switch-2.16-7.el7.noarch.rpm

[root@tiger ~]# yum install http://rpmfind.net/linux/remi/enterprise/7/remi/x86_64/perl-Apache-DBI-1.12-1.el7.remi.noarch.rpm

[root@tiger ~]# yum -y install https://mirrors.aliyun.com/epel/7/aarch64/Packages/p/perl-Mojolicious-7.67-1.el7.noarch.rpm
1.4:验证php版本(GLPI 9.2.3要求,一定要保证是5.6以上版本)
[root@tiger ~]# php -v
PHP 5.6.38 (cli) (built: Sep 12 2018 08:52:18)
Copyright (c) 1997-2016 The PHP Group
Zend Engine v2.6.0, Copyright (c) 1998-2016 Zend Technologies
二:安装OCSNG
2.1:下载并解压安装包
[root@tiger ~]# cd /opt/

[root@tiger opt]# wget https://github.com/OCSInventory-NG/OCSInventory-ocsreports/releases/download/2.4.1/OCSNG_UNIX_SERVER_2.4.1.tar.gz

[root@tiger opt]# tar xvf OCSNG_UNIX_SERVER_2.4.1.tar.gz
2.2:安装
[root@tiger opt]# cd OCSNG_UNIX_SERVER_2.4.1/

[root@tiger OCSNG_UNIX_SERVER_2.4.1]# ./setup.sh

一路回车即可,如有错误请检查所有Perl模块是否安装正确

[/usr/share/ocsinventory-reports] ?/var/www/html/      #此处需要手工输入
最后这个提示说明没问题了
DON'T FORGET TO RESTART APACHE DAEMON !

Enjoy OCS Inventory NG ;-)
2.3:启动服务
[root@tiger ~]# chown -R apache. /var/www/html/

[root@tiger ~]# systemctl start httpd

[root@tiger ~]# systemctl enable httpd

[root@tiger ~]# systemctl start mysqld

[root@tiger ~]# systemctl enable  mysqld
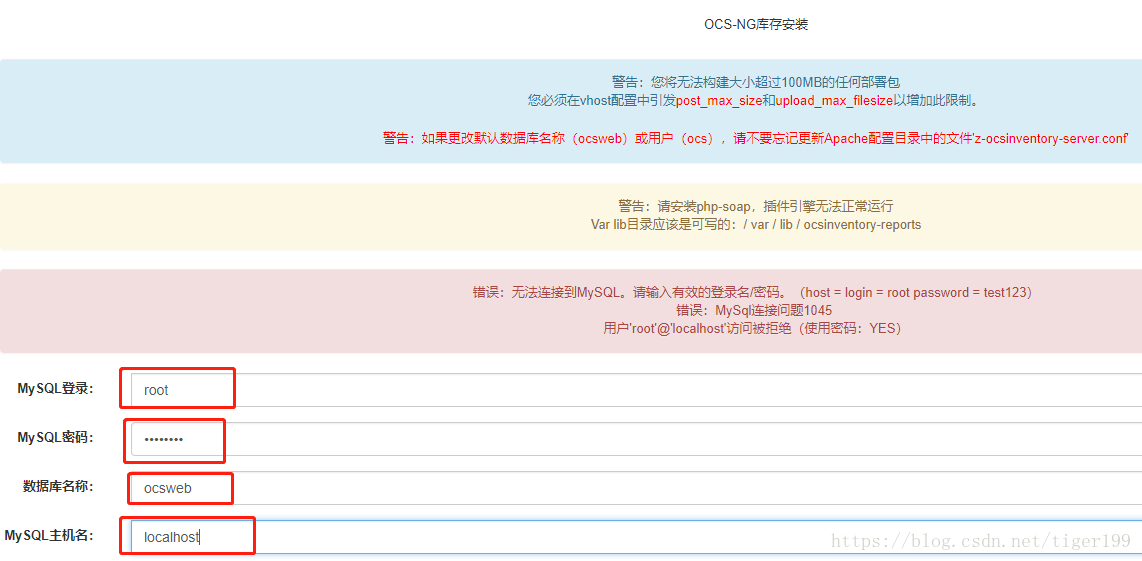
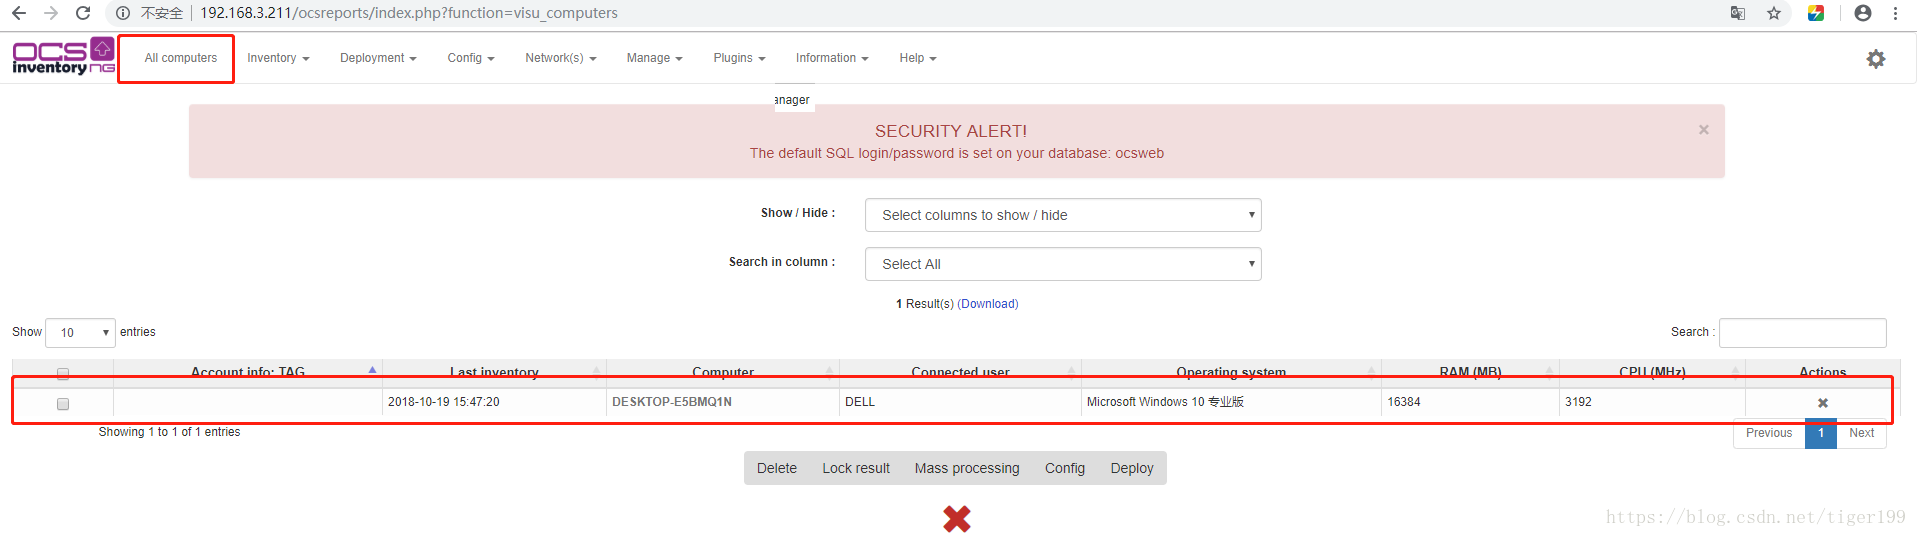
2.4:OCSNG配置
浏览器访问 http://ip/ocsreports 进行安装配置
输入mysql用户名root密码cherry123,如果是本机的mysql,地址是localhost
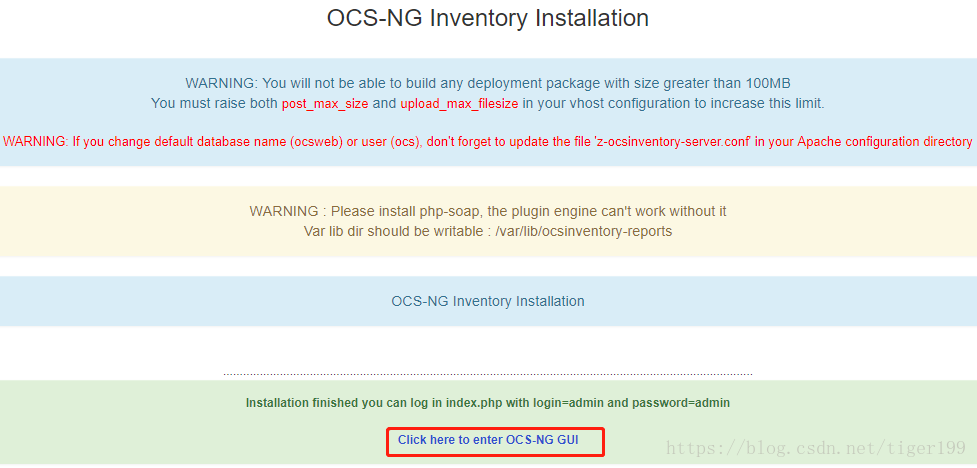
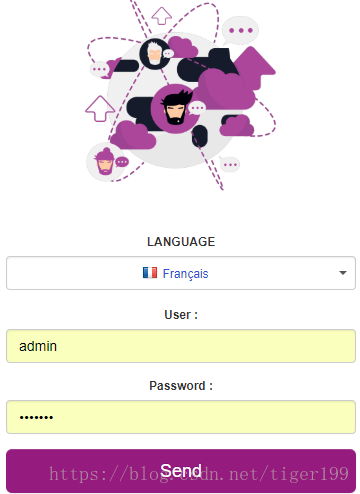
账号密码都是admin

安装完成后把install.php删除或重命名并修改默认密码,保证其安全性(默认/usr/share/ocsinventory-reports/ocsreports 下,如果安装时指定则在指定目录下,就我刚刚上面指定的文件夹)
[root@tiger ~]# cd /var/www/html/ocsreports/

[root@tiger ocsreports]#  mv install.php install.php.bak
三、安装客户端 (Windows 和 Linux)
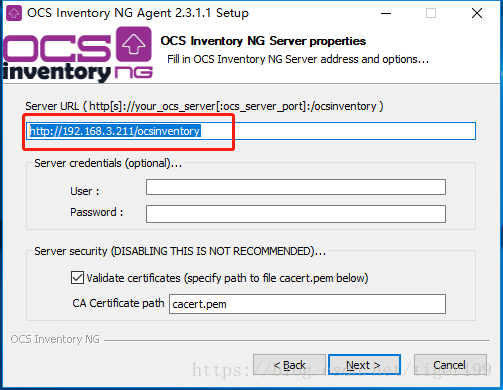
Windows的客户端: https://github.com/OCSInventory-NG/WindowsAgent/releases/download/2.3.1.1/OCSNG-Windows-Agent-2.3.1.1.zip
下载下来之后解压安装,点点点,点到server URL停,换个地址,别的都是点点点,一直到完成。
完成之后,点开刚刚的网页,就出现了客户端的电脑。
Linux的话我再开一个博客,链接在此:https://blog.csdn.net/tiger199/article/details/83185636
四、配置GLPI
4.1:下载解压安装包
[root@tiger ocsreports]# cd /opt/

[root@tiger opt]# wget https://github.com/glpi-project/glpi/releases/download/9.2.3/glpi-9.2.3.tgz

[root@tiger opt]# tar xvf glpi-9.2.3.tgz  -C /var/www/html/
4.2:更改属主权限
[root@tiger opt]# chown -R apache. /var/www/html/glpi/
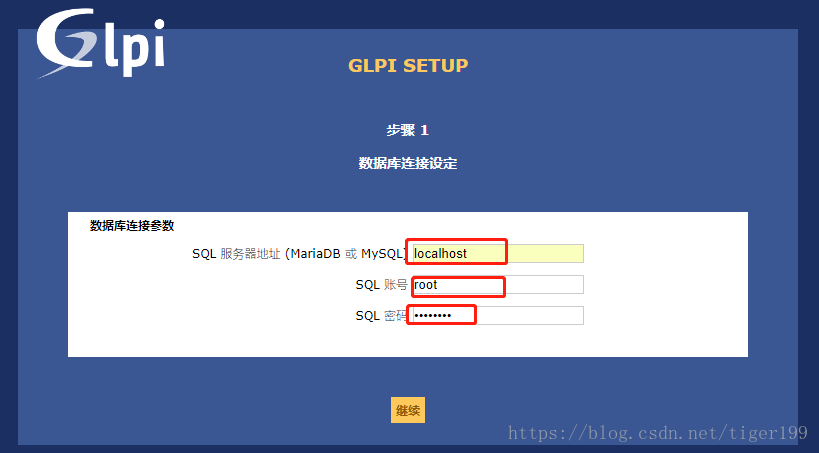
4.3:配置GLPI 浏览器访问http://serverip/glpi 进行安装配置

检测环境完成(确保结果全为绿色,如果有相应警告可忽略或手动安装),选择“继续”

连接数据库
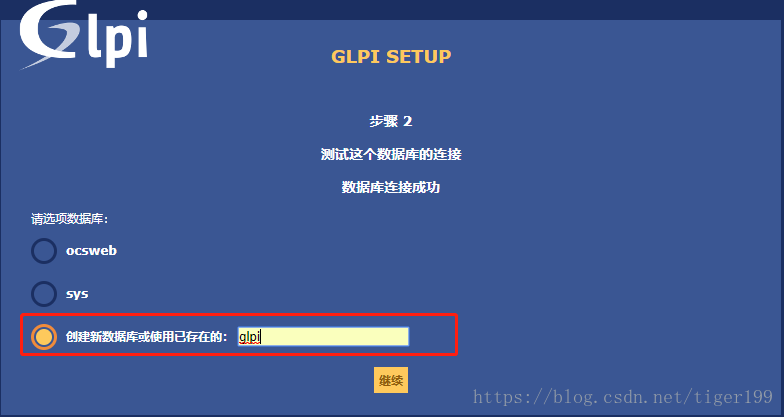
选择数据库,如果之前没有创建,选择“创建新数据库”并定义一个数据库名,点击“继续”
然后的东西,一顿猛点就得了
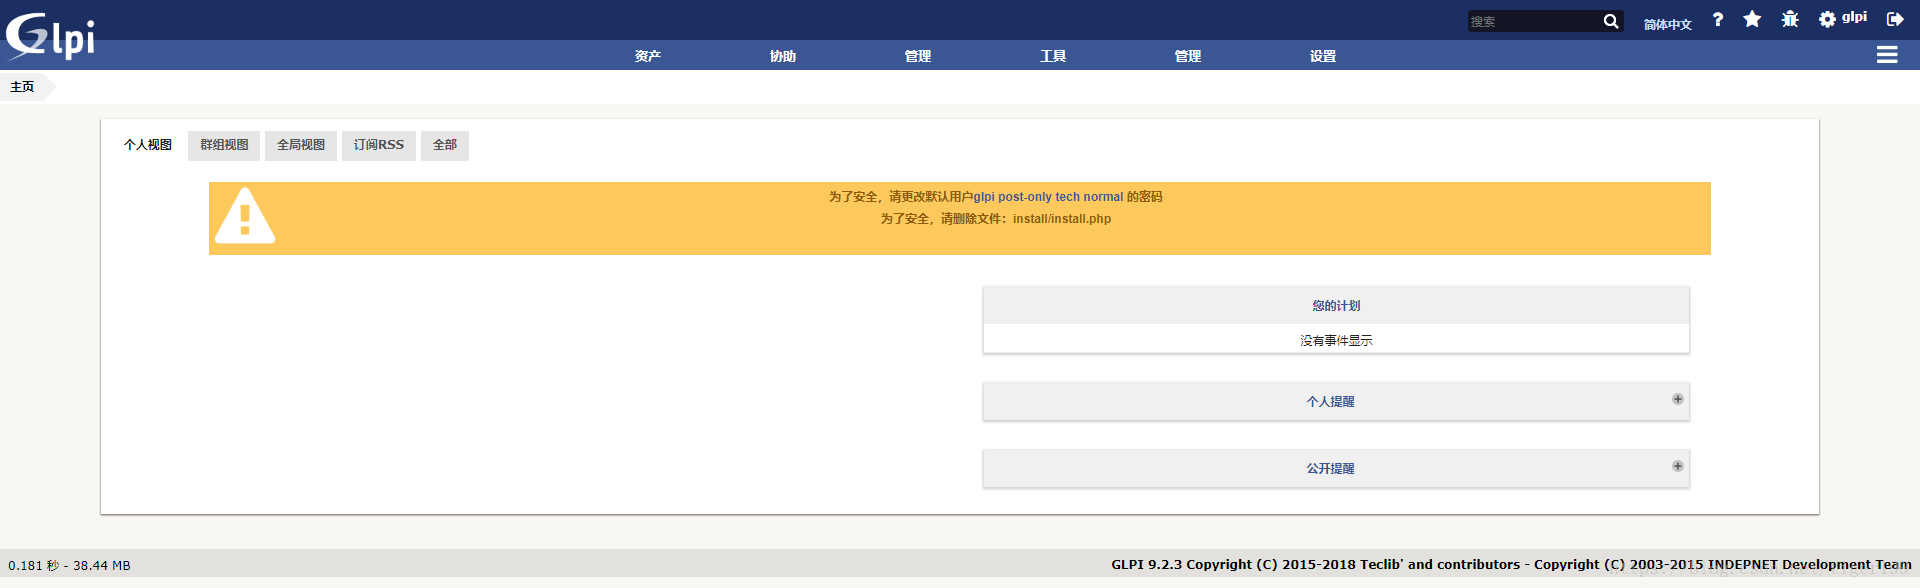
安装完成后把install.php删除或重命名并修改默认密码,保证其安全性
[root@tiger opt]# cd /var/www/html/glpi/install/

[root@tiger install]# mv install.php install.php.bak
五、配置OCSNG+GLPI协作,配个对。。。
5.1:下载解压安装包
[root@tiger install]# cd /opt/

[root@tiger opt]# wget https://github.com/pluginsGLPI/ocsinventoryng/releases/download/1.4.3/glpi-ocsinventoryng-1.4.3.tar.gz

[root@tiger opt]# tar xvf glpi-ocsinventoryng-1.4.3.tar.gz -C /var/www/html/glpi/plugins/
5.2:设置权限
[root@tiger opt]# chown -R apache. /var/www/html/glpi/plugins/ocsinventoryng/
5.3:设置GLPI为OCSNG方式
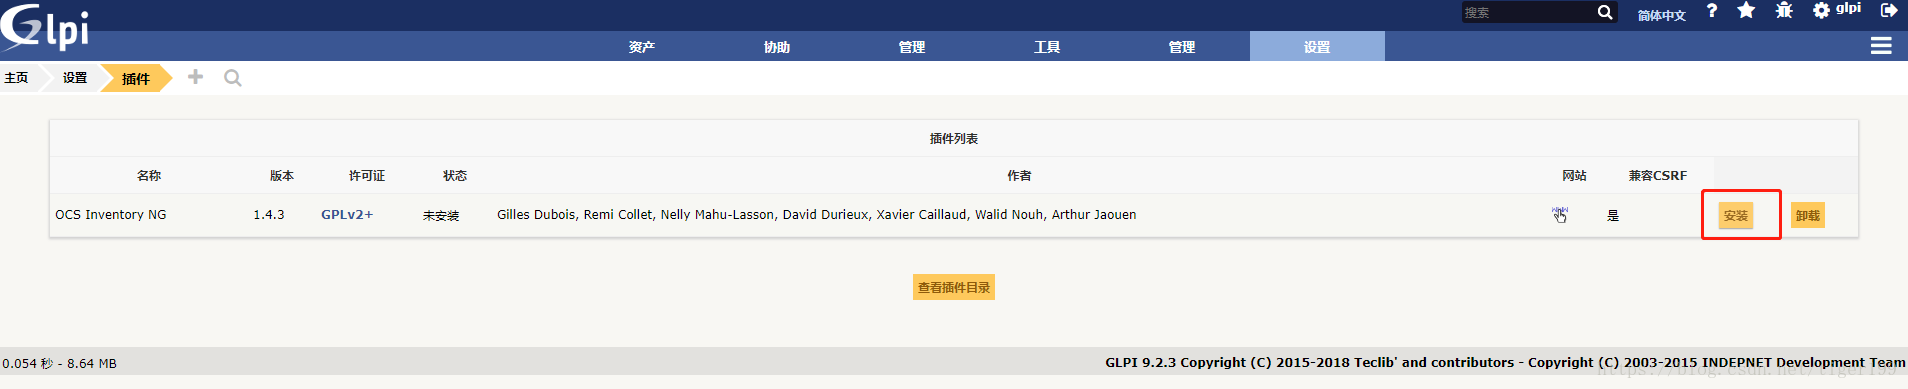
主页→设置→插件,安装OCSNG插件并启用
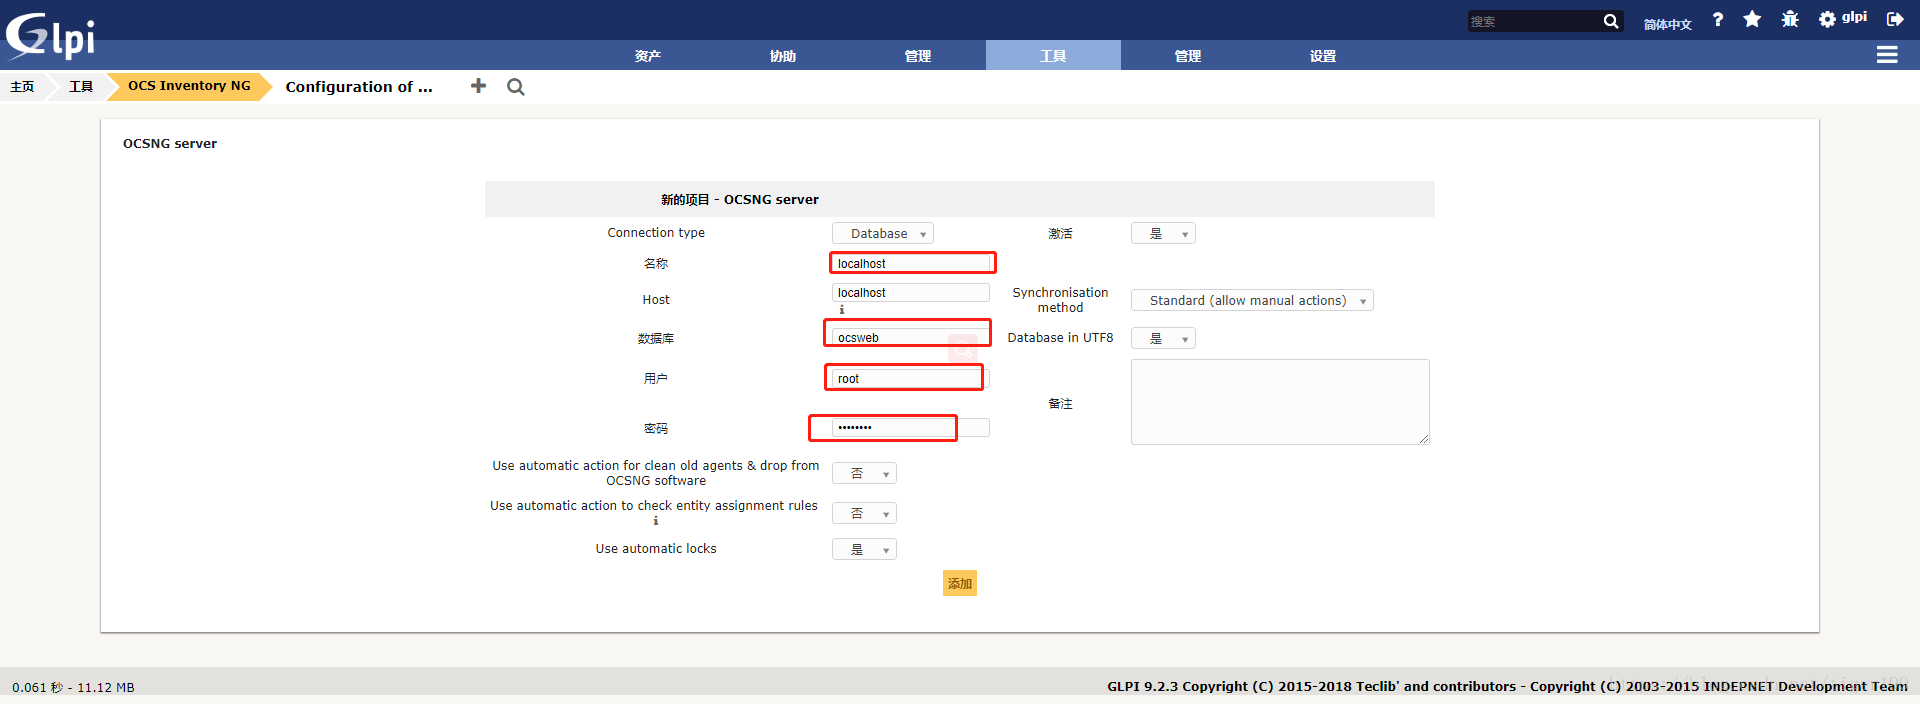
工具→OCSNG,添加OCSNG Server

连接OCSNG数据库
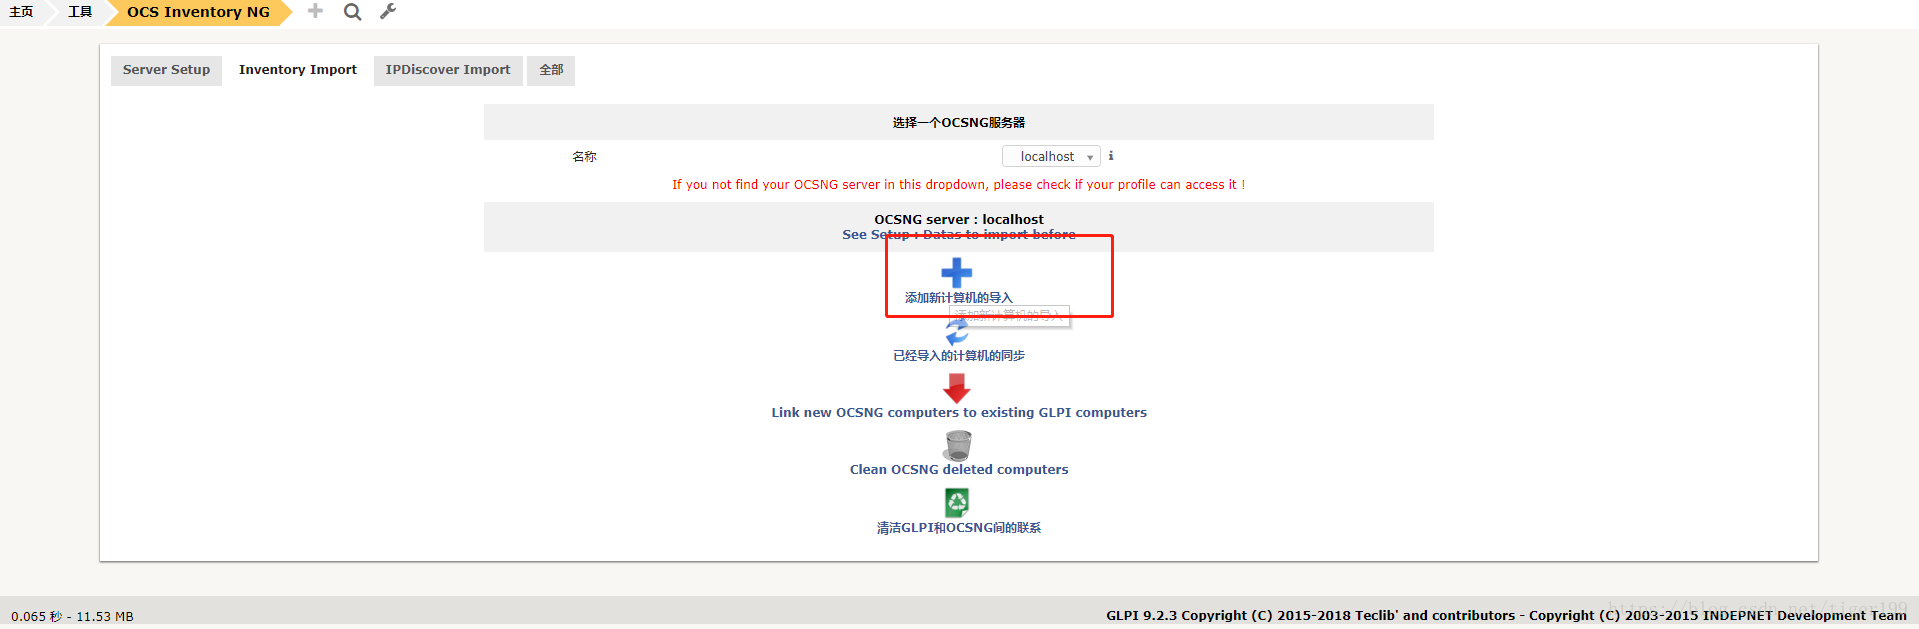
工具→OCS Inventory NG→Inventory Import→选择“添加新计算机的导入”
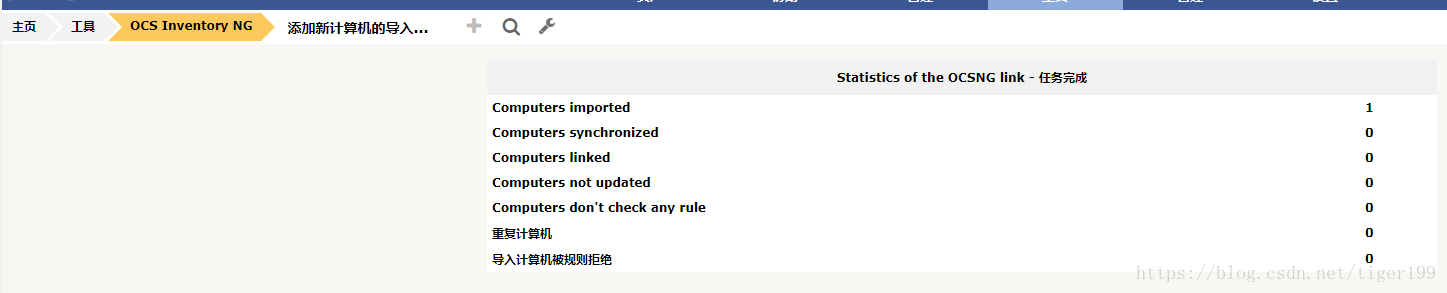
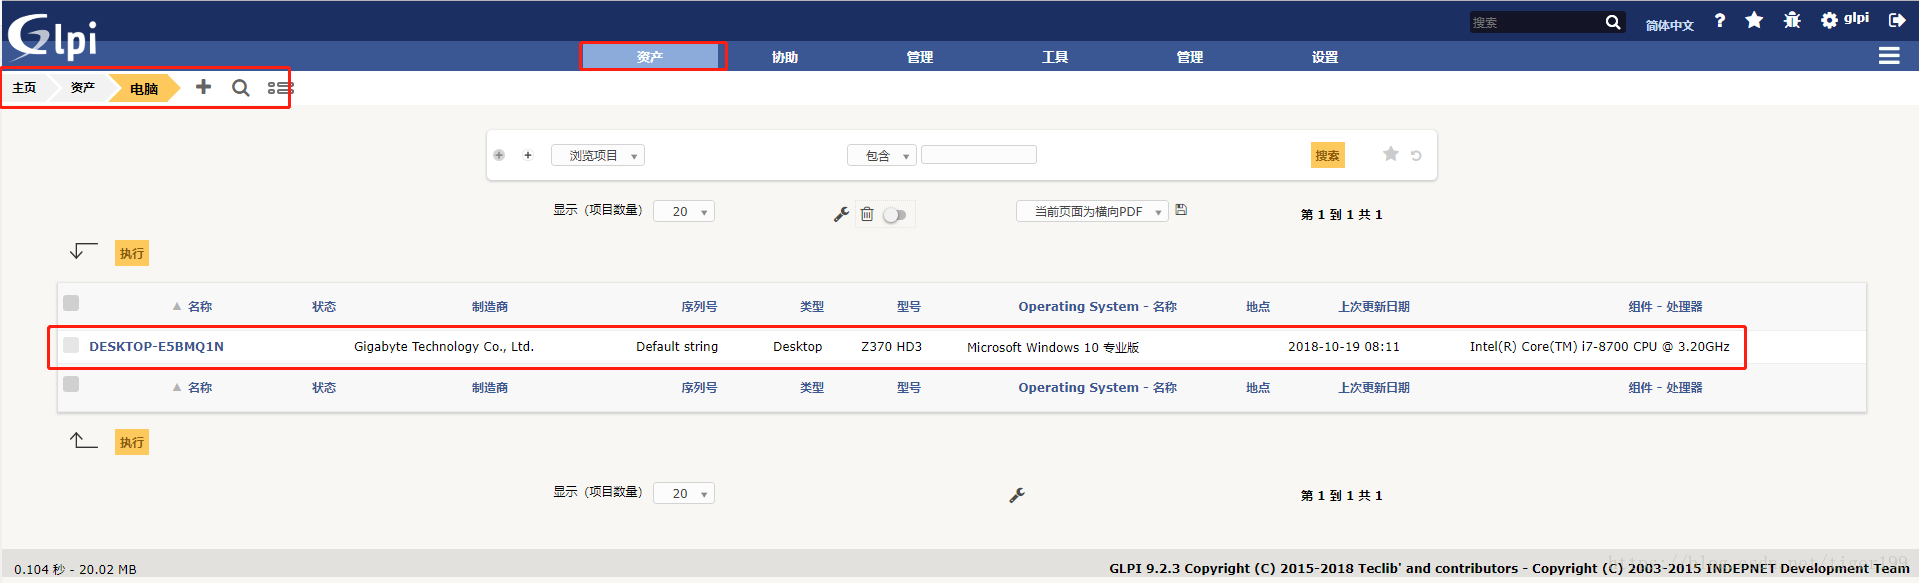
应该算是完了,还有的话我再补充。。。。