版权声明:本文为博主原创文章,未经博主允许不得转载。 https://blog.csdn.net/gongjianbo1992/article/details/78460984
先附上参考 http://blog.csdn.net/rznice/article/details/74466123
准备:1.ocilib,直接百度然后有个GitHub的链接,我这边下的是ocilib-4.4.0-windows.zip
2.VS2012/15/17均可
3.Oracle11g
一开始我是按照参考博客里面的方法完成的,不过后来经过小伙伴的验证,完全不需要那么麻烦的配置,这里把改进后的步骤写一下。
第一步:创建工程,因为我是64位数据库,所以我
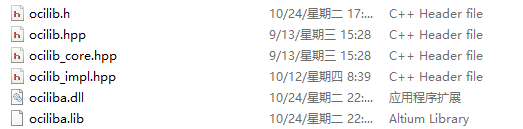
第二步:把刚才下载的ocilib解压,把里面include和lib64里面的文件复制到源文件目录下
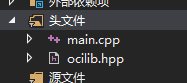
第三步:引用头文件进来,我用的hpp那个:
解决方案资源管理器视图里头文件上右键→添加→现有项→选择ocilib.hpp
第四步:主程序,把数据库的信息改成自己的就行了
#include <iostream>
#include <string>
#include "ocilib.hpp"
#pragma comment(lib,"ociliba.lib")

void err_handler(OCI_Error *err)
{
	printf("%s\n", OCI_ErrorGetString(err));
}

int main(void)
{
	OCI_Connection *cn;

	if (!OCI_Initialize(err_handler, NULL, OCI_ENV_DEFAULT))
	{
		return EXIT_FAILURE;
	}
	cn = OCI_ConnectionCreate("study", "gongjianbo", "qq654344883", OCI_SESSION_DEFAULT);
	printf("Server major    version : %i\n", OCI_GetServerMajorVersion(cn));
	printf("Server minor    version : %i\n", OCI_GetServerMinorVersion(cn));
	printf("Server revision version : %i\n\n", OCI_GetServerRevisionVersion(cn));
	printf("Connection      version : %i\n\n", OCI_GetVersionConnection(cn));
	OCI_Statement *st = OCI_StatementCreate(cn);
	//OCI_ExecuteStmt(st, "insert into test values(7,'oci','test')");
	//OCI_ExecuteStmt(st, "commit");
	OCI_ExecuteStmt(st, "select * from test");
	OCI_Resultset *rs = OCI_GetResultset(st);
	while (OCI_FetchNext(rs))
		printf("ID: %d, NAME: %s, MESSAGE: %s\n", OCI_GetInt(rs, 1), OCI_GetString(rs, 2), OCI_GetString(rs, 3));
	printf("\n%d row(s) fetched\n", OCI_GetRowCount(rs));
	OCI_StatementFree(st);
	OCI_ConnectionFree(cn);
	OCI_Cleanup();
	system("PAUSE");

	return EXIT_SUCCESS;
}
最后就是运行了:
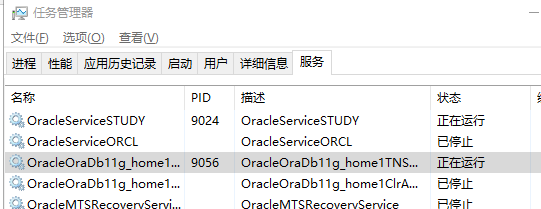
(先确定Oracle服务和监听已经开启了)
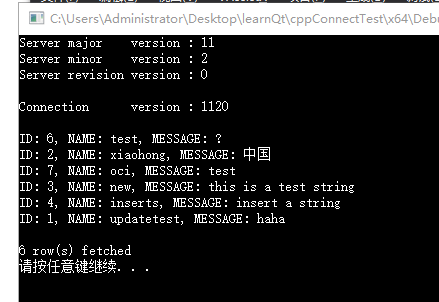
(汗,折腾了大半天居然这么容易就连上了)