PHP 7下载压缩文件编译记录
- PHP安装的时候容易会编译安装报错,这里自己整理笔记了一下。
- 这篇文章的安装步骤写的蛮好(http://www.jb51.net/article/109228.htm)
记录命令
1.下载php7
|
1
|
wget -O php7.
tar
.gz http:
//cn2
.php.net
/get/php-7
.1.1.
tar
.gz
/from/this/mirror
|
2.解压php7
|
1
|
tar
-xvf php7.
tar
.gz
|
3.进入php目录
|
1
|
cd
php-7.0.4
|
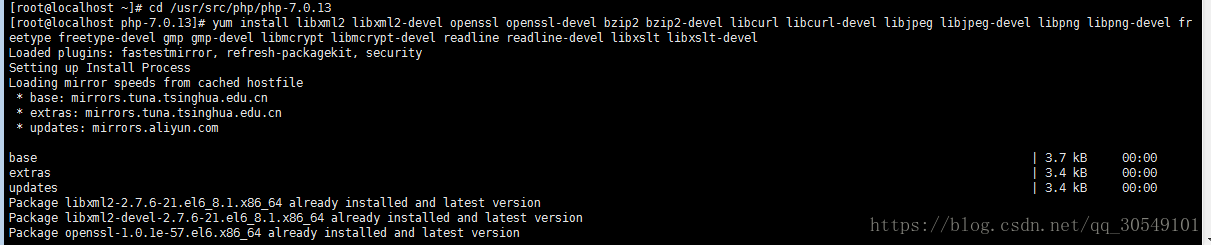
4.安装依赖包
|
1
2
|
# 直接复制下面一行(不包括本行)
yum
install
libxml2 libxml2-devel openssl openssl-devel
bzip2
bzip2
-devel libcurl libcurl-devel libjpeg libjpeg-devel libpng libpng-devel freetype freetype-devel gmp gmp-devel libmcrypt libmcrypt-devel readline readline-devel libxslt libxslt-devel
|
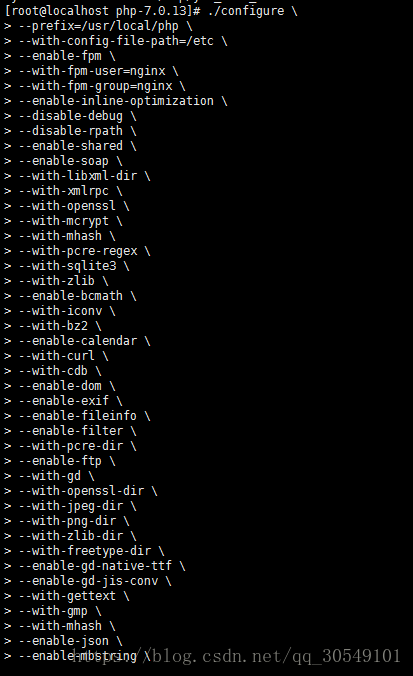
5.编译配置(如果出现错误,基本都是上一步的依赖文件没有安装所致)
嫌麻烦的可以从这一步起参考PHP官方安装说明:http://php.net/manual/zh/install.unix.nginx.php
|
1
2
3
4
5
6
7
8
9
10
11
12
13
14
15
16
17
18
19
20
21
22
23
24
25
26
27
28
29
30
31
32
33
34
35
36
37
38
39
40
41
42
43
44
45
46
47
48
49
50
51
52
53
54
55
56
57
58
59
60
61
62
63
64
65
66
67
68
|
.
/configure
\
--prefix=
/usr/local/php
\
--with-config-
file
-path=
/etc
\
--
enable
-fpm \
--with-fpm-user=nginx \
--with-fpm-group=nginx \
--
enable
-inline-optimization \
--disable-debug \
--disable-rpath \
--
enable
-shared \
--
enable
-soap \
--with-libxml-
dir
\
--with-xmlrpc \
--with-openssl \
--with-mcrypt \
--with-mhash \
--with-pcre-regex \
--with-sqlite3 \
--with-zlib \
--
enable
-bcmath \
--with-iconv \
--with-bz2 \
--
enable
-calendar \
--with-curl \
--with-cdb \
--
enable
-dom \
--
enable
-exif \
--
enable
-fileinfo \
--
enable
-filter \
--with-pcre-
dir
\
--
enable
-
ftp
\
--with-gd \
--with-openssl-
dir
\
--with-jpeg-
dir
\
--with-png-
dir
\
--with-zlib-
dir
\
--with-freetype-
dir
\
--
enable
-gd-native-ttf \
--
enable
-gd-jis-conv \
--with-gettext \
--with-gmp \
--with-mhash \
--
enable
-json \
--
enable
-mbstring \
--
enable
-mbregex \
--
enable
-mbregex-backtrack \
--with-libmbfl \
--with-onig \
--
enable
-pdo \
--with-mysqli=mysqlnd \
--with-pdo-mysql=mysqlnd \
--with-zlib-
dir
\
--with-pdo-sqlite \
--with-readline \
--
enable
-session \
--
enable
-shmop \
--
enable
-simplexml \
--
enable
-sockets \
--
enable
-sysvmsg \
--
enable
-sysvsem \
--
enable
-sysvshm \
--
enable
-wddx \
--with-libxml-
dir
\
--with-xsl \
--
enable
-zip \
--
enable
-mysqlnd-compression-support \
--with-pear \
--
enable
-opcache
|
6.正式安装
|
1
|
make
&&
make
install
|

7.配置环境变量
|
1
|
vi
/etc/profile
|
在末尾追加
|
1
2
|
PATH=$PATH:
/usr/local/php/bin
export
PATH
|
执行命令使得改动立即生效
|
1
|
source
/etc/profile
|
8.配置php-fpm
|
1
2
3
4
5
|
cp
php.ini-production
/etc/php
.ini
cp
/usr/local/php/etc/php-fpm
.conf.default
/usr/local/php/etc/php-fpm
.conf
cp
/usr/local/php/etc/php-fpm
.d
/www
.conf.default
/usr/local/php/etc/php-fpm
.d
/www
.conf
cp
sapi
/fpm/init
.d.php-fpm
/etc/init
.d
/php-fpm
chmod
+x
/etc/init
.d
/php-fpm
|
9.启动php-fpm
|
1
|
/etc/init
.d
/php-fpm
start
|

- 启动NGINX

访问PHP文件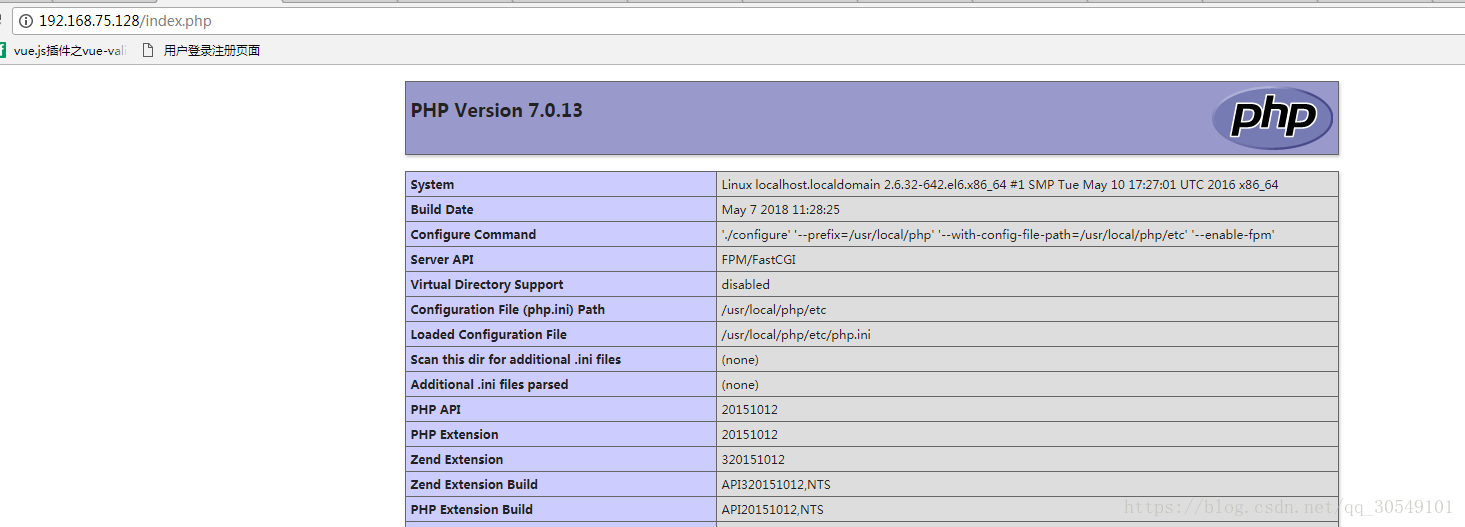
- NGINX的安装步骤 直接可以按照菜鸟教程的安装步骤和配置文件修改就可以了。
- (http://www.runoob.com/linux/nginx-install-setup.html点击打开链接)
一、安装编译工具及库文件
yum -y install make zlib zlib-devel gcc-c++ libtool openssl openssl-devel
二、首先要安装 PCRE
PCRE 作用是让 Nginx 支持 Rewrite 功能。
1、下载 PCRE 安装包,下载地址: http://downloads.sourceforge.net/project/pcre/pcre/8.35/pcre-8.35.tar.gz
[root@bogon src]# wget http://downloads.sourceforge.net/project/pcre/pcre/8.35/pcre-8.35.tar.gz

2、解压安装包:
[root@bogon src]# tar zxvf pcre-8.35.tar.gz
3、进入安装包目录
[root@bogon src]# cd pcre-8.35
4、编译安装
[root@bogon pcre-8.35]# ./configure
[root@bogon pcre-8.35]# make && make install
5、查看pcre版本
[root@bogon pcre-8.35]# pcre-config --version

安装 Nginx
1、下载 Nginx,下载地址:http://nginx.org/download/nginx-1.6.2.tar.gz
[root@bogon src]# wget http://nginx.org/download/nginx-1.6.2.tar.gz
 2、解压安装包
[root@bogon src]# tar zxvf nginx-1.6.2.tar.gz
3、进入安装包目录
[root@bogon src]# cd nginx-1.6.2
4、编译安装
[root@bogon nginx-1.6.2]# ./configure --prefix=/usr/local/webserver/nginx --with-http_stub_status_module --with-http_ssl_module --with-pcre=/usr/local/src/pcre-8.35
[root@bogon nginx-1.6.2]# make
[root@bogon nginx-1.6.2]# make install
5、查看nginx版本
[root@bogon nginx-1.6.2]# /usr/local/webserver/nginx/sbin/nginx -v

到此,nginx安装完成。
Nginx 配置
创建 Nginx 运行使用的用户 www:
[root@bogon conf]# /usr/sbin/groupadd www
[root@bogon conf]# /usr/sbin/useradd -g www www
配置nginx.conf ,将/usr/local/webserver/nginx/conf/nginx.conf替换为以下内容
[root@bogon conf]#  cat /usr/local/webserver/nginx/conf/nginx.conf

user www www;
worker_processes 2; #设置值和CPU核心数一致
error_log /usr/local/webserver/nginx/logs/nginx_error.log crit; #日志位置和日志级别
pid /usr/local/webserver/nginx/nginx.pid;
#Specifies the value for maximum file descriptors that can be opened by this process.
worker_rlimit_nofile 65535;
events
{
  use epoll;
  worker_connections 65535;
}
http
{
  include mime.types;
  default_type application/octet-stream;
  log_format main  '$remote_addr - $remote_user [$time_local] "$request" '
               '$status $body_bytes_sent "$http_referer" '
               '"$http_user_agent" $http_x_forwarded_for';

#charset gb2312;

  server_names_hash_bucket_size 128;
  client_header_buffer_size 32k;
  large_client_header_buffers 4 32k;
  client_max_body_size 8m;

  sendfile on;
  tcp_nopush on;
  keepalive_timeout 60;
  tcp_nodelay on;
  fastcgi_connect_timeout 300;
  fastcgi_send_timeout 300;
  fastcgi_read_timeout 300;
  fastcgi_buffer_size 64k;
  fastcgi_buffers 4 64k;
  fastcgi_busy_buffers_size 128k;
  fastcgi_temp_file_write_size 128k;
  gzip on;
  gzip_min_length 1k;
  gzip_buffers 4 16k;
  gzip_http_version 1.0;
  gzip_comp_level 2;
  gzip_types text/plain application/x-javascript text/css application/xml;
  gzip_vary on;

  #limit_zone crawler $binary_remote_addr 10m;
 #下面是server虚拟主机的配置
 server
  {
    listen 80;#监听端口
    server_name localhost;#域名
    index index.html index.htm index.php;
    root /usr/local/webserver/nginx/html;#站点目录
      location ~ .*\.(php|php5)?$
    {
      #fastcgi_pass unix:/tmp/php-cgi.sock;
      fastcgi_pass 127.0.0.1:9000;
      fastcgi_index index.php;
      include fastcgi.conf;
    }
    location ~ .*\.(gif|jpg|jpeg|png|bmp|swf|ico)$
    {
      expires 30d;
  # access_log off;
    }
    location ~ .*\.(js|css)?$
    {
      expires 15d;
   # access_log off;
    }
    access_log off;
  }

}
检查配置文件ngnix.conf的正确性命令:
[root@bogon conf]# /usr/local/webserver/nginx/sbin/nginx -t

启动 Nginx
Nginx 启动命令如下:
[root@bogon conf]# /usr/local/webserver/nginx/sbin/nginx

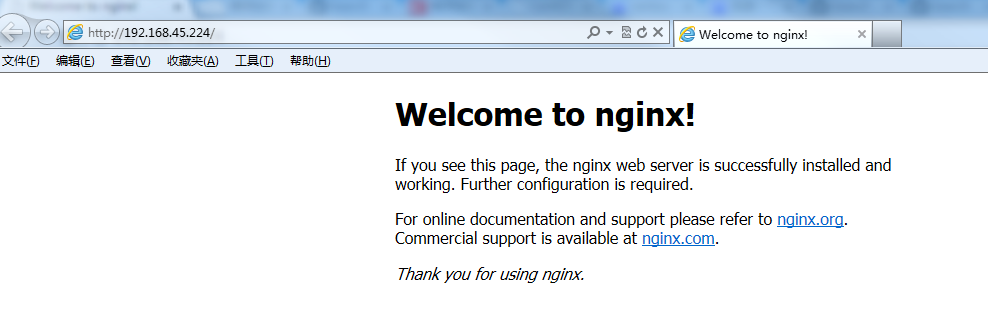
访问站点
从浏览器访问我们配置的站点ip:
Nginx 其他命令
以下包含了 Nginx 常用的几个命令:
/usr/local/webserver/nginx/sbin/nginx -s reload            # 重新载入配置文件
/usr/local/webserver/nginx/sbin/nginx -s reopen            # 重启 Nginx
/usr/local/webserver/nginx/sbin/nginx -s stop              # 停止 Nginx