(迁移自旧博客2017-04-10)
很多人想要一个自己的博客,不管是写文章还是技术分享,hexo都是不错的选择。hexo是一款基于Node.js的静态博客框架,可能第一次搭建起来会有很多坑,不过还是很简单的。下面是搭建步骤。
配置环境
安装Node
用来生成静态页面,到Node.js官网下载相应平台的最新版本,一路安装即可。
安装git
Git是一款免费、开源的分布式版本控制系统,用于敏捷高效地处理任何或小或大的项目。安装后可以把本地的hexo内容提交到github上去。

申请GitHub
没有帐号的可以注册,已经有的请自动略过。需要注意的是用户名一定要起自己喜欢的,因为后期用用户名作域名。
对于前端开发者来说,以上三者是开发必备,还不会的可以去网上看看教程。
git教程推荐廖雪峰的博客。
正式安装Hexo
装好node和git之后,创建一个blog文件夹,用来存放Hexo的配置文件。然后进入blog安装Hexo。打开bash或者cmd,进入blog文件夹,在命令行中输入
$ sudo npm install hexo-cli -g下面就可以生成博客,上传到github上了。
执行init命令初始化hexo,命令:
hexo init生成静态页面
hexo generate(hexo g也可以)本地启动
启动本地服务,进行文章预览调试,命令:
hexo server (hexo s 也可以)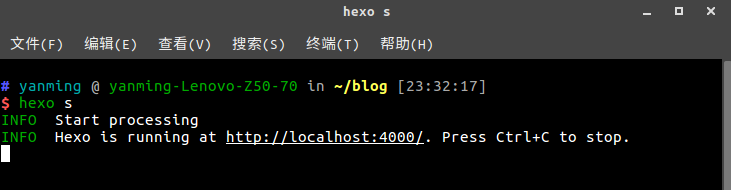
浏览器输入http://localhost:4000
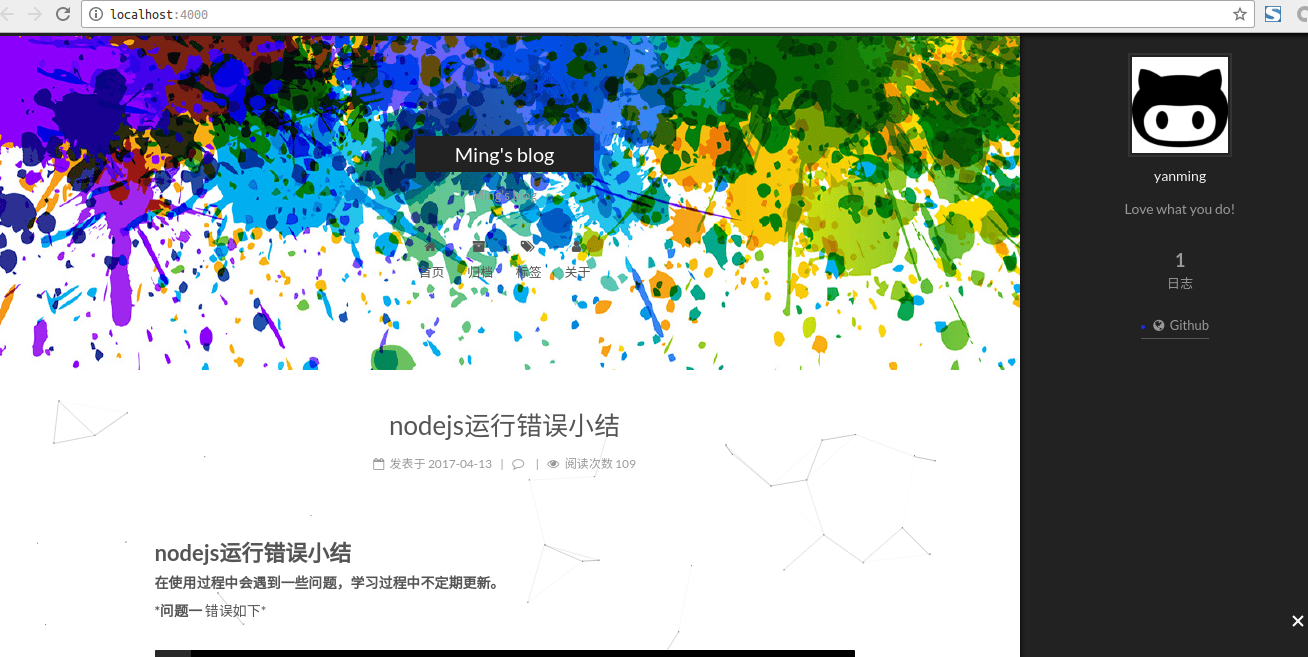
如果能跑起来就基本没问题。当然你的博客刚打开不会这么炫酷,我的是后期配置好的,想要博客更好看就从第一步慢慢做起吧。
接下来让博客跑在guthub服务器上。
配置github
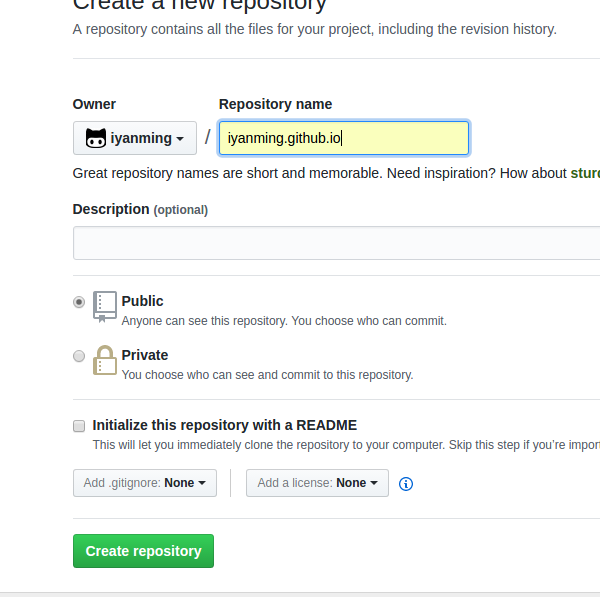
建立Repository
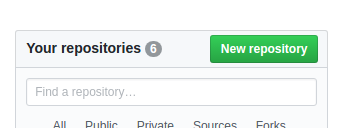
建立与你用户名对应的仓库,仓库名必须为【your_user_name.github.io】,固定写法。
接下来写好文章就能发布到 Github 上了,第一次发布需要安装hexo-deployer-git自动部署发布工具。
$ npm install hexo-deployer-git --save接下来提交博客,博客网址即为 username.github.io
$ hexo d -g以后每次写完文章都是这么提交。
写博客以及基本配置
下载个好看的主题:(当然可以自己搜好多其他主题)
$ git clone https://github.com/iissnan/hexo-theme-next themes/next
我们对博客修改相应的配置,我们用到_config.yml文件,下面是该文件的默认参数信息:
# Hexo Configuration
## Docs: https://hexo.io/docs/configuration.html
## Source: https://github.com/hexojs/hexo/

# Site
title: # The title of your website
subtitle: # The subtitle of your website
description: # The description of your website
author: # Your name
language: # The language of your website
timezone:

# URL
## If your site is put in a subdirectory, set url as 'http://yoursite.com/child' and root as '/child/'
url: http://yoursite.com/child
root: /
permalink: :year/:month/:day/:title/
permalink_defaults:

# Directory
source_dir: source
public_dir: public
tag_dir: tags
archive_dir: archives
category_dir: categories
code_dir: downloads/code
i18n_dir: :lang
skip_render:

# Writing
new_post_name: :title.md # File name of new posts
default_layout: post
titlecase: false # Transform title into titlecase
external_link: true # Open external links in new tab
filename_case: 0
render_drafts: false
post_asset_folder: false
relative_link: false
future: true
highlight:
  enable: true
  line_number: true
  auto_detect: false
  tab_replace:

# Category & Tag
default_category: uncategorized
category_map:
tag_map:

# Date / Time format
## Hexo uses Moment.js to parse and display date
## You can customize the date format as defined in
## http://momentjs.com/docs/#/displaying/format/
date_format: YYYY-MM-DD
time_format: HH:mm:ss

# Pagination
## Set per_page to 0 to disable pagination
per_page: 10
pagination_dir: page

# Extensions
## Plugins: https://hexo.io/plugins/
## Themes: https://hexo.io/themes/
theme: landscape

# Deployment
## Docs: https://hexo.io/docs/deployment.html
deploy:
  type:
不要被吓到,需要配置的只有几项,英文好的同学轻松搞定。
修改网站信息:
title: 我的博客
subtitle: the stack of it nerds
description: 描述
author: 你的名字
language: zh-CN
timezone: Asia/Shanghai
配置部署:
(一定要修改)
theme: next
deploy:
  type: git
  repo: https://github.com/iyanming/iyanming.github.io.git
想要美化的朋友可以到Next主题官网查看教程,在主题配置文件下改参数。
终于到了激动人心的时候了!!!
在 /source/_posts 下创建你的第一篇博客吧。
文章是后缀为md的文件,用markdown书写博客,推荐在线编辑网站小书匠,可导出到本地,然后执行hexo d -g提交博客。

然后你们可能不想用github上username.github.io这个域名,那接下来到腾讯云申请个域名和服务器,学生有优惠一块钱一个月,还是很实惠的。
域名可以起自己喜欢的名字,当然是没有被占用的情况下。
抢到了之后就要开始域名的绑定了:
首先对域名进行解析

然后在source文件夹里创建CNAME文件,不带任何后缀,里面添加你的域名信息,如:iyanming.cn(注意前面不添加http://)
然后hexo d -g上传到github。这样,其他人就可以通过访问你的域名地址进入你的博客了。
这样,博客搭建基本完成。
当然在搭建过程中可能会有bug或者会在某一步卡住,多思考,多百度,其实还是很容易的。