整体的流程如下:
- 安装maven
- 配置maven
- 在eclipse里面安装maven
- 新建一个maven工程
- 打开 pom.xml 文件,添加 jfinal-undertow 依赖
- 创建 DemoConfig 文件
- 创建 HelloController 类文件
- 启动项目
1.&&2.maven的安装以及配置详细
3.在eclipse里面安装maven


配置maven apache-maven-3.6.0\conf\settings.xml

4.新建maven工程


5.打开 pom.xml 文件,添加 jfinal-undertow 依赖
打开 pom.xml 文件,在其中添加如下依赖
<dependency>
    <groupId>com.jfinal</groupId>
    <artifactId>jfinal-undertow</artifactId>
    <version>1.4</version>
</dependency>
注意插入的位置

6.在src/main下创建一个java文件夹,然后创建 MyConfig类 文件

import com.jfinal.config.*;

public class MyConfig extends JFinalConfig {

    public static void main(String[] args) {
        UndertowServer.start(MyConfig.class, 80, true);
    }

    public void configConstant(Constants me) {
       me.setDevMode(true);
    }

    public void configRoute(Routes me) {
       me.add("/hello", HelloController.class);
    }

    public void configEngine(Engine me) {}
    public void configPlugin(Plugins me) {}
    public void configInterceptor(Interceptors me) {}
    public void configHandler(Handlers me) {}
}
7.创建 HelloController 类文件
import com.jfinal.core.Controller;
public class HelloController extends Controller{
public void index() {
renderText("昨夜西风凋碧树。独上高楼,望尽天涯路。\r\n" +
"衣带渐宽终不悔,为伊消得人憔悴。\r\n" +
"众里寻她千百度,蓦然回首,那人却在灯火阑珊处。");
}
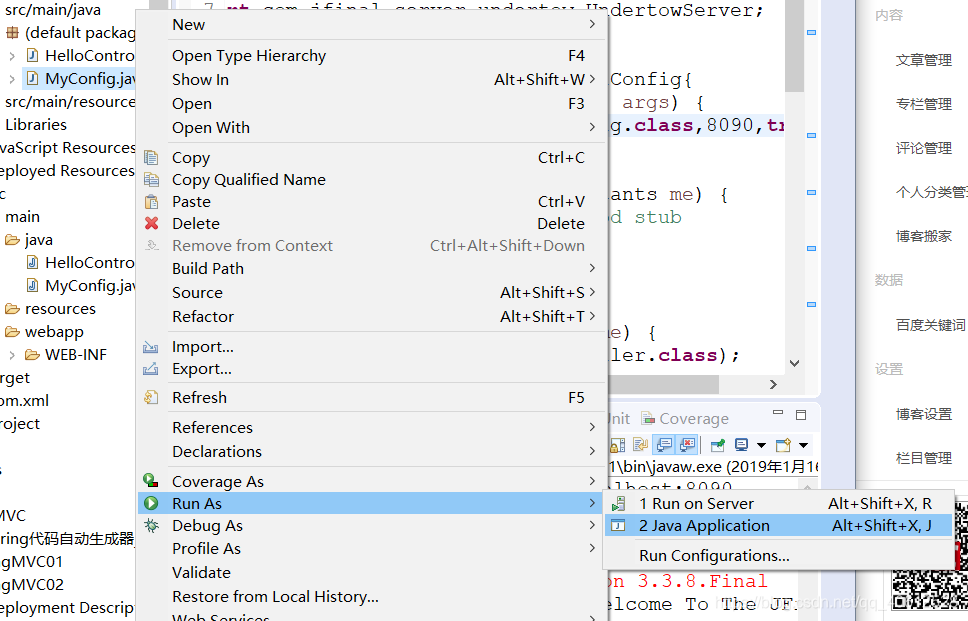
}8.启动项目
9.运行结果

10.网页效果
