与业务结耦
[root@server2 ~]# yum install gcc -y
[root@server2 ~]# tar zxf redis-3.0.6.tar.gz
[root@server2 ~]# cd redis-3.0.6
[root@server2 redis-3.0.6]# make
cd src && make all
[root@server2 redis-3.0.6]# cd utils/
[root@server2 utils]# ./install_server.sh
Welcome to the redis service installer
This script will help you easily set up a running redis server

Please select the redis port for this instance: [6379]
Selecting default: 6379
Please select the redis config file name [/etc/redis/6379.conf]
Selected default - /etc/redis/6379.conf
Please select the redis log file name [/var/log/redis_6379.log]
Selected default - /var/log/redis_6379.log
Please select the data directory for this instance [/var/lib/redis/6379]
Selected default - /var/lib/redis/6379
Please select the redis executable path [/usr/local/bin/redis-server]
Selected config:
Port           : 6379
Config file    : /etc/redis/6379.conf
Log file       : /var/log/redis_6379.log
Data dir       : /var/lib/redis/6379
Executable     : /usr/local/bin/redis-server
Cli Executable : /usr/local/bin/redis-cli
Is this ok? Then press ENTER to go on or Ctrl-C to abort.
Copied /tmp/6379.conf => /etc/init.d/redis_6379
Installing service...
Successfully added to chkconfig!
Successfully added to runlevels 345!
Starting Redis server...
Installation successful!
[root@server2 utils]# netstat -antlup | grep  :6379
tcp        0      0 0.0.0.0:6379                0.0.0.0:*                   LISTEN      4782/redis-server *
tcp 0 0 :::6379 :::* LISTEN 4782/redis-server * 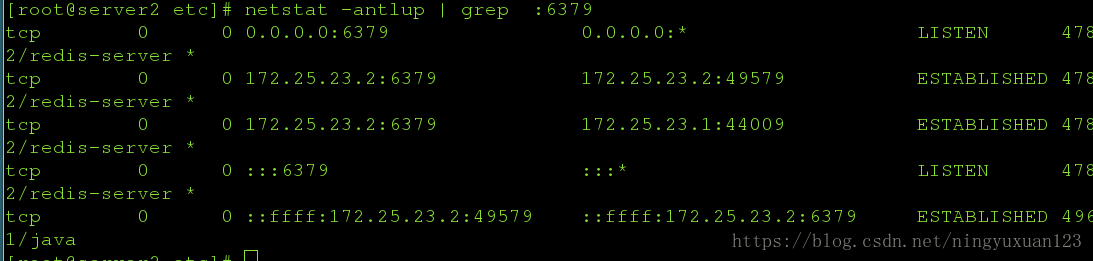
[root@server2 ~]# cd /etc/logstash/conf.d/
[root@server2 conf.d]# vim es.conf

logstash started.
input {
        redis {
                host => "172.25.23.2"
                port => 6379
                data_type => "list"
                key => "logstash:redis"
        }
}

output {
        elasticsearch {
                hosts => ["172.25.23.1"]
                index => "nginx-%{+YYYY.MM.dd}"
        }

}

打入后台
[root@server2 conf.d]# /etc/init.d/logstash start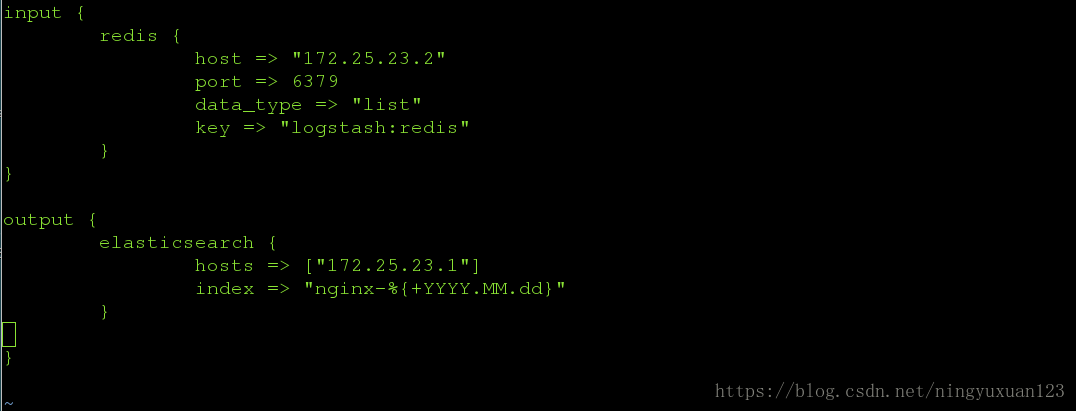
server3:
[root@server3 ~]# rpm -ivh kibana-4.5.1-1.x86_64.rpm
Preparing...                ########################################### [100%]
   1:kibana                 ########################################### [100%]
[root@server3 ~]# cd /opt/kibana/config/
[root@server3 config]# ls
kibana.yml
[root@server3 config]# vim kibana.yml
[root@server3 config]# /etc/init.d/kibana start
kibana started
[root@server3 config]# netstat -antlup | grep 5601
tcp 0 0 0.0.0.0:5601 0.0.0.0:* LISTEN 1835/node 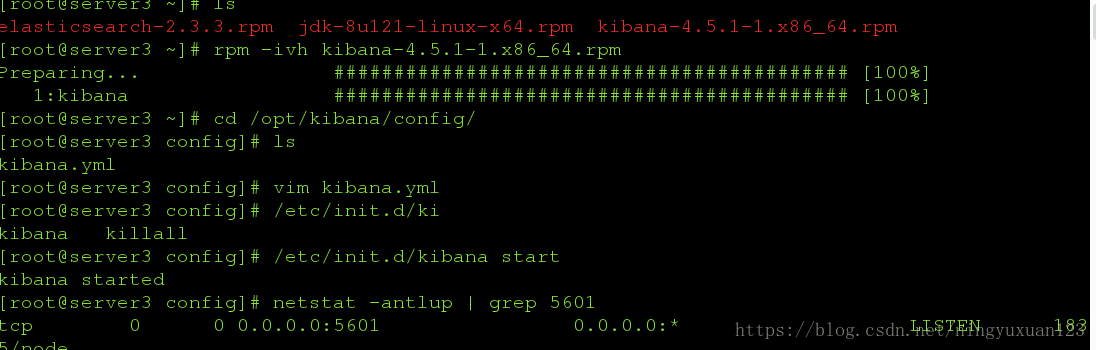
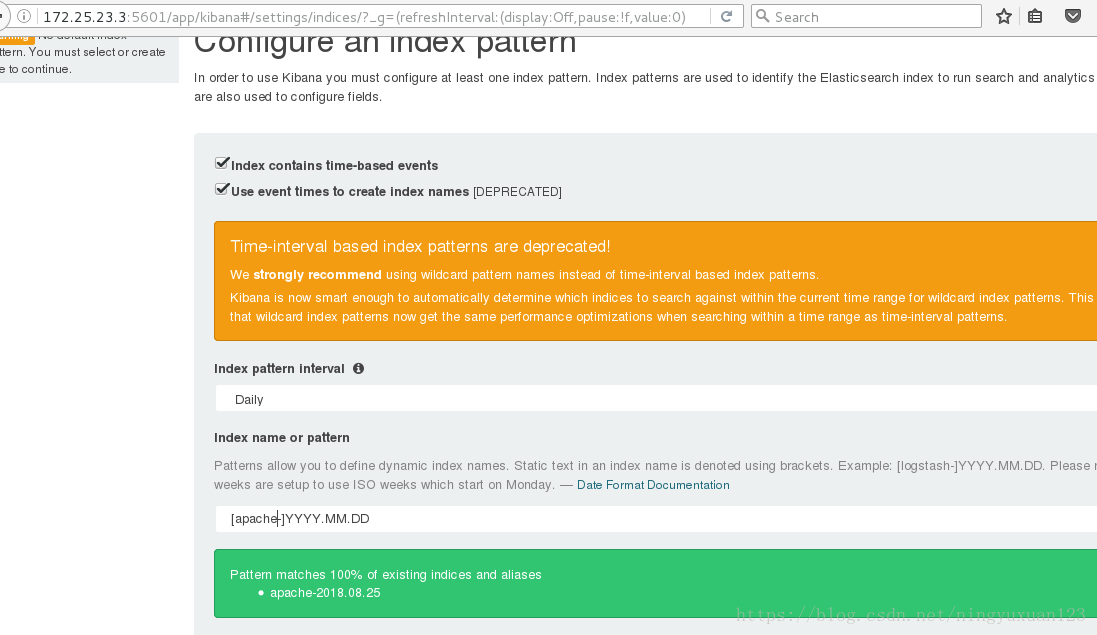
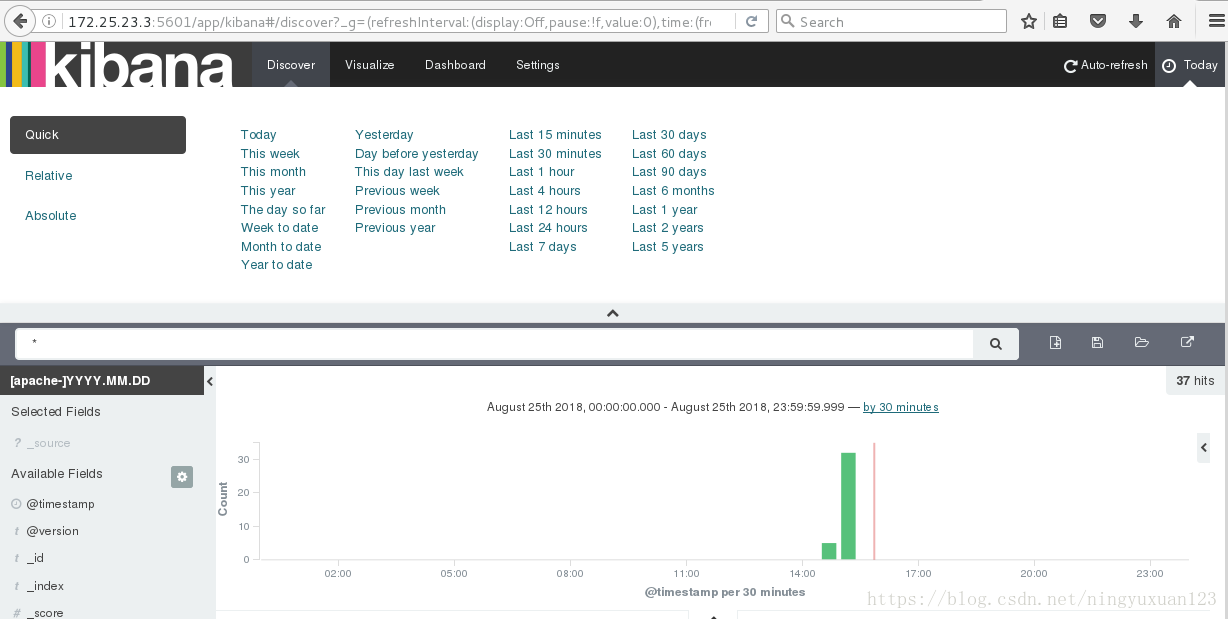
浏览器查看apache的信息
server1:
安装nginx
yum install nginx-1.8.0-1.el6.ngx.x86_64.rpm
cd /etc/logstash/conf.d/
cp message.conf  nginx.conf
vim nginx.conf
input {
        file {
                path => "/var/log/nginx/access.log"
                start_position => "beginning"
        }

}
filter {
        grok {
                match => { "message" => "%{COMBINEDAPACHELOG} %{QS:x_forwarded_for}" }
        }
}

output {
        redis {
                host => ["172.25.23.2"]
                port => 6379
                data_type => "list"
                key => "logstash:redis"
        }
}
将目录除了nginx.conf以外的文件都移出,避免影响
mv apache.conf cs.conf es.conf message.conf syslog.conf test.conf /mnt

chmod 644 /var/log/nginx/access.log
打入后台
/etc/init.d/nginx start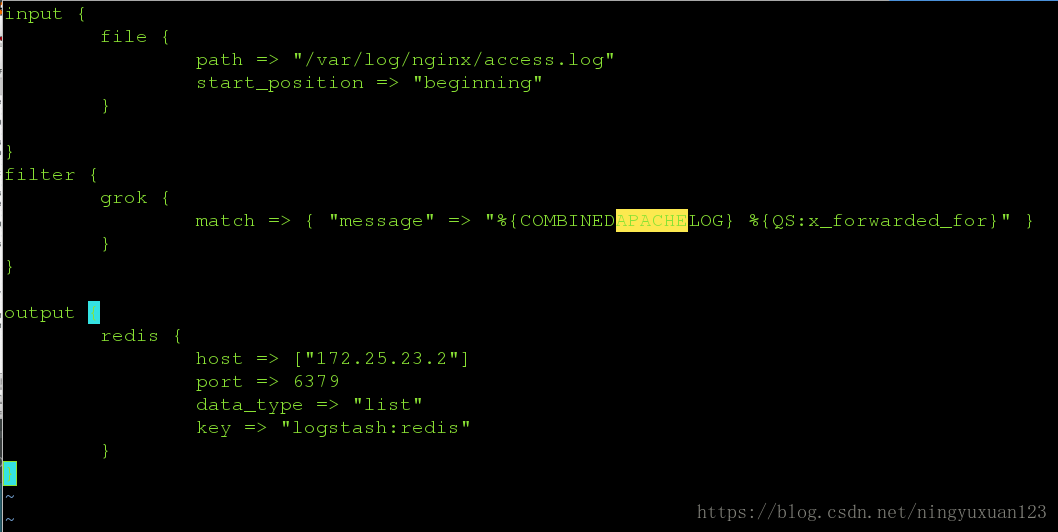
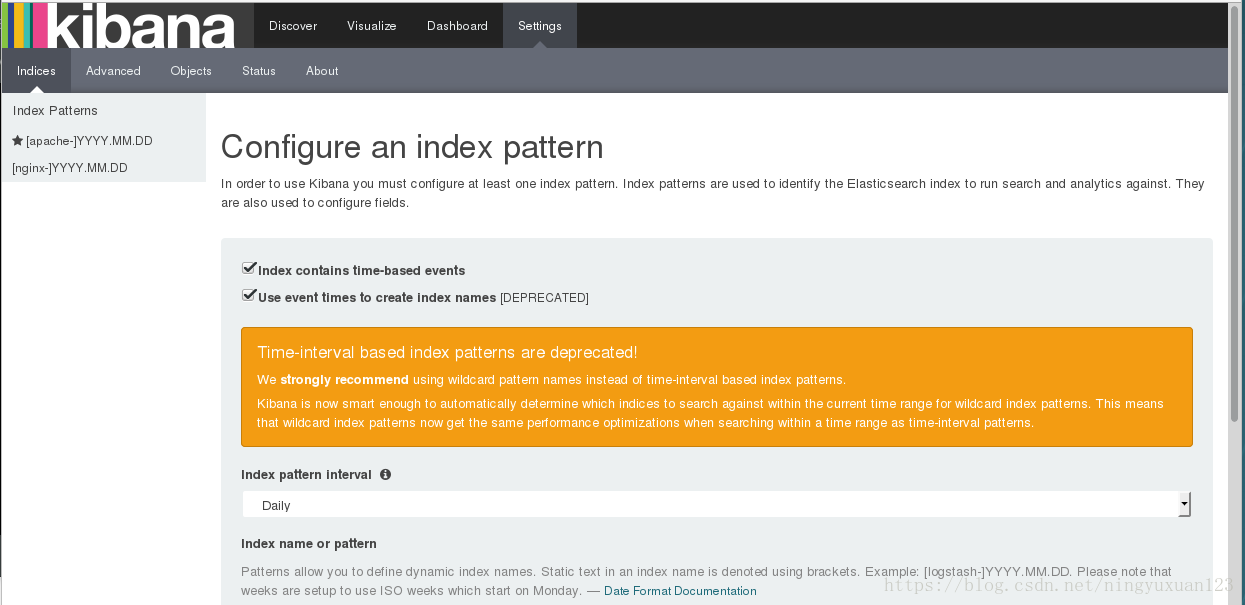
浏览器上操作,将nginx信息表示出来
http://172.25.23.3:5601
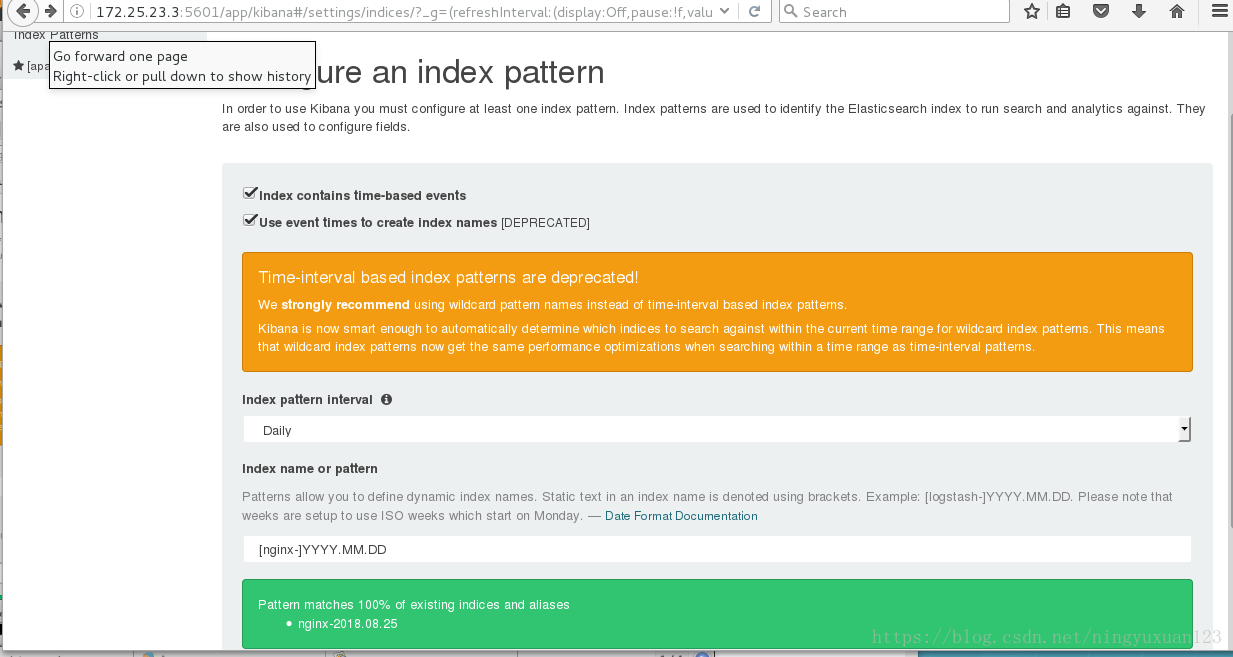
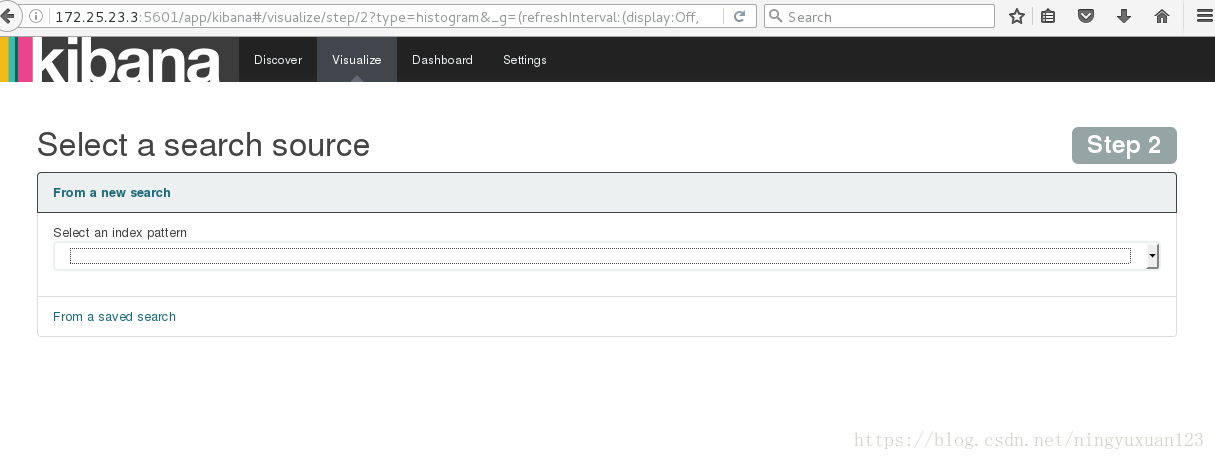
点击settings.选择nginx的数据
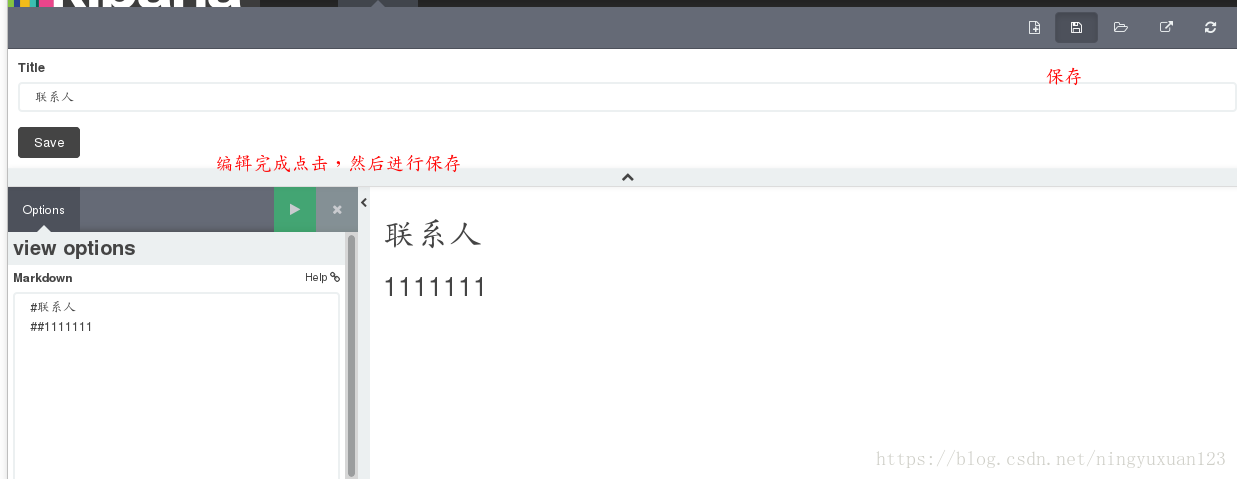
在屏幕显示一个联系人的界面
点击visualize栏:
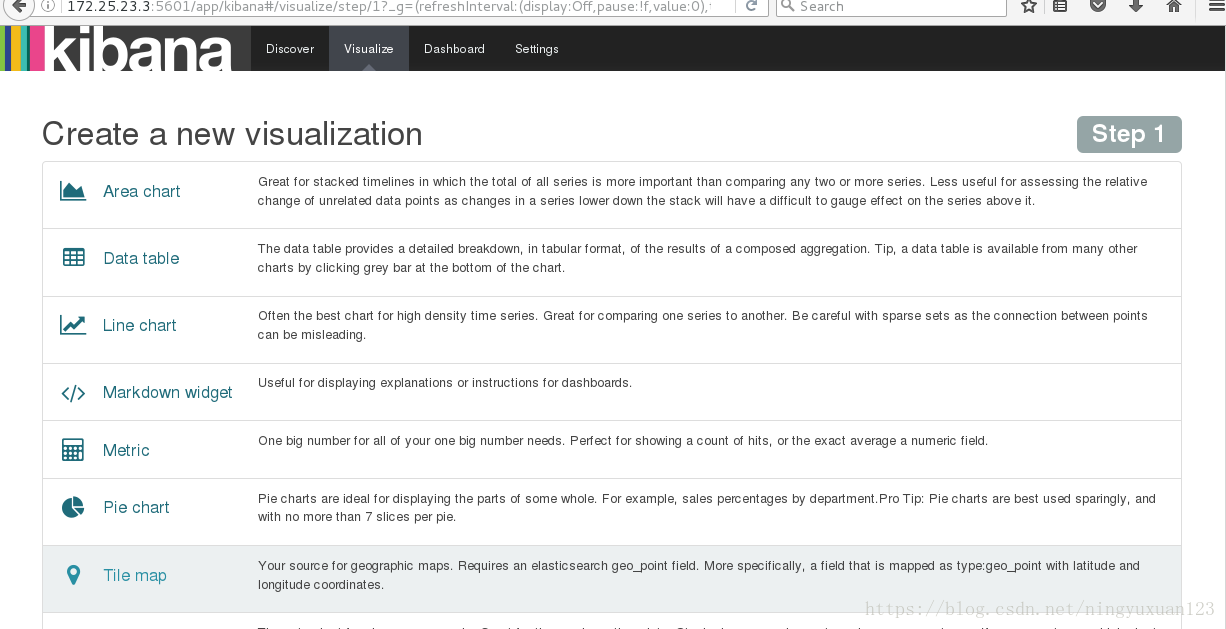
选择Makedown
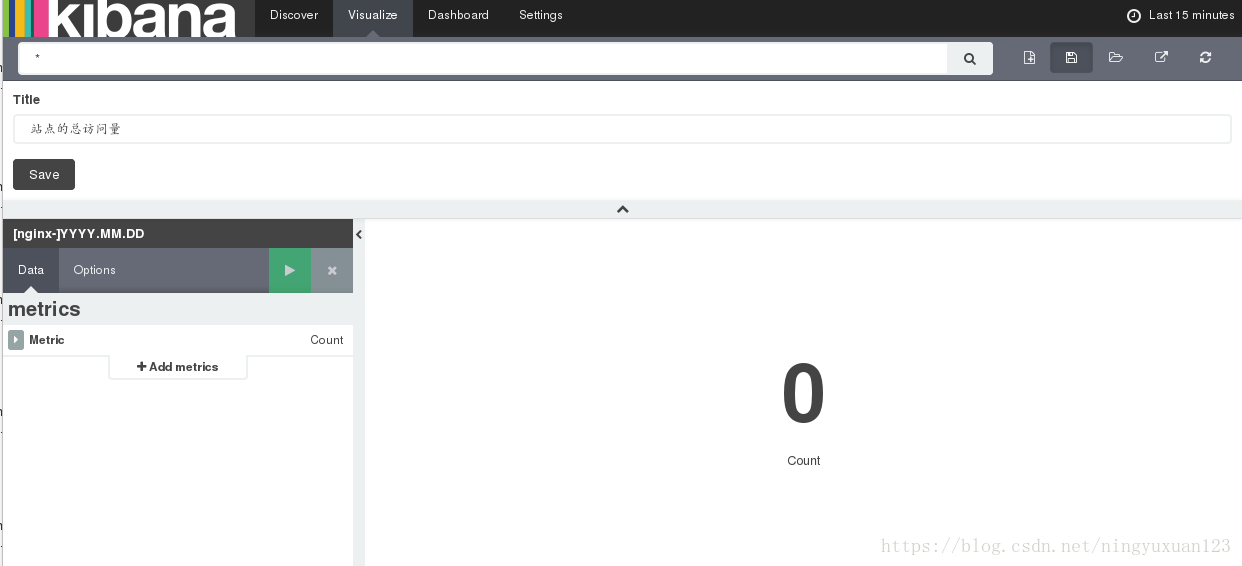
在屏幕上显示一个访问量收集界面
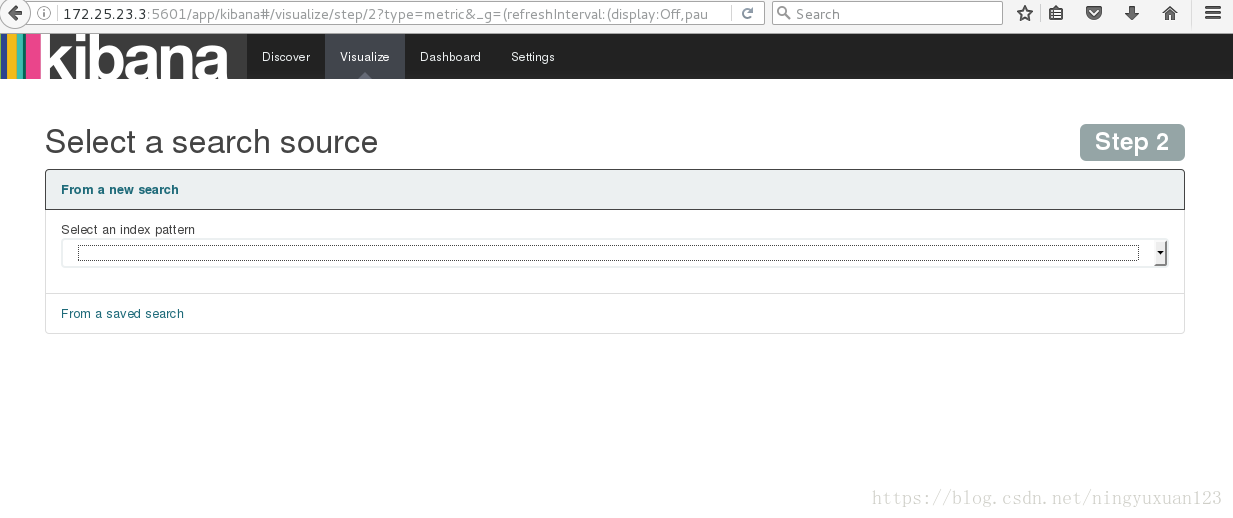
点击visualize栏:
选择metric,这里选择nginx数据
保存数据
点击visualize栏:
点击柱形图
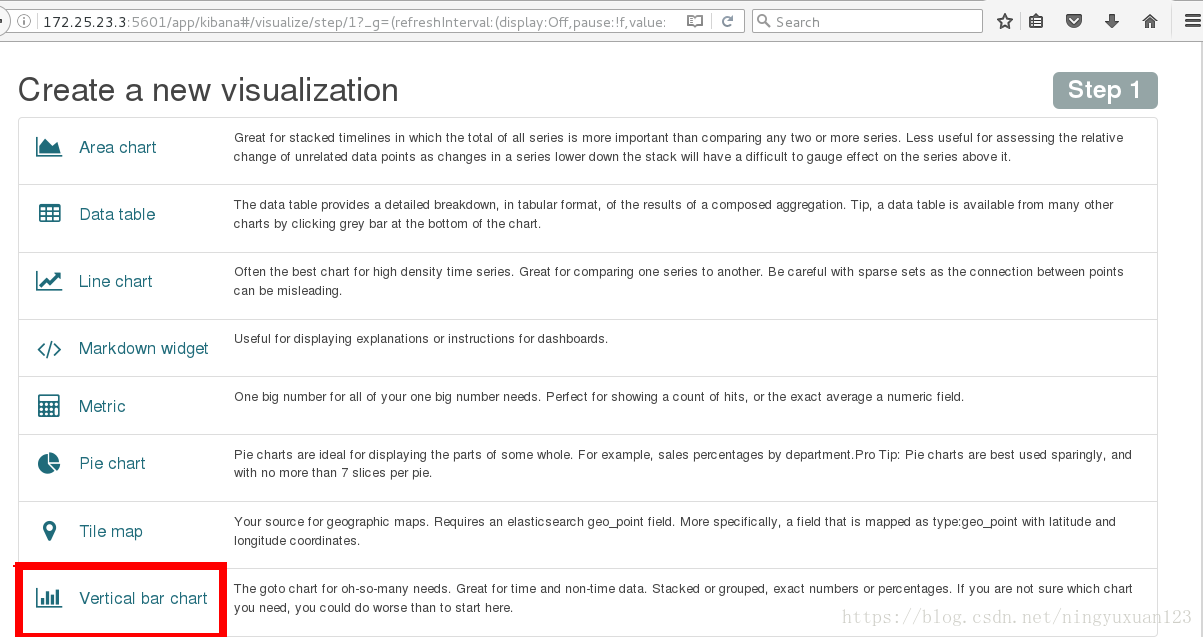
选择nginx数据
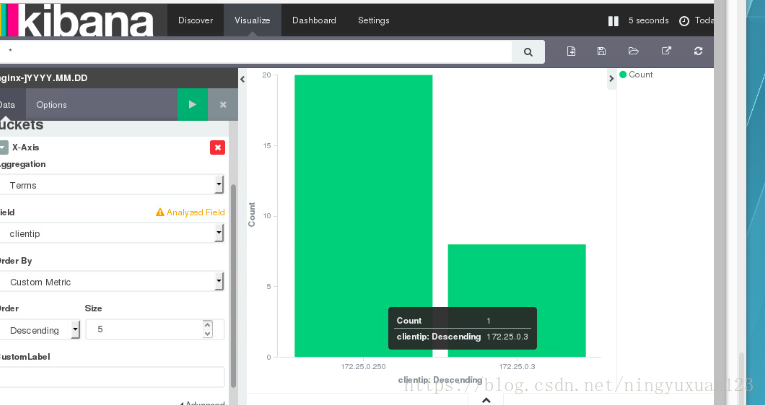
将三个添加到屏幕
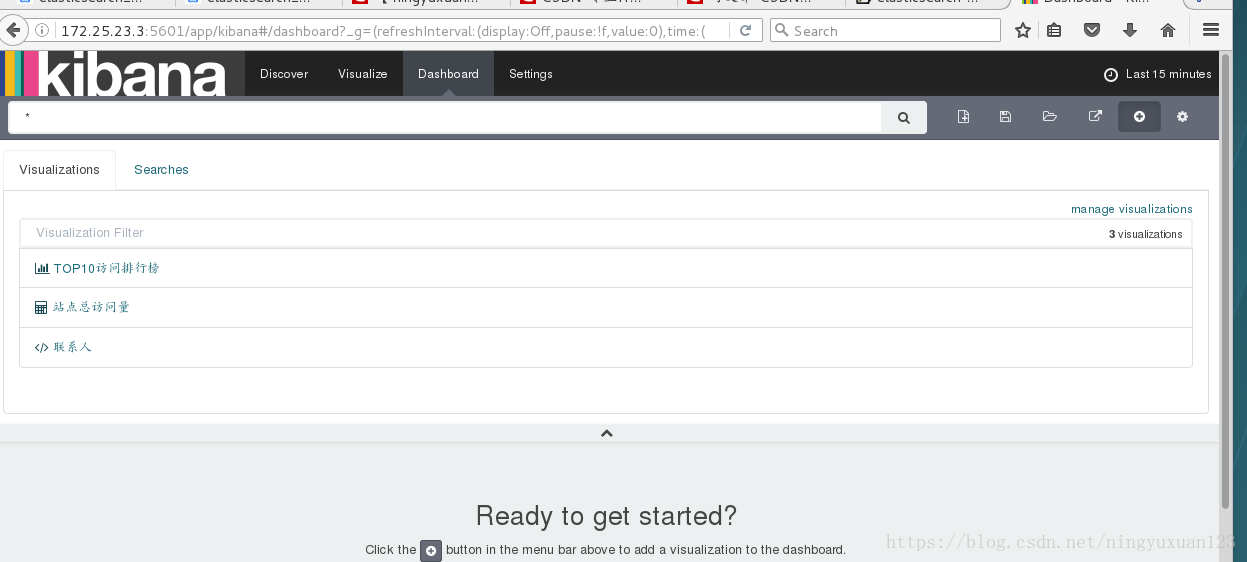
右上角选择刷新的频率。5s刷新一次
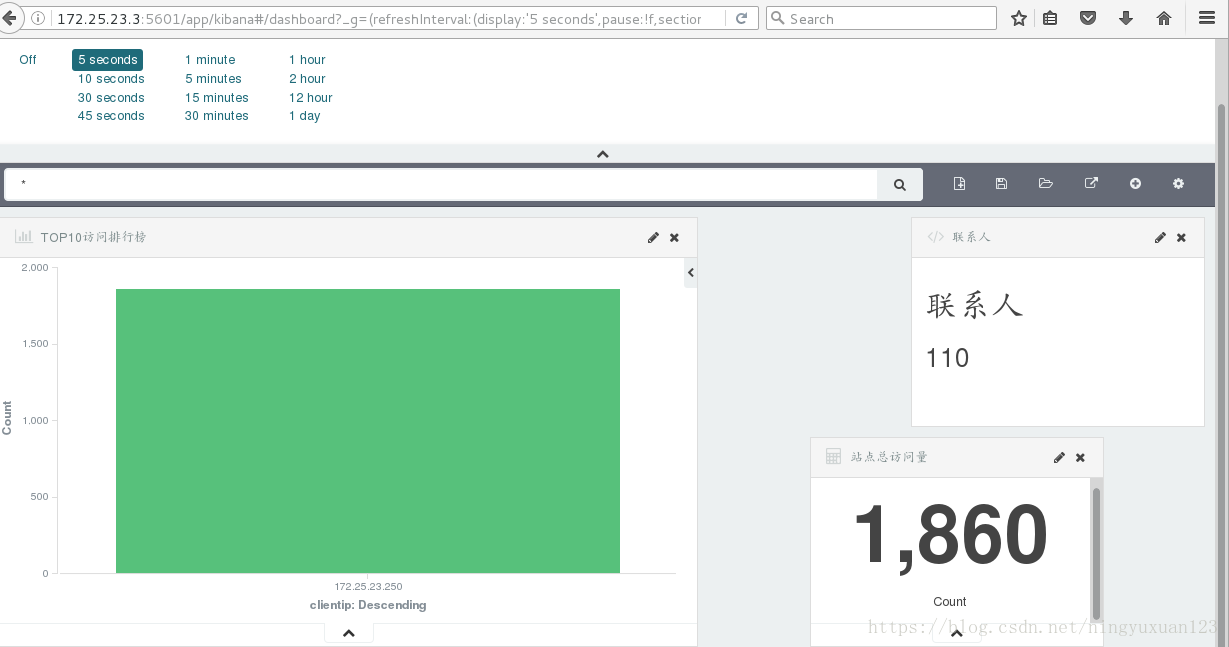
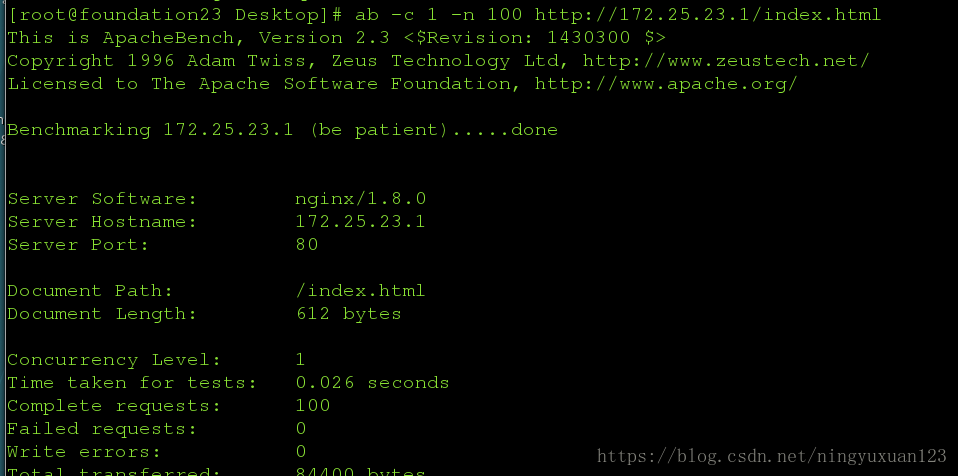
在主机上进行压力测试:
[root@foundation23 Desktop]# ab -c 1 -n 100 http://172.25.23.1/index.html
This is ApacheBench, Version 2.3 <$Revision: 1430300 $>
Copyright 1996 Adam Twiss, Zeus Technology Ltd, http://www.zeustech.net/
Licensed to The Apache Software Foundation, http://www.apache.org/

Benchmarking 172.25.23.1 (be patient).....done


Server Software:        nginx/1.8.0
Server Hostname:        172.25.23.1
Server Port:            80

Document Path:          /index.html
Document Length:        612 bytes

Concurrency Level:      1
Time taken for tests:   0.026 seconds
Complete requests:      100
Failed requests:        0
Write errors:           0