1.下载最新的Eclipse(老版本的有可能不包含springBoot插件),然后在help中打开Eclipse MarketPlace,在Spring Marketplace 中搜索SpringBoot,然后安装(安装过程比较慢)

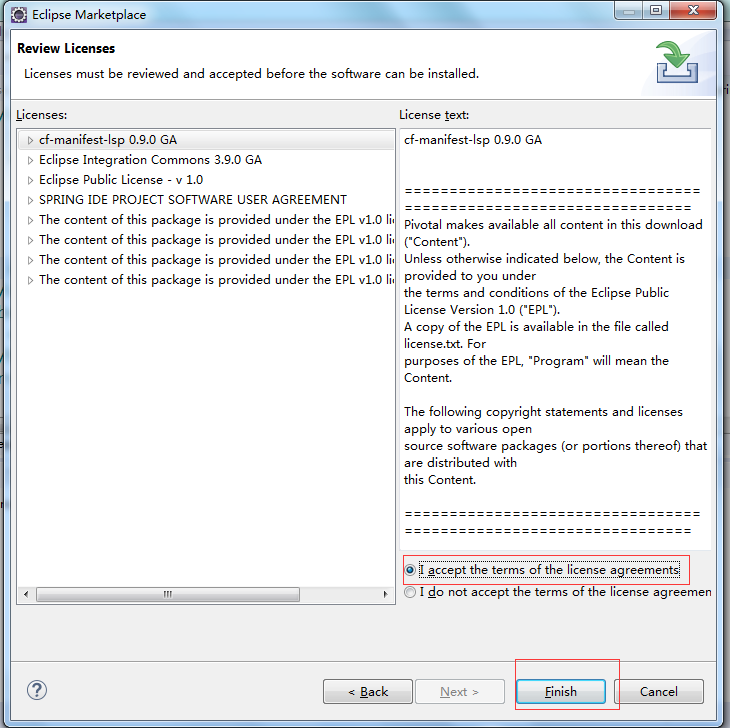
2.点击 I Agree……,然后,点击Finish
3.安装完成后,重启eclipse
4.新增一个SpringBoot项目

5.点击next,根据提示填写相关项目信息,

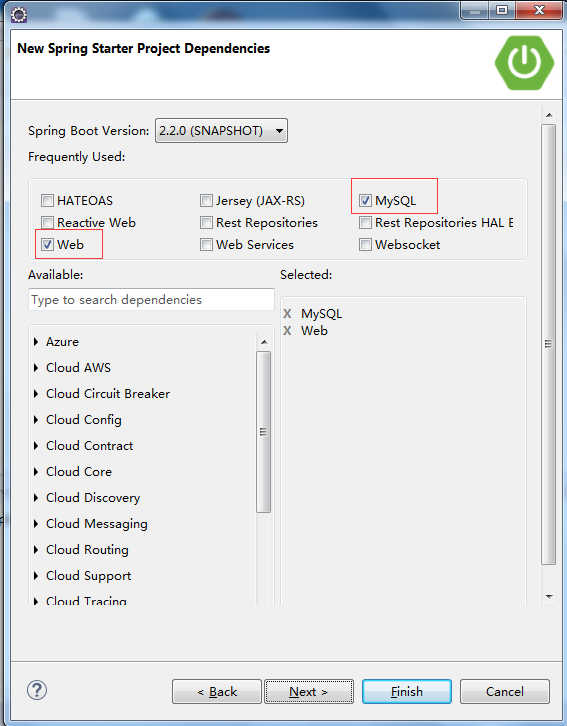
6.点击next,根据实际需要选择依赖的选项,
7.点击next,然后点击finish按钮,开始创建项目,第一次加载时因为需要联网下载jar包,可能比较慢,慢慢等待即可。
我的工程创建完成后,pom.xml报错了,Missing artifact mysql:mysql-connector-java:jar:8.0.15
解决方法:将maven仓库下的mysql整个文件夹删除,然后重新下载mysql相关的jar,就可以了。
创建完成的项目解决如下: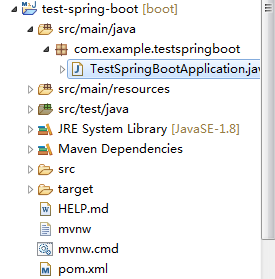
8.启动项目
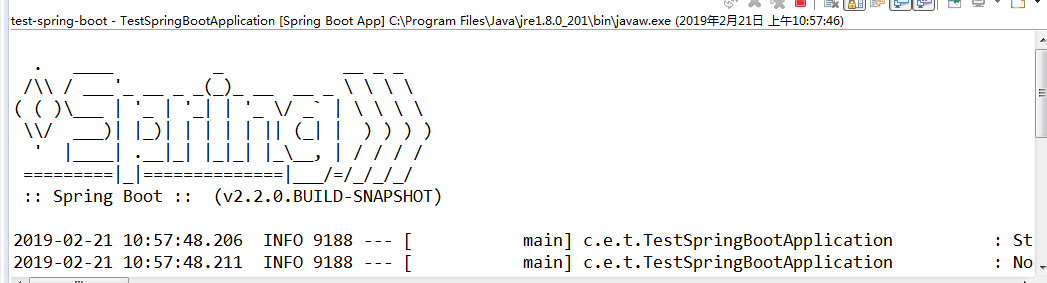
a.项目生成后会自动生成一个测试类TestSpringBootApplication.java,以Run As -> Spring Boot App方式运行,控制台出现以下界面即表示运行成功。
package com.example.testspringboot;

import org.springframework.boot.SpringApplication;
import org.springframework.boot.autoconfigure.SpringBootApplication;

@SpringBootApplication
public class TestSpringBootApplication {

    public static void main(String[] args) {
        SpringApplication.run(TestSpringBootApplication.class, args);
    }

}
b.以页面方式访问hello world,则使用@RestController注解,新建测试类,TestController,并且添加hello方法
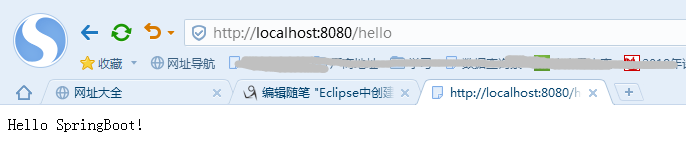
按照a运营springBoot项目后,直接在页面访问即可:http://localhost:8080/hello
TestController.java
package com.example.testspringboot;

import org.springframework.boot.autoconfigure.SpringBootApplication;
import org.springframework.web.bind.annotation.RequestMapping;
import org.springframework.web.bind.annotation.RestController;

@RestController
@SpringBootApplication
public class TestController {
      @RequestMapping("/hello")
      public String hello(){
        return"Hello SpringBoot!";
      }
}