React Native的使用
在这里使用的是ECMA2015(ES6)语法,如果不了解的小伙伴,阮一峰的ES6很不错,了解下http://es6.ruanyifeng.com/#README。在使用RN写项目时,打开index.android.js,首先要引入react中的component这个组件,然后引入react native中要使用的组件,下面要使用什么组件,在最上方就要把它引入进去,否则会报错,如代码下的图一
import React, { Component } from 'react';
import {
AppRegistry,   //注册,注意,每个组件中间的逗号是英文的“,”
View,     //视图组件
Text,     //文本组件
StyleSheet,   //样式,实例化创建样式
TextInput,    //输入框
Image,    //图片组件
} from 'react-native';
图一
所以在使用的时候,要先引入在去使用!!!
RN是面向组件开发,任何一个类,通过注册就可以成为一个组件
AppRegistry是JS运行所有React Native应用的入口。应用的根组件应当通过AppRegistry.registerComponent方法注册自己,然后原生系统才可以加载应用的代码包并且在启动完成之后通过调用AppRegistry.runApplication来真正运行应用。
class App extends Component{   //这个Demo是通过Component继承下来的
   //初始化方法-->返回具体组件内容,内容和结构,后期会有生命周期的函数(方法),在不同的时候做不同的事情
  render() {
      //返回
     return (
            <View style={styles.container}>
                <Text style={styles.title}>你好看,世界才好看!</Text>
            </View>
        );
  }
}
//样式的设置
var styles = StyleSheet.create({   //样式中的变量都是包含在"{}"中,是样式类
  container: {
    flex: 1,
    justifyContent: 'center',
    alignItems: 'center',
    backgroundColor: '#f7f7f7',
  },
  title: {
    color:'#1f1a16',
    fontSize:36,
  }
});
//注册输出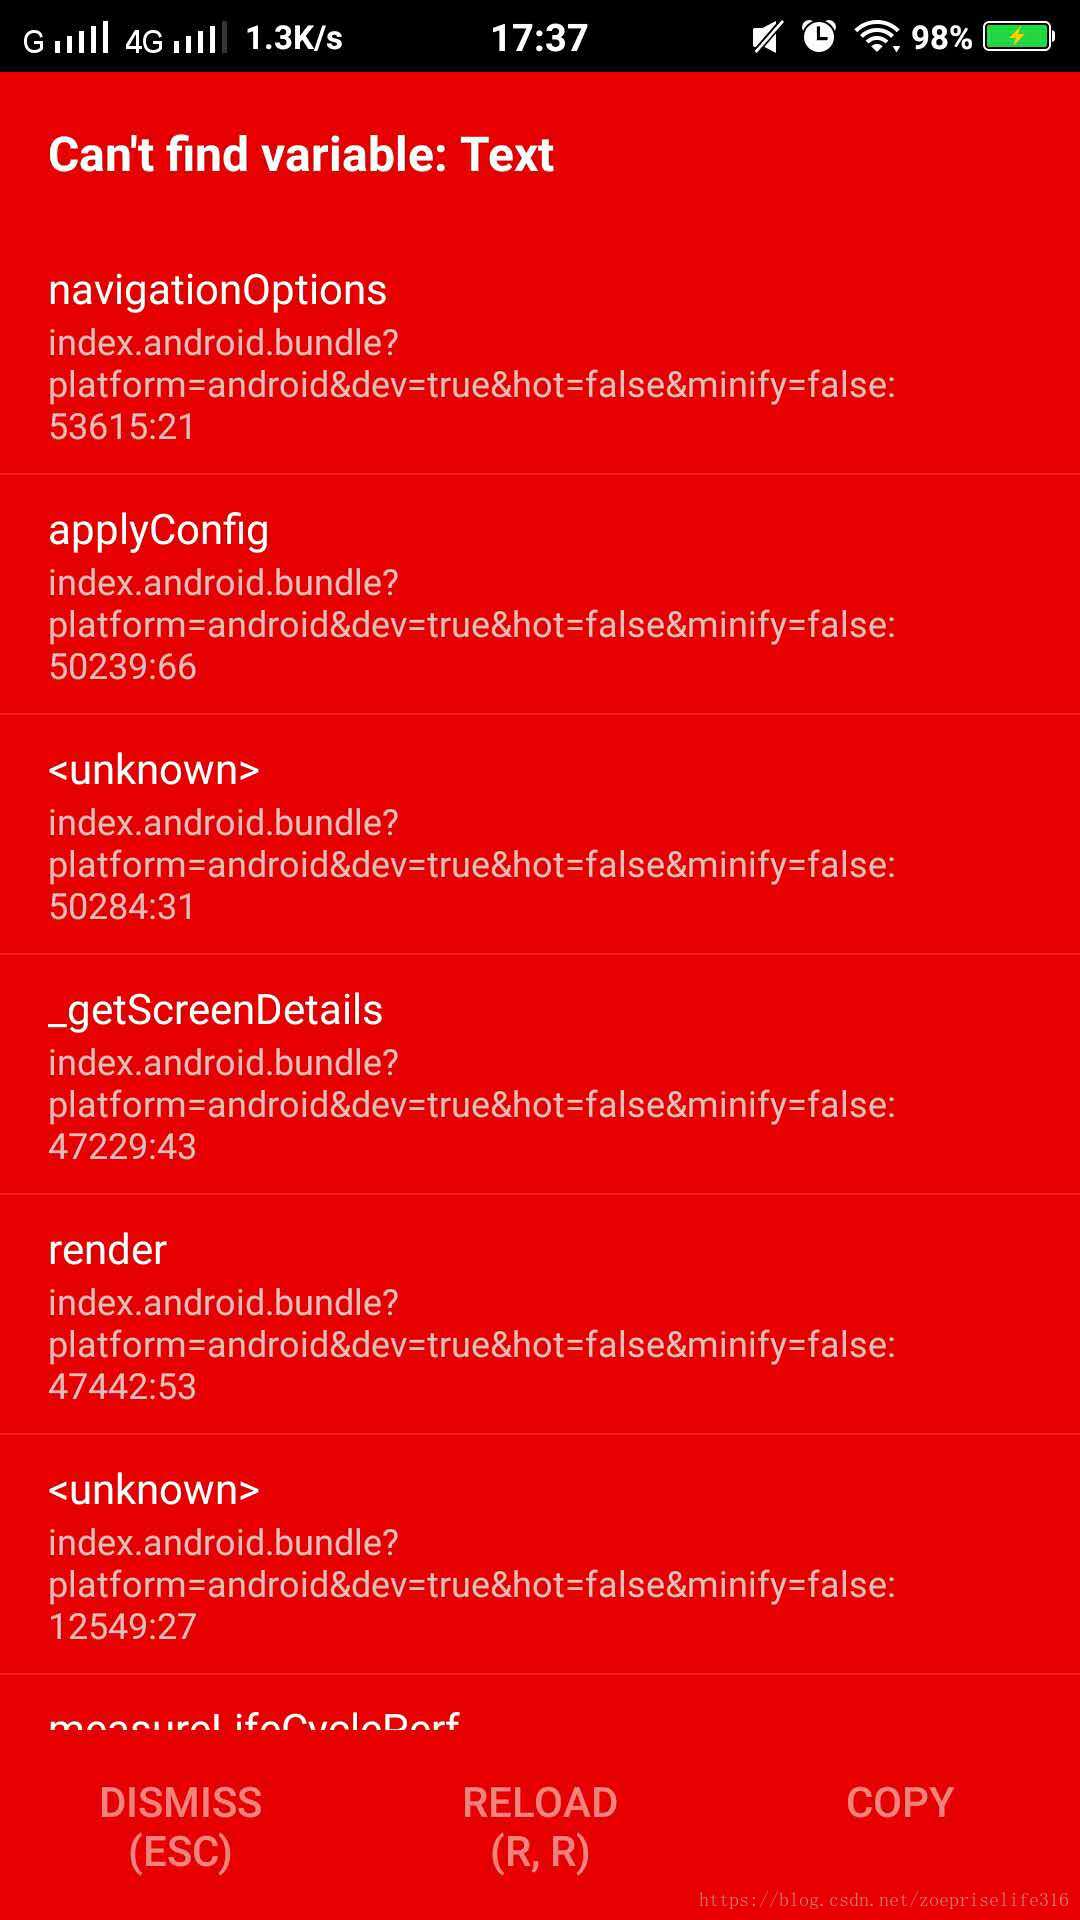
AppRegistry.registerComponent('App', () => App); 在写文字的时候必须要写<Text></Text>,使用这个包裹,如果直接写<View style={styles.container}> 会报错,如下,
你好,世界
</View>
图二

补充一点,在创建组件的时候也可以写直接向外暴露出这个类export default class FriendPage extends Component {},后面就可以不写AppRegistry.registerComponent('App', () => App);
这样,一个简单的demo就出来了。