既然是一个全品类的电商购物平台,那么核心自然就是商品。因此我们要搭建的第一个服务,就是商品微服务。其中会包含对于商品相关的一系列内容的管理,包括:
- 商品分类管理
- 品牌管理
- 商品规格参数管理
- 商品管理
- 库存管理
我们先完成项目的搭建:
1、微服务的结构
因为与商品的品类相关,我们的工程命名为ly-item
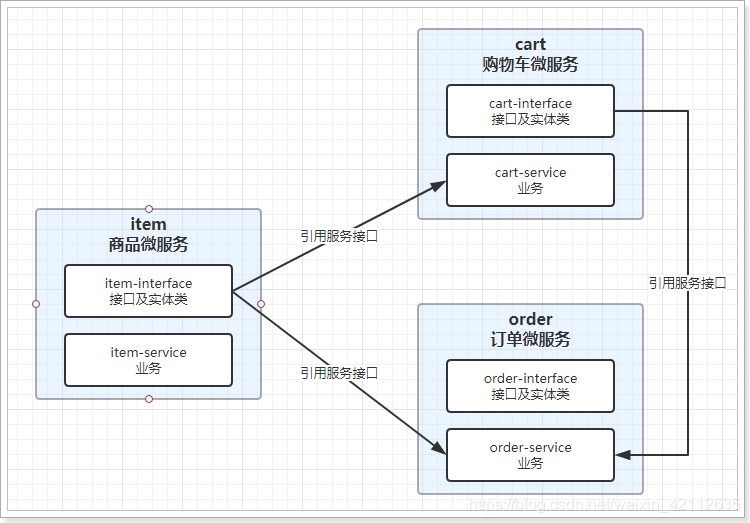
需要注意的是,我们的 ly-item 是一个微服务,那么将来肯定会有其它系统需要来调用服务中提供的接口,因此肯定也会使用到接口中关联的实体类。
因此这里我们需要使用聚合工程,将要提供的接口及相关实体类放到独立子工程中,以后别人引用的时候,只需要知道坐标即可。
我们会在 ly-item 中创建两个子工程:
ly-item-interface:主要是对外暴露的接口及相关实体类ly-item-service:所有业务逻辑及内部使用接口
调用关系如图所示:
2、创建父工程 ly-item
依然是使用 maven 构建:
保存的位置:
不需要任何依赖,我们可以把项目打包方式设置为 pom
<?xml version="1.0" encoding="UTF-8"?>
<project xmlns="http://maven.apache.org/POM/4.0.0"
         xmlns:xsi="http://www.w3.org/2001/XMLSchema-instance"
         xsi:schemaLocation="http://maven.apache.org/POM/4.0.0 http://maven.apache.org/xsd/maven-4.0.0.xsd">
    <parent>
        <artifactId>leyou</artifactId>
        <groupId>com.leyou.parent</groupId>
        <version>1.0.0-SNAPSHOT</version>
    </parent>
    <modelVersion>4.0.0</modelVersion>

    <groupId>com.leyou.service</groupId>
    <artifactId>ly-item</artifactId>
    <version>1.0.0-SNAPSHOT</version>
    <!-- 打包方式为pom -->
    <packaging>pom</packaging>
</project>
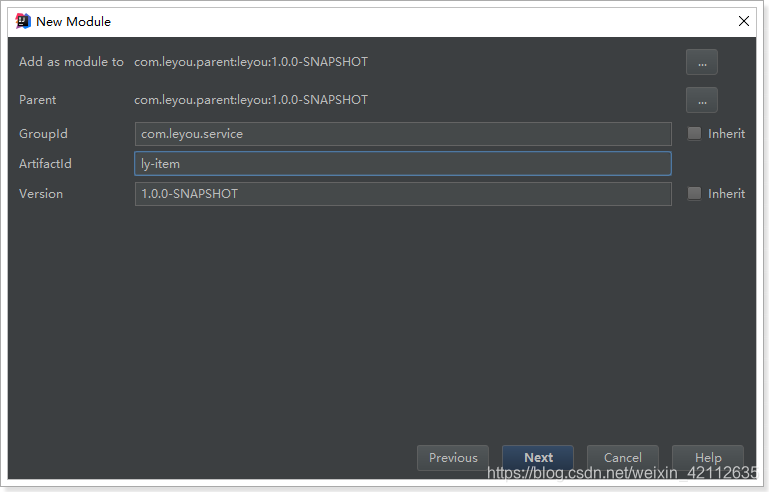
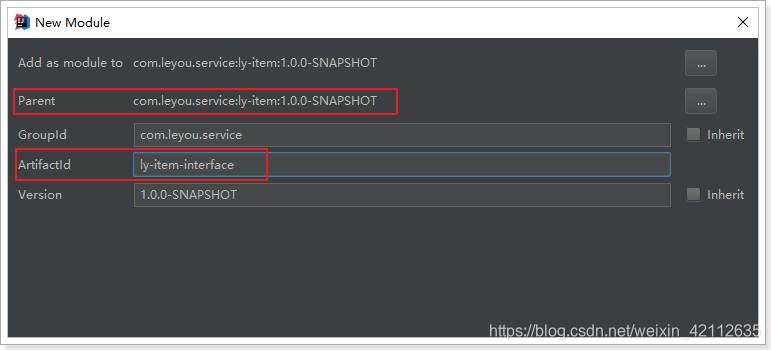
3、创建 ly-item-interface
在 ly-item 工程上点击右键,选择 new > module:
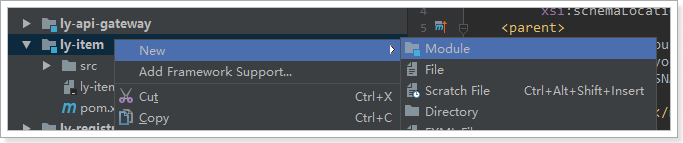
依然是使用 maven 构建,注意父工程是 ly-item:
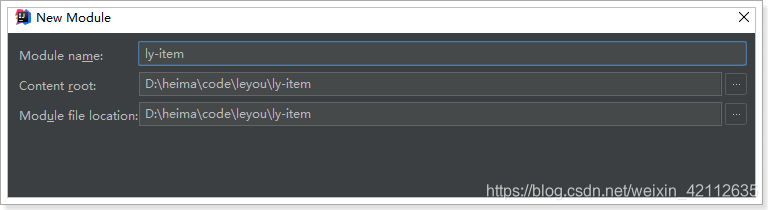
注意:接下来填写的目录结构需要自己手动完成,保存到ly-item下的ly-item-interface目录中:
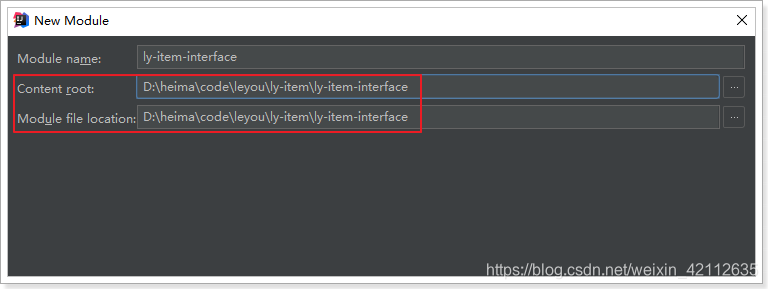
点击 Finish 完成。
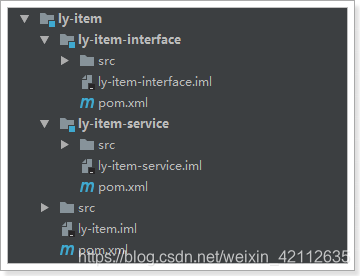
此时的项目结构:

4、创建 ly-item-service
与ly-item-interface类似,我们选择在ly-item上右键,新建 module,然后填写项目信息:
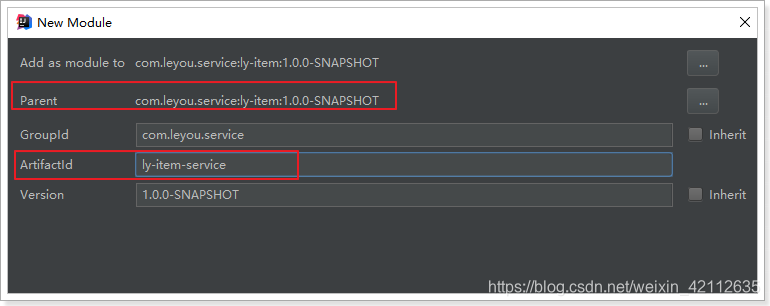
填写存储位置,是在/ly-item/ly-item-service目录
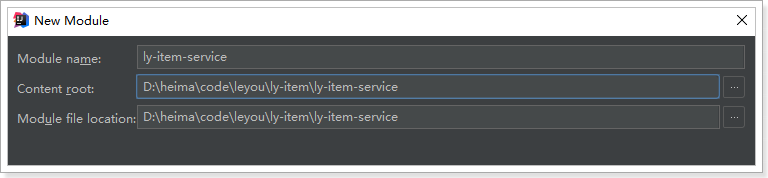
点击 Finish 完成。
5、整个微服务结构
如图所示:
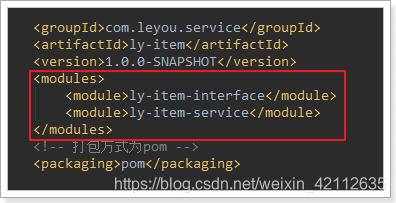
我们打开 ly-item 的 pom 查看,会发现 ly-item-interface 和 ly-item-service 都已经称为 module 了:
6、添加依赖
接下来我们给 ly-item-service 中添加依赖:
思考一下我们需要什么?
- Eureka 客户端
- web 启动器
- mybatis 启动器
- 通用 mapper 启动器
- 分页助手启动器
- 连接池,我们用默认的 Hykira
- mysql 驱动
- 千万不能忘了,我们自己也需要
ly-item-interface中的实体类
这些依赖,我们在顶级父工程:leyou 中已经添加好了。所以直接引入即可:
<?xml version="1.0" encoding="UTF-8"?>
<project xmlns="http://maven.apache.org/POM/4.0.0"
         xmlns:xsi="http://www.w3.org/2001/XMLSchema-instance"
         xsi:schemaLocation="http://maven.apache.org/POM/4.0.0 http://maven.apache.org/xsd/maven-4.0.0.xsd">
    <parent>
        <artifactId>ly-item</artifactId>
        <groupId>com.leyou.service</groupId>
        <version>1.0.0-SNAPSHOT</version>
    </parent>
    <modelVersion>4.0.0</modelVersion>

    <groupId>com.leyou.service</groupId>
    <artifactId>ly-item-service</artifactId>
    <version>1.0.0-SNAPSHOT</version>

    <dependencies>
        <!--Eureka客户端-->
        <dependency>
            <groupId>org.springframework.cloud</groupId>
            <artifactId>spring-cloud-starter-netflix-eureka-client</artifactId>
        </dependency>
        <!--web启动器-->
        <dependency>
            <groupId>org.springframework.boot</groupId>
            <artifactId>spring-boot-starter-web</artifactId>
        </dependency>
        <!-- mybatis启动器 -->
        <!--<dependency>
            <groupId>org.mybatis.spring.boot</groupId>
            <artifactId>mybatis-spring-boot-starter</artifactId>
            <version>${mybatis.starter.version}</version>
        </dependency>-->
        <!-- 通用Mapper启动器 -->
        <dependency>
            <groupId>tk.mybatis</groupId>
            <artifactId>mapper-spring-boot-starter</artifactId>
            <version>${mapper.starter.version}</version>
        </dependency>
        <!-- 分页助手启动器 -->
        <dependency>
            <groupId>com.github.pagehelper</groupId>
            <artifactId>pagehelper-spring-boot-starter</artifactId>
            <version>${pageHelper.starter.version}</version>
        </dependency>
        <!-- mysql驱动 -->
        <dependency>
            <groupId>mysql</groupId>
            <artifactId>mysql-connector-java</artifactId>
            <version>${mysql.version}</version>
        </dependency>
        <dependency>
            <groupId>com.leyou.service</groupId>
            <artifactId>ly-item-interface</artifactId>
            <version>${leyou.latest.version}</version>
        </dependency>
        <!--<dependency>
            <groupId>org.springframework.boot</groupId>
            <artifactId>spring-boot-starter-actuator</artifactId>
        </dependency>-->
    </dependencies>
</project>
ly-item-interface 中需要什么我们暂时不清楚,所以先不管。
整个结构:
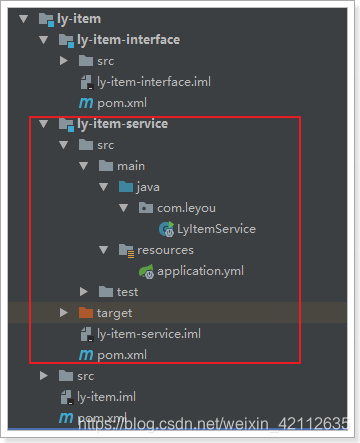
7、编写启动和配置
在整个ly-item工程中,只有ly-item-service是需要启动的。因此在其中编写启动类即可:
package com.leyou;

import org.springframework.boot.SpringApplication;
import org.springframework.boot.autoconfigure.SpringBootApplication;
import org.springframework.cloud.netflix.eureka.EnableEurekaClient;

@SpringBootApplication
@EnableEurekaClient
public class LyItemApplication {

    public static void main(String[] args) {
        SpringApplication.run(LyItemApplication.class,args);
    }

}
然后是全局属性文件:application.yml
server:
  port: 8081
spring:
  application:
    name: item-service
  datasource:
    url: jdbc:mysql://yangnanxi.cn:3306/leyou
    username: yang
    password: 123456
    hikari:
      maximum-pool-size: 30
      minimum-idle: 10
eureka:
  client:
    service-url:
      defaultZone: http://127.0.0.1:10086/eureka
  instance:
    prefer-ip-address: true
    ip-address: 127.0.0.1
#  instance:
#    lease-renewal-interval-in-seconds: 5 # 每隔5秒发送一次心跳
#    lease-expiration-duration-in-seconds: 10 # 10秒不发送就过期
#    prefer-ip-address: true
#    ip-address: 127.0.0.1
#    instance-id: ${spring.application.name}:${server.port}
8、添加商品微服务的路由规则
既然商品微服务已经创建,接下来肯定要添加路由规则到 Zuul 中,我们不使用默认的路由规则。
zuul:
  prefix: /api # 添加路由前缀
  routes:
    item-service: /item/** # 将商品微服务映射到/item/**
9、启动测试
我们分别启动:ly-registry,ly-api-gateway,ly-item-service
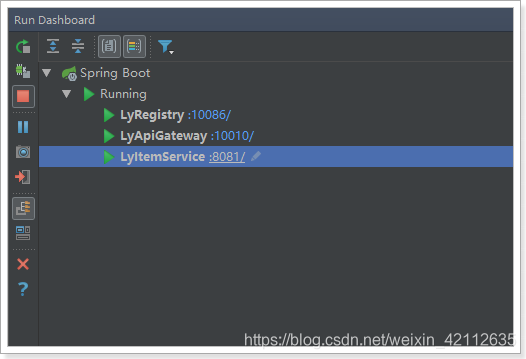
查看 Eureka 面板:

10、测试路由规则
为了测试路由规则是否畅通,我们是不是需要在 item-service 中编写一个 controller 接口呢?
其实不需要,Spring 提供了一个依赖:actuator
只要我们添加了 actuator 的依赖,它就会为我们生成一系列的访问接口:
- /info
- /health
- /refresh
- …
添加依赖:
<dependency>
    <groupId>org.springframework.boot</groupId>
    <artifactId>spring-boot-starter-actuator</artifactId>
</dependency>
重启后访问 Eureka 控制台:
鼠标悬停在 item-service 上,会显示一个地址:
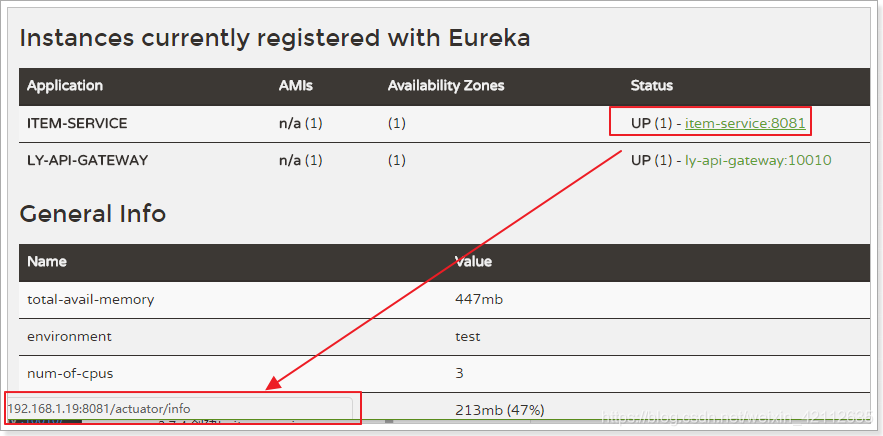
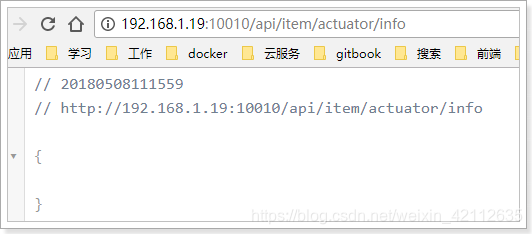
这就是 actuator 提供的接口,我们点击访问:
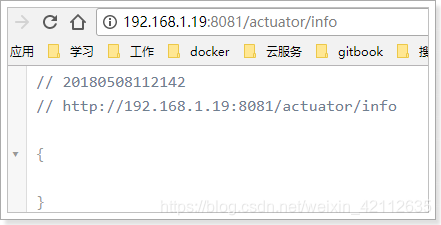
因为我们没有添加信息,所以是一个空的 json,但是可以肯定的是:我们能够访问到 item-service 了。
接下来我们通过路由访问试试,根据路由规则,我们需要访问的地址是:
http://127.0.0.1:10010/api/item/actuator/info