版权声明:本博客系作者(hanxiaodong/kevin)原创,转载请声明出处。 https://blog.csdn.net/weixin_44676392/article/details/88597115
从零到壹构建基于fabric-sdk-node的项目开发实战之五
运行示例程序
一切就绪,现在可以开始测试我们的应用程序了。
终端窗口 1
-
进入项目根目录:
$ cd $HOME/kevin-fabric-sdk-node -
使用 docker-compose 命令启动网络
$ docker-compose -f artifacts/docker-compose.yaml up
终端窗口 2
-
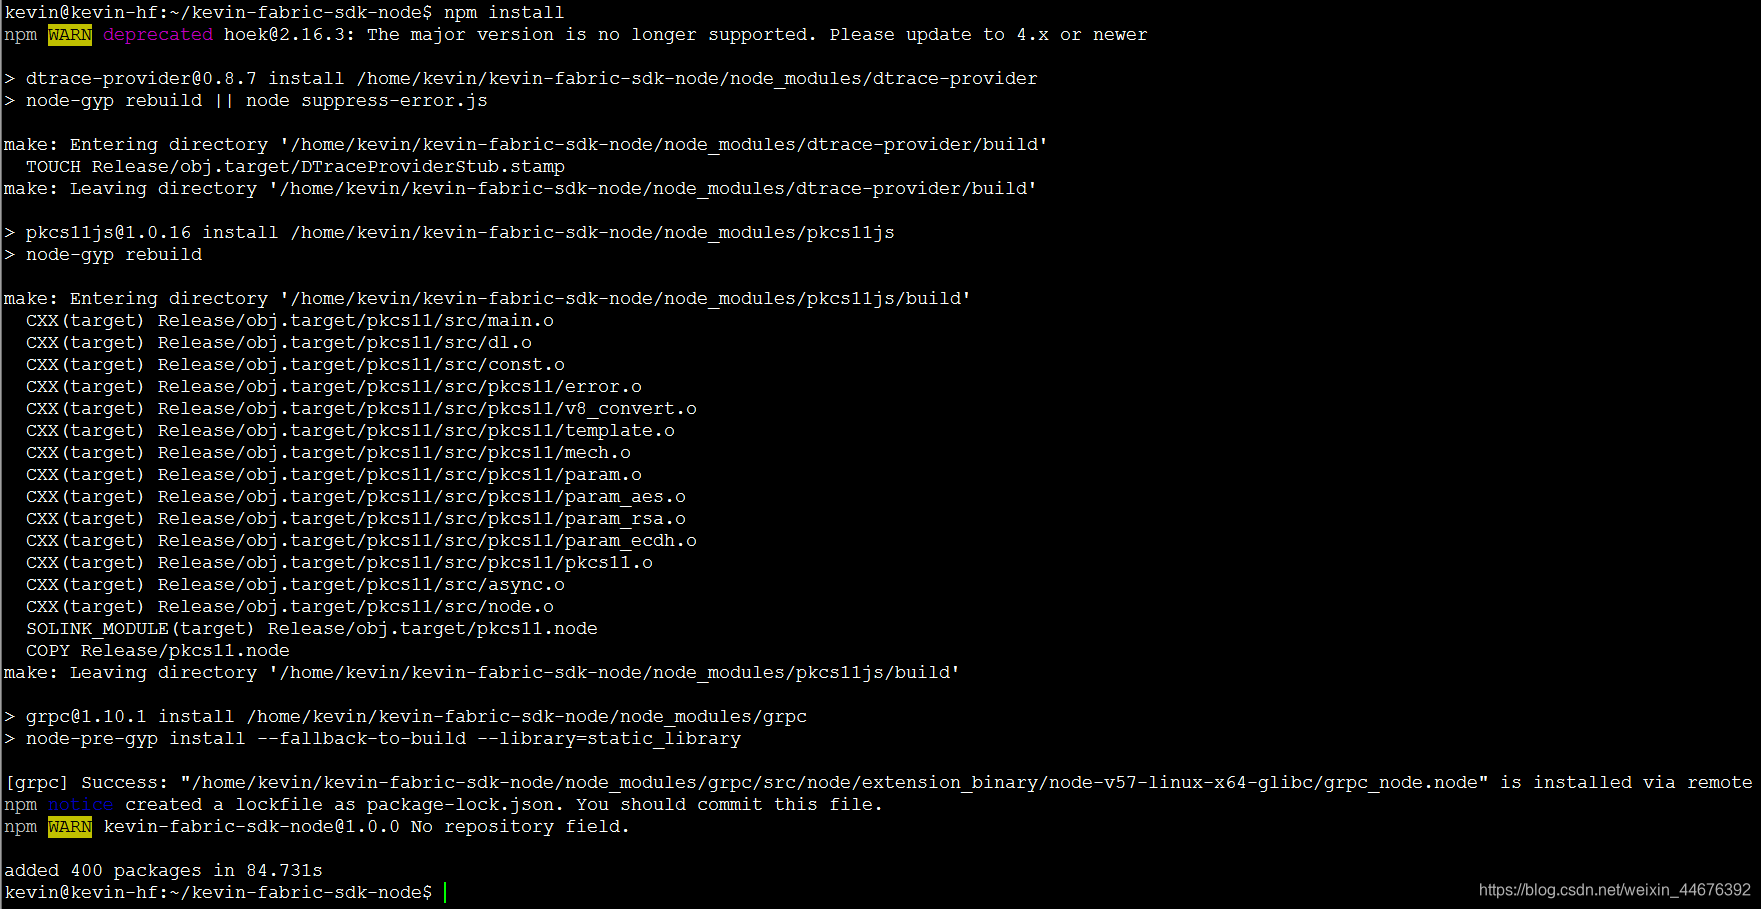
进入项目根目录,安装
gulp:$ cd $HOME/kevin-fabric-sdk-node $ npm install -g gulp -
安装
fabric-client与fabric-ca-client模块$ npm install执行成功如下信息:
-
启动 node app 指定 PORT 为 4000
$ PORT=4000 node app启动成功如下图所示:

终端窗口 3
- 执行 REST APIs 参见 REST APIs 调用请求
REST APIs 调用请求
登录请求
在终端窗口3中执行:
$ cd $HOME/kevin-fabric-sdk-node
- 在 Org1 组织中注册并登记一个新的用户:
$ curl -s -X POST \
	http://localhost:4000/users \
	-H "content-type: application/x-www-form-urlencoded" \
	-d 'username=Jim&orgName=Org1'
如果出现502错误,那么使用
unset http_proxy取消/关闭代理即可。
终端输出如下响应信息:
{
  "success": true,
  "secret": "RaxhMgevgJcm",
  "message": "Jim enrolled Successfully",
  "token": "eyJhbGciOiJIUzI1NiIsInR5cCI6IkpXVCJ9.eyJleHAiOjE1NDExNTc2OTUsInVzZXJuYW1lIjoiSmltIiwib3JnTmFtZSI6Ik9yZzEiLCJpYXQiOjE1NDExMjE2OTV9.TqN-T3xQOCkPf_HYAxd21RbmZ7FAOjcPyXadzVrfWYs"
}
注意:响应信息包含成功/失败的状态,注册密钥和JSON Web令牌(JWT),它是后续请求的请求标头中的所必需字符串
创建通道请求
$ curl -s -X POST \
  http://localhost:4000/channels \
  -H "authorization: Bearer <put JSON Web Token here>" \
  -H "content-type: application/json" \
  -d '{
	"channelName":"kevinkongyixueyuan",
	"channelConfigPath":"../artifacts/channel/mychannel.tx"
}'
请注意,Header 授权必须包含POST /users通话中返回的 JWT
执行成功终端输出如下响应信息:
{
	"success":true,
	"message":"Channel 'kevinkongyixueyuan' created Successfully"
}
加入通道请求
$ curl -s -X POST \
  http://localhost:4000/channels/kevinkongyixueyuan/peers \
  -H "authorization: Bearer <put JSON Web Token here>" \
  -H "content-type: application/json" \
  -d '{
	"peers": ["peer0.org1.kevin.kongyixueyuan.com","peer1.org1.kevin.kongyixueyuan.com"]
}'
执行成功终端输出如下响应信息:
{
	"success":true,
	"message":"Successfully joined peers in organization Org1 to the channel:kevinkongyixueyuan"
}
安装链码
$ curl -s -X POST \
  http://localhost:4000/chaincodes \
  -H "authorization: Bearer <put JSON Web Token here>" \
  -H "content-type: application/json" \
  -d '{
	"peers": ["peer0.org1.kevin.kongyixueyuan.com","peer1.org1.kevin.kongyixueyuan.com"],
	"chaincodeName":"mycc",
	"chaincodePath":"github.com/example_cc",
	"chaincodeType": "golang",
	"chaincodeVersion":"v0"
}'
注意: 当使用node.js链代码时,必须将chaincodeType设置为node,并且必须将chaincodePath设置为node.js chaincode的位置。也加入了$PWD
如下:
$ curl -s -X POST \
http://localhost:4000/chaincodes \
-H "authorization: Bearer <put JSON Web Token here>" \
-H "content-type: application/json" \
-d '{
"peers": ["peer0.org1.kevin.kongyixueyuan.com","peer1.org1.kevin.kongyixueyuan.com"],
"chaincodeName":"mycc",
"chaincodePath":"$PWD/artifacts/src/github.com/example_cc/node",
"chaincodeType": "node",
"chaincodeVersion":"v0"
}'
执行成功终端输出如下响应信息:
{
	"success":true,
	"message":"Successfully install chaincode"
}
实例化链码
$ curl -s -X POST \
  http://localhost:4000/channels/kevinkongyixueyuan/chaincodes \
  -H "authorization: Bearer <put JSON Web Token here>" \
  -H "content-type: application/json" \
  -d '{
    "peers": ["peer0.org1.kevin.kongyixueyuan.com","peer1.org1.kevin.kongyixueyuan.com"],
	"chaincodeName":"mycc",
	"chaincodeVersion":"v0",
	"chaincodeType": "golang",
	"args":["a","100","b","200"]
}'
执行成功终端输出如下:
{
	"success":true,
	"message":"Successfully instantiate chaingcode in organization Org1 to the channel 'kevinkongyixueyuan'"
}
调用链码请求
$ curl -s -X POST \
  http://localhost:4000/channels/kevinkongyixueyuan/chaincodes/mycc \
  -H "authorization: Bearer <put JSON Web Token here>" \
  -H "content-type: application/json" \
  -d '{
	"peers": ["peer0.org1.kevin.kongyixueyuan.com","peer1.org1.kevin.kongyixueyuan.com"],
	"fcn":"move",
	"args":["a","b","10"]
}'
注意: 当使用node.js链代码时,必须将chaincodeType设置为node
执行成功终端中输出响应的事务ID
fad37683c5e716a9102cd15a1bd6555440374cd39d9464e3ee805802c7be3d58
**注意:**请保存响应信息的事务ID,在后续查询事务中会使用到此字符串。
查询链码
$ curl -s -X GET \
  "http://localhost:4000/channels/kevinkongyixueyuan/chaincodes/mycc?peer=peer0.org1.kevin.kongyixueyuan.com&fcn=query&args=%5B%22a%22%5D" \
  -H "authorization: Bearer <put JSON Web Token here>" \
  -H "content-type: application/json"
执行成功终端中输出如下响应信息:
a now has 90 after the move
根据块号查询块
$ curl -s -X GET \
  "http://localhost:4000/channels/kevinkongyixueyuan/blocks/1?peer=peer0.org1.kevin.kongyixueyuan.com" \
  -H "authorization: Bearer <put JSON Web Token here>" \
  -H "content-type: application/json"
根据 TransactionID 查询事务
$ curl -s -X GET http://localhost:4000/channels/kevinkongyixueyuan/transactions/$TRX_ID?peer=peer0.org1.kevin.kongyixueyuan.com \
  -H "authorization: Bearer <put JSON Web Token here>" \
  -H "content-type: application/json"
注意:事务ID来自于之前的事务调用
查询 ChainInfo
$ curl -s -X GET \
  "http://localhost:4000/channels/kevinkongyixueyuan?peer=peer0.org1.kevin.kongyixueyuan.com" \
  -H "authorization: Bearer <put JSON Web Token here>" \
  -H "content-type: application/json"
执行成功终端中输出如下响应信息:
{"height":{"low":3,"high":0,"unsigned":true},"currentBlockHash":{"buffer":{"type":"Buffer","data":[8,3,18,32,90,58,37,82,74,234,234,178,22,93,187,246,79,177,37,66,84,226,156,100,61,35,120,220,166,146,193,20,143,34,221,57,26,32,137,149,94,253,17,79,72,43,212,158,153,70,25,218,146,32,22,125,198,104,249,102,21,157,183,90,12,28,111,246,17,66]},"offset":4,"markedOffset":-1,"limit":36,"littleEndian":true,"noAssert":false},"previousBlockHash":{"buffer":{"type":"Buffer","data":[8,3,18,32,90,58,37,82,74,234,234,178,22,93,187,246,79,177,37,66,84,226,156,100,61,35,120,220,166,146,193,20,143,34,221,57,26,32,137,149,94,253,17,79,72,43,212,158,153,70,25,218,146,32,22,125,198,104,249,102,21,157,183,90,12,28,111,246,17,66]},"offset":38,"markedOffset":-1,"limit":70,"littleEndian":true,"noAssert":false}}
查询已安装的链代码
$ curl -s -X GET \
  "http://localhost:4000/chaincodes?peer=peer0.org1.kevin.kongyixueyuan.com" \
  -H "authorization: Bearer <put JSON Web Token here>" \
  -H "content-type: application/json"
执行成功终端中输出如下响应信息:
["name: mycc, version: v0, path: github.com/example_cc"]
查询实例化链代码
$ curl -s -X GET \
  "http://localhost:4000/channels/kevinkongyixueyuan/chaincodes?peer=peer0.org1.kevin.kongyixueyuan.com" \
  -H "authorization: Bearer <put JSON Web Token here>" \
  -H "content-type: application/json"
执行成功终端中输出如下响应信息:
["name: mycc, version: v0, path: github.com/example_cc"]
查询通道
$ curl -s -X GET \
  "http://localhost:4000/channels?peer=peer0.org1.kevin.kongyixueyuan.com" \
  -H "authorization: Bearer <put JSON Web Token here>" \
  -H "content-type: application/json"
执行成功终端中输出如下响应信息:
{"channels":[{"channel_id":"kevinkongyixueyuan"}]}
发现IP地址
要检索某个网络实体的IP地址,请使用如下命令:
# this will return the IP Address for peer0
$ docker inspect peer0 | grep IPAddress
关闭并清理网络
创建清理网络的脚本文件:
$ cd $HOME/kevin-fabric-sdk-node
$ vim shutdownnetwork.sh
文件中添加如下内容:
echo "shutdown fabric-network"
echo
docker-compose -f artifacts/docker-compose.yaml down
echo

echo "docker rm -f $(docker ps -aq)"
echo
docker rm -f $(docker ps -aq)
echo

echo "docker rmi -f $(docker images | grep dev | awk '{print $3}')"
echo
docker rmi -f $(docker images | grep dev | awk '{print $3}')
echo

echo "Delete current dir org-kv"
echo
rm -rf fabric-client-kv-org[1-2]
echo

echo "Delete tmp dir org-kv"
echo
rm -rf /tmp/fabric-client-kv-org[1-2]
echo

echo "shutdown and clear OK"
添加可执行权限并执行:
$ chmod 777 ./shutdownnetwork.sh
$ ./shutdownnetwork.sh
应用完整源代码下载地址,请点击此处