Zabbix配置分为两部分
1.Zabbix服务端的配置
安装Zabbix源:
[root@c71 ~]# rpm -ivh https://mirrors.aliyun.com/zabbix/zabbix/3.4/rhel/7/x86_64/zabbix-release-3.4-1.el7.centos.noarch.rpm
列出 zabbix-release 这个包里面文件的列表
[root@c71 ~]# rpm -ql zabbix-release
/etc/pki/rpm-gpg/RPM-GPG-KEY-ZABBIX
/etc/pki/rpm-gpg/RPM-GPG-KEY-ZABBIX-A14FE591
/etc/yum.repos.d/zabbix.repo
/usr/share/doc/zabbix-release-3.4
/usr/share/doc/zabbix-release-3.4/GPL
将服务器上的软件包信息 现在本地缓存,以提高 搜索 安装软件的速度
yum makecache
安装相关软件:
yum install zabbix-server-mysql zabbix-web-mysql zabbix-server zabbix-agent mariadb-server -y
安装mysql数据库并进行相关的配置:
[root@c71 ~]# systemctl start mariadb
[root@c71 ~]# mysql -uroot -p
Enter password: //回车
MariaDB [(none)]> create database zabbix character set utf8 collate utf8_bin;
MariaDB [(none)]> grant all privileges on zabbix.* to zabbix@localhost identified by 'zabbix';
MariaDB [(none)]> flush privileges;
MariaDB [(none)]> exit
[root@c71 doc]# cd /usr/share/doc/zabbix-server-mysql-3.4.15/
[root@c71 zabbix-server-mysql-3.4.15]# zcat create.sql.gz
[root@c71 zabbix-server-mysql-3.4.15]# zcat create.sql.gz |mysql -uroot zabbix -p
Enter password: //直接回车
查看数据是否已经写入数据库里面了:
[root@c71 zabbix-server-mysql-3.4.15]# mysql -uroot -p
Enter password:  //回车
MariaDB [(none)]> use zabbix;
MariaDB [zabbix]> show tables; //如果返回的结果中有表,说明写入成功了。
MariaDB [zabbix]> exit //退出数据库
查看Zabbix库的信息是否写入了配置文件内:
[root@c71 zabbix-server-mysql-3.4.15]# grep '^[a-Z]' /etc/zabbix/zabbix_server.conf
LogFile=/var/log/zabbix/zabbix_server.log
LogFileSize=0
PidFile=/var/run/zabbix/zabbix_server.pid
SocketDir=/var/run/zabbix
DBName=zabbix
DBUser=zabbix
SNMPTrapperFile=/var/log/snmptrap/snmptrap.log
Timeout=4
AlertScriptsPath=/usr/lib/zabbix/alertscripts
ExternalScripts=/usr/lib/zabbix/externalscripts
LogSlowQueries=3000
需要关闭SELinux和Firewalld
[root@c71 ~]# getenforce  //查看selinux状态
Enforcing //如果是此状态,需要执行下面的命令,将SeLinux关闭
[root@c71 ~]# setenforce 0
如果需要永久关闭SELinux需要执行下面的操作:
[root@c71 ~]# sed -i s#SELINUX=enforcing#SELINUX=disabled#g /etc/selinux/config
关闭防火墙:
[root@c71 ~]# systemctl stop firewalld
[root@c71 ~]# systemctl disable firewalld
启动Zabbix服务器并查看启动状态:
[root@c71 ~]# systemctl start zabbix-server
[root@c71 ~]# systemctl status zabbix-server
[root@c71 ~]# systemctl enable zabbix-server //设置为开机自启动
● zabbix-server.service - Zabbix Server
   Loaded: loaded (/usr/lib/systemd/system/zabbix-server.service; disabled; vendor preset: disabled)
   Active: active (running) since Wed 2019-03-20 15:07:23 EDT; 6s ago //启动成功
sed -i 's/# php_value date.timezone Europe/php_value date.timezone Asia/g' /etc/httpd/conf.d/zabbix.conf
sed -i 's/Riga/Shanghai/g' /etc/httpd/conf.d/zabbix.conf
启动httpd服务器,提供网页访问能力:
[root@c71 ~]# systemctl start httpd
[root@c71 ~]# systemctl enable httpd
查看到下面内容说明已经成功启动:
[root@c71 ~]# ps -ef | grep httpd
root      6636     1  0 15:20 ?        00:00:00 /usr/sbin/httpd -DFOREGROUND
apache    6640  6636  0 15:20 ?        00:00:00 /usr/sbin/httpd -DFOREGROUND
apache    6641  6636  0 15:20 ?        00:00:00 /usr/sbin/httpd -DFOREGROUND
apache    6642  6636  0 15:20 ?        00:00:00 /usr/sbin/httpd -DFOREGROUND
apache    6643  6636  0 15:20 ?        00:00:00 /usr/sbin/httpd -DFOREGROUND
apache    6644  6636  0 15:20 ?        00:00:00 /usr/sbin/httpd -DFOREGROUND
root      6650  6591  0 15:21 pts/1    00:00:00 grep --color=auto httpd
访问服务器地址,测试:
http://192.168.219.129/zabbix/setup.php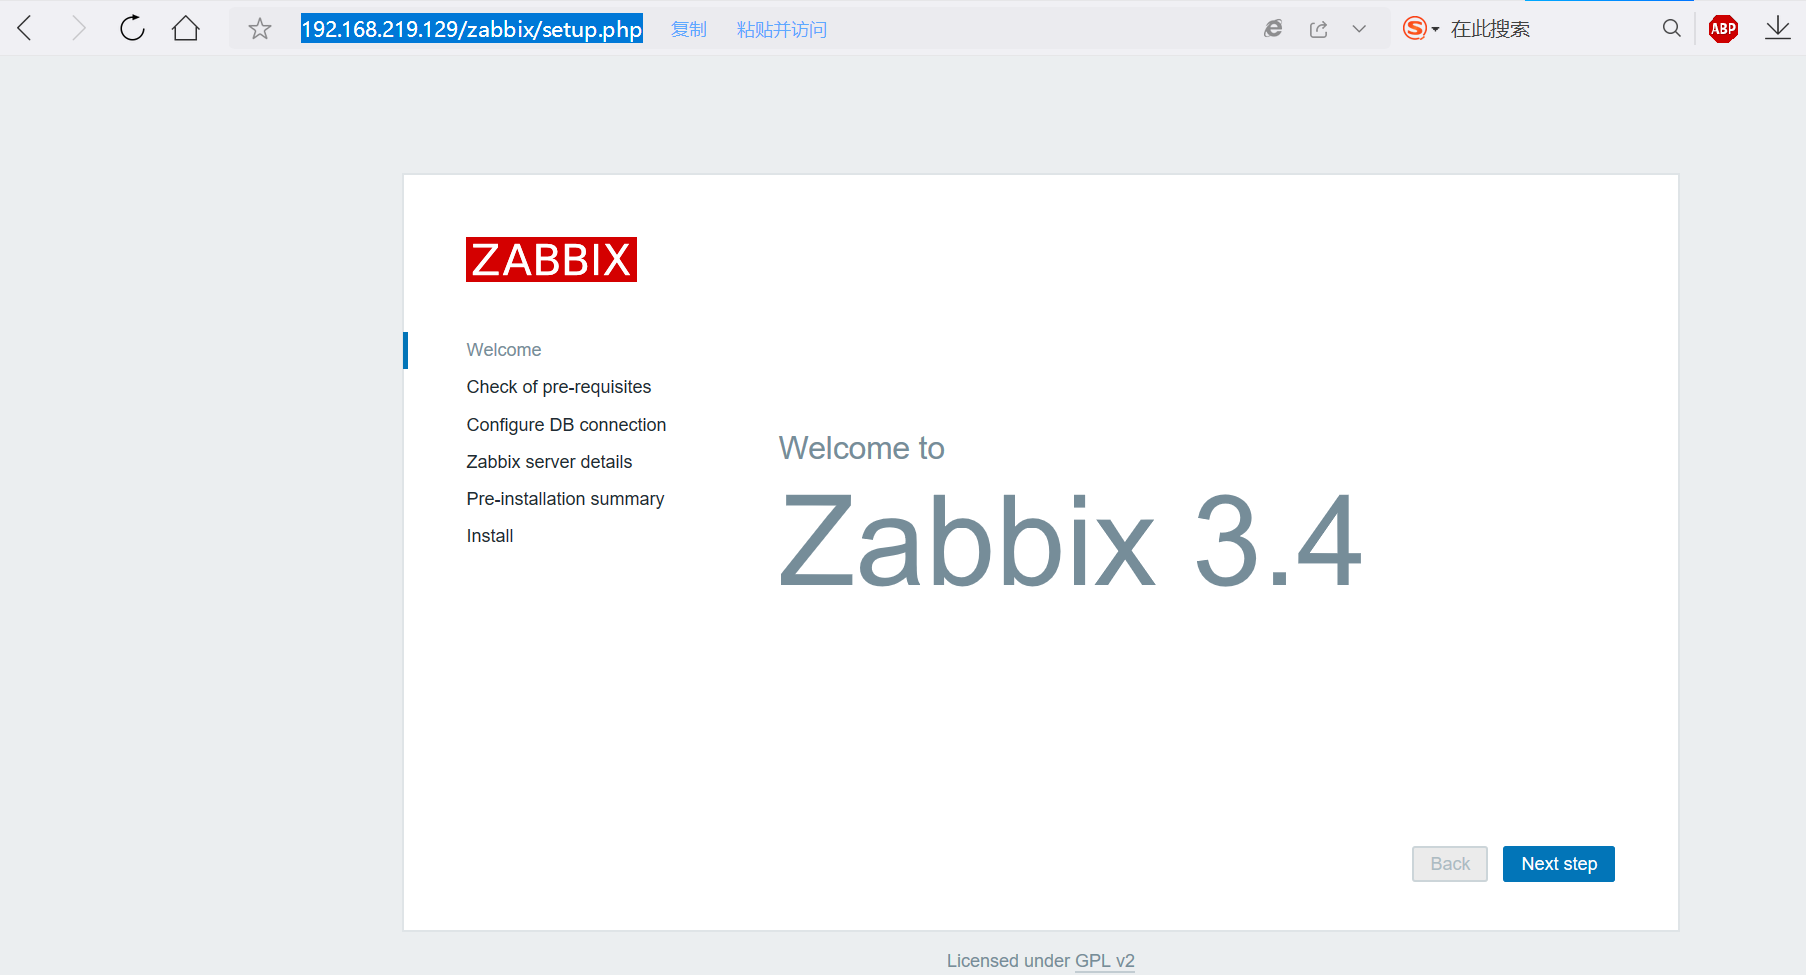
后面的按实际填写,最后一步的名字是Admin,密码是zabbix:
查看当前Zabbix服务端的配置信息
[root@c71 ~]# cat  /etc/zabbix/web/zabbix.conf.php
<?php
// Zabbix GUI configuration file.
global $DB;

$DB['TYPE']     = 'MYSQL';
$DB['SERVER']   = 'localhost';
$DB['PORT']     = '3306';
$DB['DATABASE'] = 'zabbix';
$DB['USER']     = 'zabbix';
$DB['PASSWORD'] = 'zabbix';

// Schema name. Used for IBM DB2 and PostgreSQL.
$DB['SCHEMA'] = '';

$ZBX_SERVER      = 'localhost';
$ZBX_SERVER_PORT = '10051';
$ZBX_SERVER_NAME = 'test';

$IMAGE_FORMAT_DEFAULT = IMAGE_FORMAT_PNG;
2.Zabbix客户端的配置
CentOS6上安装:
rpm -ivh https://mirrors.tuna.tsinghua.edu.cn/zabbix/zabbix/3.4/rhel/6/x86_64/zabbix-agent-3.4.14-1.el6.x86_64.rpm
CentOS7上安装:
rpm -ivh https://mirrors.tuna.tsinghua.edu.cn/zabbix/zabbix/3.4/rhel/7/x86_64/zabbix-agent-3.4.14-1.el7.x86_64.rpm
接下来的步骤已在CentOS6上安装为例: