在koa下实现路由注册,我们要达到下面的效果:
import {controller, RequestMapping} from '../decrator';
import {Context} from 'koa';
@controller('/user')
export class UserController {
@RequestMapping({path: '/get', method: 'get'})
public async getUser (ctx: Context){
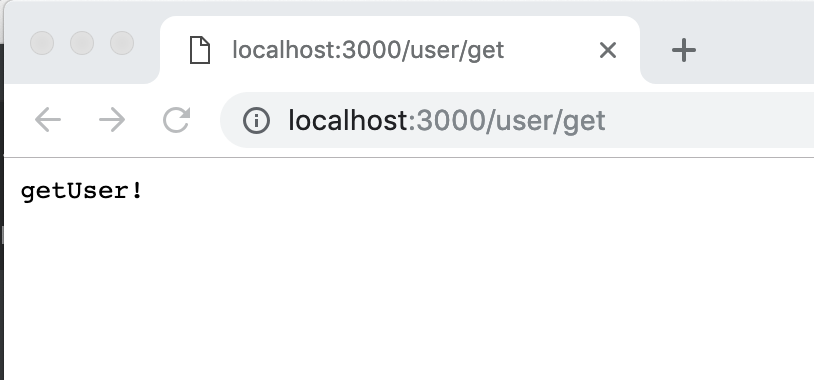
ctx.body = 'getUser!';
}
}
首先我们需要两个装饰器,一个用于类上,一个用于方法上,且根据装饰器的执行顺序,方法装饰器先于类装饰器执行
// decorator.ts
import {NextFunction} from 'express';

// 存储路由信息的map
const routersMap: Map<{target: any, method: string, path: string}, NextFunction>
    = new Map();

// 装饰器执行顺序:方法装饰器先于类装饰器

// 类装饰器
export function controller (path?: string) {
    return (target: any) => {
        if (path) {

            // 如果@controller path有值,则在已注册的方法url上添加前缀
             routersMap.forEach((fun, routers) => {

                if (routers.target === target.prototype){
                    let finalPath = routers.path;
                    finalPath = path + '/' + finalPath;
                    finalPath = finalPath.replace(/\/{2,}/g, '/');
                    routers.path = finalPath;
                    }
                });
            }};
}

// 方法装饰器
export function RequestMapping (config: {path: string, method: string}) {
    return (target: any, name: string, descriptor: PropertyDescriptor) => {
        routersMap.set({
            target,
            path: config.path,
            method: config.method
        }, target[name]);
    };
}

export {routersMap};
接下来,需要对koa提供的类进行包装,将路由注册之后,再暴露给外部。此外,由于方法装饰器和类装饰器在类被加载的时候才会生效,所以需要加载所有的controller类,这是用了fs模块递归加载。同时由于这个方法只在启动时调用一次,所以可以调用fs模块的同步方法。
// application.ts
import Koa from 'koa';
import Router from 'koa-router';
import {routersMap} from './decrator';
import * as path from 'path';
import * as fs from 'fs';

export class Application {

    private readonly router: any;
    private app: Koa;

    constructor () {
        this.app = new Koa();
        this.router = new Router();
        this.app.on('error', (err) => {
            throw err;
        });
        this.registerRouters();
    }

    // 注册路由
    public registerRouters () {
        this.loadControllers(path.join(__dirname, './controller'));
        for (const [config, controller] of routersMap) {
            this.router[config.method](config.path, controller);
        }
        this.app.use(this.router.routes());
        this.app.use(this.router.allowedMethods());
    }

    // 递归加载controller目录下的ts文件
    private loadControllers (filePath: string): void{
        const files = fs.readdirSync(filePath);
        files.forEach((file) => {
            const newFilePath = path.join(filePath, file);
            if (fs.statSync(newFilePath).isDirectory()){
                this.loadControllers(newFilePath);
            }else{
                require(newFilePath);
            }
            }
        );
    }

    public listen (port: number) {
        this.app.listen(port);
    }
}
最后,写一个入口文件启动服务
// bootstrap.ts

import {Application} from './application';

const app = new Application();
app.listen(3000);
代码目录结构如图所示:

最终效果如图: