环境如下:
资源服务器_1:192.168.10.10 centos 7 tengine 2.3.0
资源服务器_2:192.168.10.129 centos 7 tengine 2.3.0
代理服务器:192.168.10.130 centos 7 tengine 2.3.0
一、安装tengine
1、下载tengine
[root@localhost opt]# wget http://tengine.taobao.org/download/tengine-2.3.0.tar.gz
2、编译安装
[root@localhost opt]# tar -zxvf  tengine-2.3.0.tar.gz

[root@localhost opt]# cd  tengine-2.3.0

[root@localhost tengine-2.3.0]# ./configure --prefix=/opt/tnginx

[root@localhost tengine-2.3.0]# make && make install
3、将nginx脚本添加到环境变量中。
[root@localhost tengine-2.3.0]# echo $PATH # 查看当前环境变量


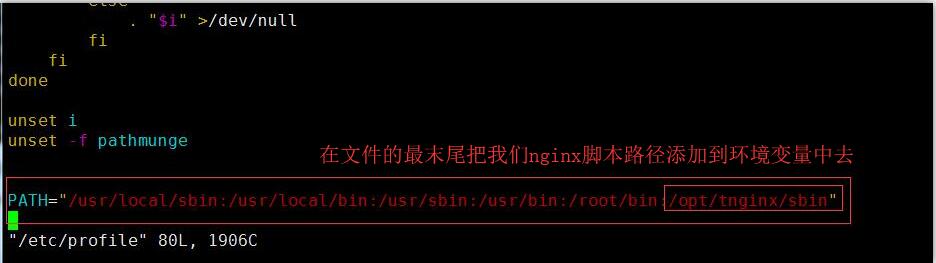
将/opt/tnginx/sbin路径保存到我们的环境变量中。这里我们直接保存到全局环境中。
[root@localhost sbin]# vim /etc/profile
[root@localhost sbin]# source /etc/profile 使配置立即生效
这样我们就可以在任何地方使用nginx来管理我们的nginx服务了。
[root@localhost sbin]# nginx -t     检测配置文件语法是否正确

[root@localhost sbin]# nginx -s reload    重载配置文件

[root@localhost sbin]# nginx -s stop   停止nginx服务

[root@localhost sbin]# nginx   开启nginx服务
好了到此我们的nginx算是初步配置完成,其它两台主机的安装就不再赘述了。为了区别不同的资源服务器我们简单的调整下HTML文件。
4、调整192.168.10.10资源服务器中的HTML文件
[root@localhost sbin]# cd /opt/tnginx/html/     进入到tnginx的HTML目录

[root@localhost html]# vim index.html

我们只需要将图片放到我们当前的html目录下即可,看起来像下面这样。

[root@localhost html]# nginx 开启nginx服务
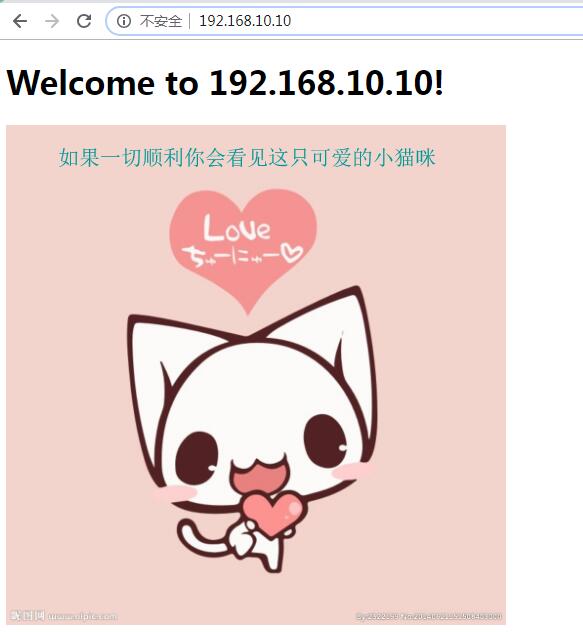
访问http://192.168.10.10查看我们的小猫咪
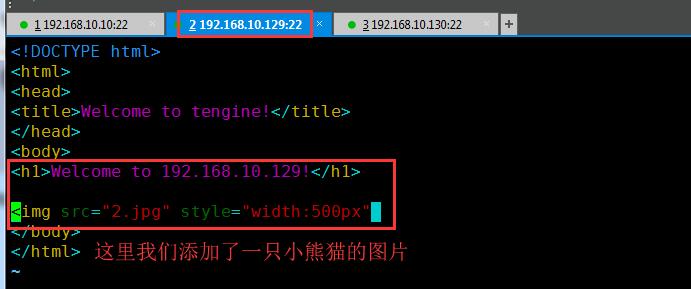
4、调整192.168.10.129资源服务器中的HTML文件。
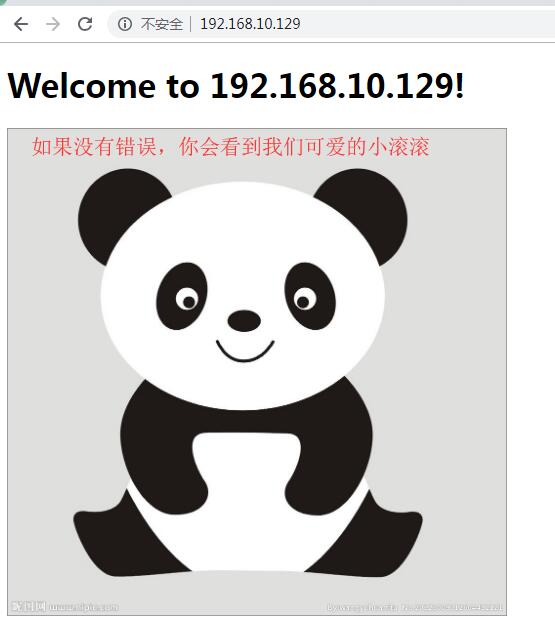
访问http://192.168.10.129查看我们的小滚滚
好了资源服务器就设置到这里,下面我们去设置代理服务器。
5、设置192.168.10.130代理服务器
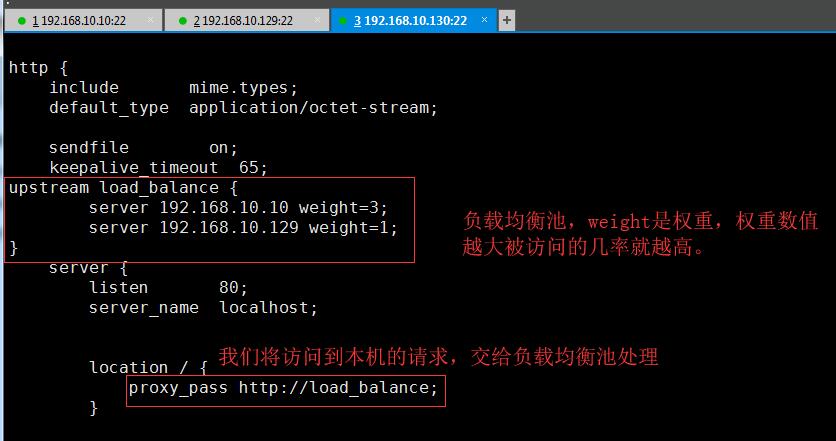
[root@localhost ~]# vim /opt/tnginx230/conf/nginx.conf 打开nginx配置文件
在http代码块内server的上面我们添加一个负载均衡池,并将请求交给负载均衡池处理。
[root@localhost ~]# nginx -t 检查配置文件的语法是否正确
如果像下面图片这样说明你的配置文件没有问题。

[root@localhost ~]# nginx -s reload 重载配置文件
6、在浏览器上访问192.168.10.130代理服务器

也许你会发现有时多次刷新页面权重低的图片加载不出来,具体原因暂时不清楚,等知道了后回来补上。