第一步:esxi系统的安装
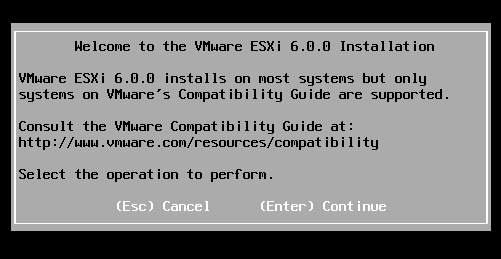
镜像启动:
回车继续:
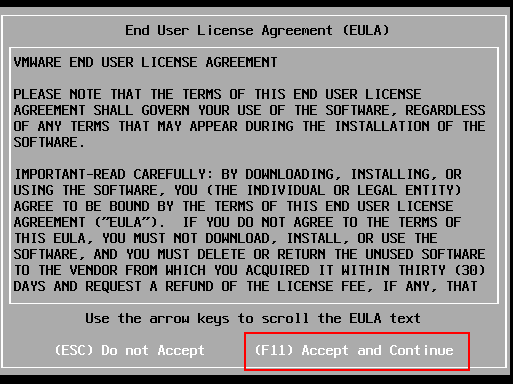
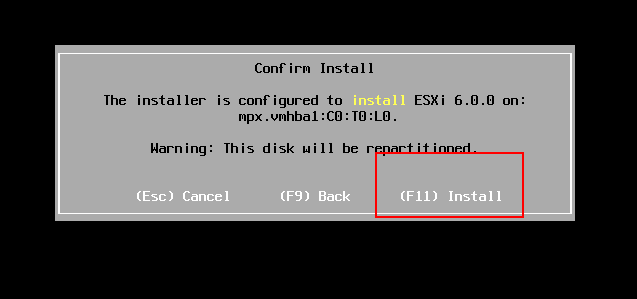
F11 同意 继续:
选择你的存储:

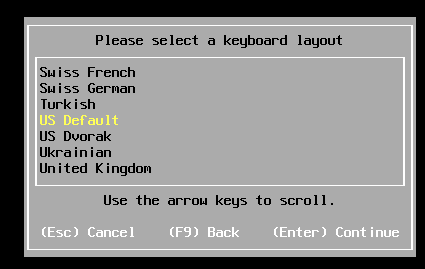
选择键盘,默认美式
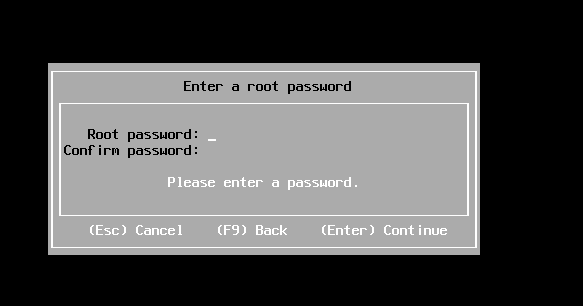
设置登录的root密码,回车继续:
F11 开始安装
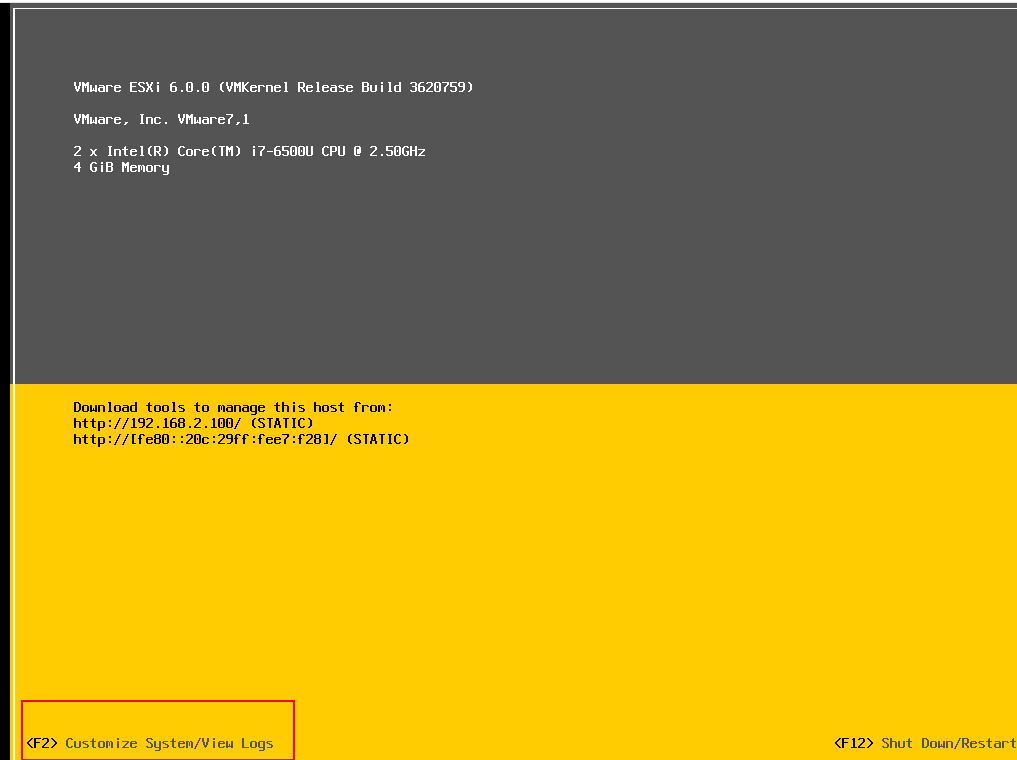
安装完成之后重启
重启之后,按F2开始配置:
系统配置信息:
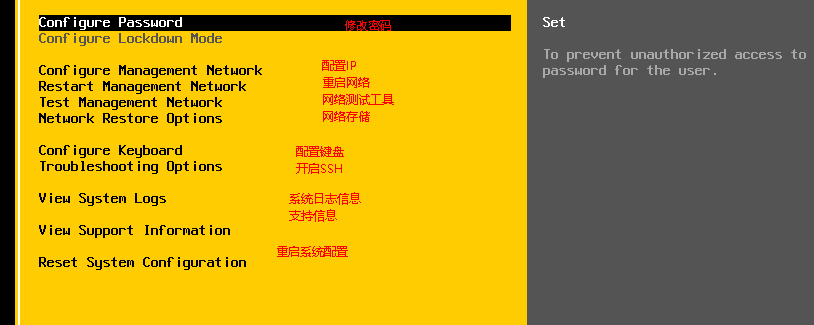
安装完成后的一些配置:
ssh shell修改主机名:
esxcfg-advcfg -s HOSTNAME /Misc/HostName
修改SSH端口:
vi /etc/ssh/sshd_config

cp /etc/services /vmfs/volumes/datastore1/

vi /vmfs/volumes/datastore1/services
修改此处如下:

编写防火墙策略
vi /vmfs/volumes/datastore1/ssh_62008.xml


内容入下:
<ConfigRoot>
<service>
<id>SSH 62008</id>
<rule id = '0000'>
<direction>inbound</direction>
<protocol>tcp</protocol>
<porttype>dst</porttype>
<port>62008</port>
</rule>
<enabled>true</enabled>
<required>false</required>
</service>
</ConfigRoot>
编写脚本,以便重启时防火墙生效
 vi /etc/rc.local.d/local.sh

#!/bin/sh

# local configuration options

# Note: modify at your own risk!  If you do/use anything in this
# script that is not part of a stable API (relying on files to be in
# specific places, specific tools, specific output, etc) there is a
# possibility you will end up with a broken system after patching or
# upgrading.  Changes are not supported unless under direction of
# VMware support.
#Copy the new firewall rule from vmfs place holder to file system
cp /vmfs/volumes/datastore1/ssh_62008.xml /etc/vmware/firewall/
#refresh firewall rules
esxcli network firewall refresh
#Copy the modified services file from vmfs place holder to file system
cp /vmfs/volumes/datastore1/services /etc/services
#Restart inetd to get the changes
kill -HUP `cat /var/run/inetd.pid`
exit 0
重启SSH服务
/etc/init.d/SSH restart
重启系统,以便配置生效
可以通过web界面来管理ESXi的虚拟机
https://IP/ui