Android实现上传图片到服务器
本文通过HttpURLConnection、HttpClient实现将手机相册图片上传至服务器,采用JSP、javaWeb技术。由于本人能力有限,不对之处请多多指教。
开发工具:Eclipce(集成了Android 和 JavaEE环境)
开发环境:Windows 7
方案一:HttpClient + Tomcat服务器 + JSP页面技术实现图片上传,上传之后的图片存放于电脑D盘根目录。
思路:
1.将图片转换为文本文件
2.使用HttpClient发起网络请求,将图片文本作为参数上传
3.服务器接收到客户端(android手机)的http请求
4.解析文本文件,获取图片并保存
5.通知客户端(android)是否上传成功
具体实现:
Android端设计:
(1)因为android 4.0以后是拒绝在主线程中发起网络请求,这次采用将Httpclient封装,采用java提供的接口回调技术避免无法在内部类中返回服务器响应的内容,具体封装代码如下:
	/**
	 * 使用HttpClient post 发起网络请求,上传图片
	 * @param bitmapStr 图片的String字符串
	 * @param url 服务器的ip地址
	 * @param listenre
	 */
	public static void httpClientConnection(final String bitmapStr, final String url, final HttpCallBackListener httpCallBackListener) {
		//在子线程中发起网络请求
		new Thread(new Runnable() {
			@Override
			public void run() {
				try {
					HttpClient httpclient = new DefaultHttpClient();
					HttpPost request = new HttpPost(url);

					//封装参数
					List<NameValuePair> param = new ArrayList<NameValuePair>();
			        param.add(new BasicNameValuePair("bitmapStr", bitmapStr));
			        request.setEntity(new UrlEncodedFormEntity(param));

					request.addHeader("Accept", "text/json");
					// 获取响应的结果
					HttpResponse response = httpclient.execute(request);
					// 获取HttpEntity
					HttpEntity entity = response.getEntity();
					// 获取响应的结果信息
					String result = EntityUtils.toString(entity, "UTF-8");
					if (result != null && httpCallBackListener != null) {
						httpCallBackListener.onFinish(result);
					}
				} catch (Exception e) {
					e.printStackTrace();
					if (httpCallBackListener != null){
						httpCallBackListener.onError(e);
					}
				}
			}
		}).start();
}/**
*
* @author LongGe
* @data 2017年4月20日
* @ClassName HttpCallBackListener
* @Description 当发起网络请求时回调该接口
*/
public interface HttpCallBackListener {
void onFinish(String respone);
void onError(Exception e);
}
(2)http工具类封装完以后,接下来就是图片压缩为文本文件,这里我采用先将图片转化为字节数据,在用Base64工具转换为字符串
	/**
	 * 将图片转换为字符串
	 *
	 * @param context
	 *            上下文
	 * @param drawble
	 *            BitmapDrawble类型的图片 可通过imageView.getDrawble()获得
	 * @return
	 */
	public static String bitmapToString(Context context, BitmapDrawable drawble) {
		// 保存
		// BitmapDrawable drawble = (BitmapDrawable) cv_head.getDrawable();
		Bitmap bitmap = drawble.getBitmap();

		// 第一步 将bitmap 转换成字节数组输出流
		ByteArrayOutputStream byStream = new ByteArrayOutputStream();
		bitmap.compress(Bitmap.CompressFormat.PNG, 80, byStream);

		// 利用base64将字节数组转换成字符串
		byte[] byteArray = byStream.toByteArray();
		String imgString = new String(Base64.encodeToString(byteArray, Base64.DEFAULT));
		return imgString;

}所有工作都准备好以后,就可以在MainActivity中使用了
服务器端设计:
(1)服务器选用的是Tomcat,采用JSP页面技术。新建jsp文件处理客户端提交的请求
(2)先将接收到的图片文本转换为图片格式
(3)用OutputStrean将图片输出到D盘根目录,为了图片不被覆盖,可以采用当前时间作为图片名 (如果存入数据库可在这里存储图片路径)
(4)如果服务器端全部执行成功,以json数据形式告知客户端处理成功
服务器代码:
<%@page import="java.io.OutputStream"%>
<%@ page language="java" contentType="text/html; charset=utf-8"
    pageEncoding="utf-8"
    import="java.text.SimpleDateFormat"
	import="java.util.Date"
	import="java.util.HashMap"
	import="java.util.Map"
	import="utils.*"
	import="com.google.gson.*"
    %>

<!DOCTYPE html PUBLIC "-//W3C//DTD HTML 4.01 Transitional//EN" "http://www.w3.org/TR/html4/loose.dtd">
<html>
<head>
<meta http-equiv="Content-Type" content="text/html; charset=utf-8">
<title>Insert title here</title>
</head>
<body>
<%
	@SuppressWarnings("unused")
	String url = "http://192.168.1.112:8080/AndroidServer/index.jsp";
	Map<String, String> json = new HashMap<String, String>();
	try {
		String bitmapStr = request.getParameter("bitmapStr");
		System.out.println(bitmapStr);
		//获取当前时间
		SimpleDateFormat df = new SimpleDateFormat("yyyyMMddHHmmss");
		String name = df.format(new Date());
		//以当前时间命名图片
		UtilTools.string2image(bitmapStr, "D:\\" + name + ".jpg");
		System.out.println("上传成功");

		//返回数据给客户端
		String result = "upload_ok";
		json.put("result", result);
		Gson gson = new Gson();
		result = gson.toJson(json);
		byte[] jsonBytes = result.getBytes("utf-8");
		response.setContentLength(jsonBytes.length);
		OutputStream os = response.getOutputStream();
		os.write(jsonBytes);
		os.flush();
		os.close();
		out.clear();
		out = pageContext.pushBody();
	} catch (Exception e) {
		e.printStackTrace();
	}
%>
</body>
</html>
图片文本格式转换成图片,并存储到指定位置代码:
	/**
	 * @param imgString
	 *            图片的String
	 * @param imgFile
	 *            图片存储的路径
	 * @return
	 */
	public static boolean string2image(String imgStr, String imgFile)
			throws Exception {
		// 图像数据为空
		if (imgStr == null) {
			return false;
		}
		BASE64Decoder decoder = new BASE64Decoder();
		try {
			// Base64解码
			byte[] b = decoder.decodeBuffer(imgStr);
			for (int i = 0; i < b.length; ++i) {
				if (b[i] < 0) {// 调整异常数据
					b[i] += 256;
				}
			}
			// 生成jpeg图片
			OutputStream out = new FileOutputStream(imgFile);
			out.write(b);
			out.flush();
			out.close();
			return true;
		} catch (Exception e) {
			throw e;
		}
}方案二:HttpURLConection + Tomcat服务器+ Struts2
思路和方案一基本类似,客户端设计(android手机)基本和方案一一样,服务器端设计也是基本一样,
只是将JSP页面中的内容封装在一个实现Servlet的容器中。记得在web.xml中配置<package>
public static void httpClientConnection(final String bitmapStr, final String url, final HttpCallBackListener httpCallBackListener) {
//在子线程中发起网络请求
new Thread(new Runnable() {
@Override
public void run() {
try {
HttpClient httpclient = new DefaultHttpClient();
HttpPost request = new HttpPost(url);
//封装参数
List<NameValuePair> param = new ArrayList<NameValuePair>();
param.add(new BasicNameValuePair("bitmapStr", bitmapStr));
request.setEntity(new UrlEncodedFormEntity(param));
request.addHeader("Accept", "text/json");
// 获取响应的结果
HttpResponse response = httpclient.execute(request);
// 获取HttpEntity
HttpEntity entity = response.getEntity();
// 获取响应的结果信息
String result = EntityUtils.toString(entity, "UTF-8");
if (result != null && httpCallBackListener != null) {
httpCallBackListener.onFinish(result);
}
} catch (Exception e) {
e.printStackTrace();
if (httpCallBackListener != null){
httpCallBackListener.onError(e);
}
}
}
}).start();
}方案二和方案一基本一样,就不贴全部源码,
下面会给出全部代码,仅供参考
全部源码:包括android端源码 和 服务器端源码
所有源代码 http://download.csdn.net/detail/qq_29258251/9823085
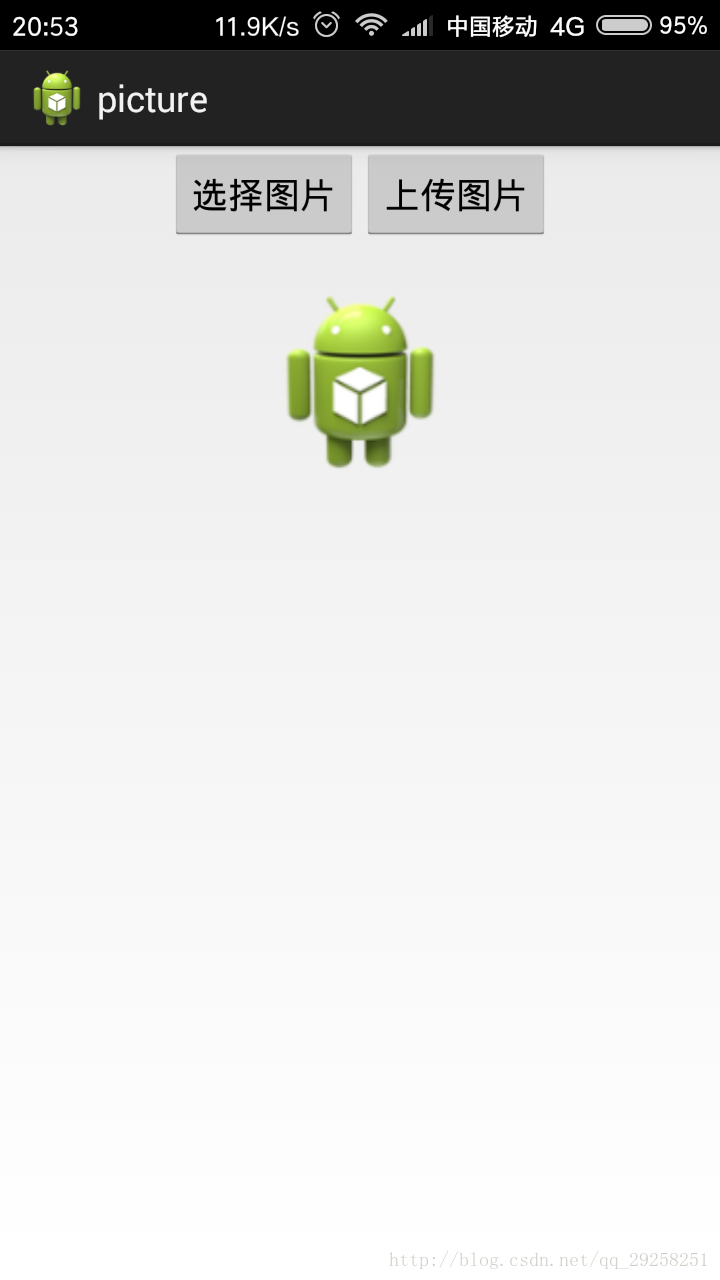
效果图:
参考资料:《疯狂Android讲义》 第三版
《第一行代码》 第一版
《疯狂java讲义》 第三版
注意:转载请注明出处!!!!!!!!