安装Weblogic
WebLogic是用于开发、集成、部署和管理大型分布式Web应用、网络应用和数据库应用的Java应用服务器,由美国Oracle公司出品,是一个基于JAVAEE架构的中间件,它将Java的动态功能和Java Enterprise标准的安全性引入大型网络应用的开发、集成、部署和管理之中。
基本概念
容器:
Web容器:运行jsp/servlet等表示层逻辑组件。
EJB容器:运行javabean,enterprise javabean等业务层逻辑组件。
Weblogic:
BEA WebLogic Server:用于开发、集成、部署和管理大型分布式Web应用、网络应用和数据库应 用的Java应用服务器。
Domain:域是个逻辑概念,用来组织管理一系列的应用服务器实例。WebLogic应用服务器启动的时候就是以某个域来启动的,它有一个中心配置文件叫config.xml。
Cluster:群集,也是一个逻辑概念,用来分组用途相同的服务器实例,一个域中可以有多个服务。Cluster实现均衡负载和容错。
Administration Server:管理服务器是用来管理配置域的中心点,一般来说,管理服务器上是不部署应用程序的,而是用来统一管理、配置、监控被管理服务器以及部署应用程序到被管理服务器上。一个域中有一台管理服务器。
Managed Server:被管理服务器是用来部署运行各种应用程序的。一个域中有一台或多台被管理服务器 。
Node Manager:节点管理器是一个单独运行的后台程序,一般运行在被管理服务器的机器上,用来提供远程启动和停止服务器(Server)的功能 。
Domain:
一个Domain 可以包含一个或多个WebLogic Server实例,甚至是Server集群。一个Domain中有一个且只能有一个Server 担任管理Server的功能,其它的Server具体实现一个特定的逻辑功能。
WebLogic Server 可以在多个服务器实例上承载应用程序, 每个服务器实例可以在另一台计算机上运行, 并指定其自己的网络地址。您还可以将服务器组合为集群, 以确保您的应用程序总是处于可用状态, 即使其中一个服务器实例失败也是如此。
使用管理控制台的此部分可以创建, 配置以及控制服务器和集群。
| 区域 | 说明 |
|---|---|
| 服务器 | 服务器是 WebLogic Server 的实例, 它运行在自身的 Java 虚拟机 (JVM) 上, 具有自己的配置。 |
| 集群 | 集群是一种部署, 在其中同时运行着多个 WebLogic Server 实例 (服务器), 这些服务器一起工作以提高可缩放性和可靠性。对于客户机而言, 集群是一个 WebLogic Server 实例。组成集群的服务器既可以在同一台计算机上运行, 也可以位于不同的计算机上。 |
| 服务器模板 | 服务器模板是原型服务器, 使管理员可以轻松为同构服务器配置共享设置。 |
| 虚拟主机 | 虚拟主机是 WebLogic Server 实例 (服务器) 或集群响应的一组主机名。使用虚拟主机时, 可以使用 DNS 指定映射到服务器 IP 地址或集群 IP 地址的一个或多个主机名。还可以指定每个虚拟主机所服务的 Web 应用程序。 |
| 可迁移目标 | 可迁移目标是一次只能在集群的一个服务器上处于活动状态的目标。 |
| Coherence 集群 | Coherence 集群是一组 Coherence 节点, 这些节点共享一个允许它们进行通信的组地址。Coherence 节点可以是应用程序, 模块或应用程序服务器 (WebLogic Server 实例或独立高速缓存服务器)。Coherence 集群允许应用程序在承载需要访问服务器实例和集群的应用程序的服务器实例和集群之间共享数据管理和高速缓存服务。 |
| 计算机 | 计算机是承载一个或多个 WebLogic Server 实例 (服务器) 的计算机的逻辑表示。WebLogic Server 使用配置的计算机名来确定某些特定任务 (如 HTTP 会话复制) 要委派到的集群中最佳服务器。管理服务器使用此计算机定义和节点管理器应用程序一起来启动远程服务器。 |
| 工作管理器 | 工作管理器定义一组请求类和线程约束条件, 用于管理 WebLogic Server 执行的工作。J2EE 应用程序, Web 应用程序模块, EJB 和 RMI 应用程序可以指定命名工作管理器用于管理其工作请求。 |
| 启动类和关闭类 | 启动类和关闭类是您创建的 Java 程序, 可用其在系统范围内对应用程序提供定制服务。可将这些类添加到 WebLogic Server 类路径中, 然后将其配置为在服务器启动或关闭时加载并运行。 |
在weblogic中部署项目通常有三种方式:
- 在控制台中安装部署;
- 将部署包放在domain域中autodeploy目录下部署;
- 使用域中配置文件config.xml 进行项目的部署。
安装
WebLogic Server有三种安装方式:
图形用户界面方式(Windows)

命令行方式(Unix/Linux)

静默安装方式(Unix/Linux)
这里采用第三种方式,即静默方式安装weblogic。
weblogic下载地址,先下载weblogic(通用版本),然后传至服务器。
- 安装java环境:
# yum remove -y openjdk

# tar zxf jdk-8u191-linux-x64.tar.gz && mv jdk1.8.0_191/ /usr/local/jdk

# vim /etc/profile

JAVA_HOME=/usr/local/jdk
PATH=$PATH:$JAVA_HOME/bin:$JAVA_HOME/jre/bin
CLASSPATH=.:$JAVA_HOME/lib/dt.jar:$JAVA_HOME/lib/tools.jar:$JAVA_HOME/jre/lib
export JAVA_HOME PATH CLASSPATH

# source !$

# java -version

# ln -s /usr/local/jdk/bin/java /usr/local/bin/java
- 创建weblogic用户:
# useradd weblogic

# passwd weblogic

# su - weblogic

$ vim ~/.bash_profile

JAVA_HOME=/usr/local/jdk
PATH=$PATH:$JAVA_HOME/bin:$JAVA_HOME/jre/bin
CLASSPATH=.:$JAVA_HOME/lib/dt.jar:$JAVA_HOME/lib/tools.jar:$JAVA_HOME/jre/lib
export JAVA_HOME PATH CLASSPATH

$ source !$

$ java -version
- 安装准备:
$ vim wls.rsp               #创建响应文件

[ENGINE]

#DO NOT CHANGE THIS.

Response File Version=1.0.0.0.0

[GENERIC]

#The oracle home location. This can be an existing Oracle Home or a new Oracle Home

ORACLE_HOME=/home/weblogic/oracle               #指定weblogic安装目录,自动创建

#Set this variable value to the Installation Type selected. e.g. WebLogic Server, Coherence, Complete with Examples.

INSTALL_TYPE=WebLogic Server

#Provide the My Oracle Support Username. If you wish to ignore Oracle Configuration Manager configuration provide empty string for user name.

MYORACLESUPPORT_USERNAME=

#Provide the My Oracle Support Password

MYORACLESUPPORT_PASSWORD=<SECURE VALUE>

#Set this to true if you wish to decline the security updates. Setting this to true and providing empty string for My Oracle Support username will ignore the Oracle Configuration Manager configuration

DECLINE_SECURITY_UPDATES=true

#Set this to true if My Oracle Support Password is specified

SECURITY_UPDATES_VIA_MYORACLESUPPORT=false

#Provide the Proxy Host

PROXY_HOST=

#Provide the Proxy Port

PROXY_PORT=

#Provide the Proxy Username

PROXY_USER=

#Provide the Proxy Password

PROXY_PWD=<SECURE VALUE>

#Type String (URL format) Indicates the OCM Repeater URL which should be of the format [scheme[Http/Https]]://[repeater host]:[repeater port]

COLLECTOR_SUPPORTHUB_URL=
$ vim oraInst.loc               #创建Loc文件

inventory_loc=/home/weblogic/oraInventory

inst_group=weblogic
- 安装weblogic:
静默安装命令格式:
java -jar wls_121200.jar -silent -responseFile file -invPtrLoc file
# cp -r /software/wls_121200.jar /home/weblogic/

# chown -R weblogic:weblogic /home/weblogic/

# su - weblogic

$ chmod +x wls_121200.jar

$ java -jar wls_121200.jar -silent -responseFile /home/weblogic/wls.rsp -invPtrLoc /home/weblogic/oraInst.loc             #静默安装,需要绝对路径

Copying Files...
-----------20%----------40%----------60%----------80%--------100%

The installation of WebLogic Server 12.1.2.0.0 completed successfully.
日志成功复制到/home/weblogic/oraInventory/logs,打印此信息,说明weblogic安装成功。
- 创建domain(域名):
创建domain有两种方式:通过纯命令行或参数文件执行创建。
纯命令行创建:
$ export MW_HOME="/home/weblogic/oracle"

$ export WL_HOME="/home/weblogic/oracle/oracle_common"

$ cd /home/weblogic/oracle/wlserver/common/bin/

$ ./commEnv.sh

$ ./wlst.sh

wls:/offline> readTemplate('/home/weblogic/oracle/wlserver/common/templates/wls/wls.jar')

wls:/offline/base_domain>cd('Servers/AdminServer')

wls:/offline/base_domain/Server/AdminServer>set('ListenAddress','')

wls:/offline/base_domain/Server/AdminServer>set('ListenPort',7001)

wls:/offline/base_domain/Server/AdminServer>cd('../..')

wls:/offline/base_domain>cd('Security/base_domain/User/weblogic')               #用户为weblogic

wls:/offline/base_domain/Security/base_domain/User/weblogic>cmo.setPassword('weblogic123')                  #密码是weblogic123

wls:/offline/base_domain/Security/base_domain/User/weblogic>setOption('OverwriteDomain','true')

wls:/offline/base_domain/Security/base_domain/User/weblogic>writeDomain('/home/weblogic/oracle/user_projects/domains/base_domain')

wls:/offline/base_domain/Security/base_domain/User/weblogic>closeTemplate()

wls:/offline>exit()
第一种参数文件创建:
$ cd /home/weblogic/oracle/wlserver/common/bin/

$ vim create_domains.py

readTemplate('/home/weblogic/oracle/wlserver/common/templates/wls/wls.jar')
cd('Servers/AdminServer')
set('ListenAddress','ip地址')
set('ListenPort', 7001)
cd('/Security/base_domain/User/weblogic')
cmo.setPassword('weblogic123')
setOption('OverwriteDomain', 'true')
setOption('ServerStartMode', 'prod')
writeDomain('/home/wls/user_projects/domains/second_domain')

closeTemplate()
exit()

$ ./wlst.sh ./create_domains.py
第二种参数文件创建:
$ vim /home/weblogic/create_domain.resp

read template from "/home/weblogic/oracle/wlserver/common/templates/wls/wls.jar";

set JavaHome "/usr/local/jdk";

set ServerStartMode "dev";

find Server "AdminServer" as AdminServer;

set AdminServer.ListenAddress "";

set AdminServer.ListenPort "7001";

set AdminServer.SSL.Enabled "true";

set AdminServer.SSL.ListenPort "7002";

create User "weblogic2" as u2;              #新建用户

set u2.password "weblogic123";

write domain to "/u02/bea/user_projects/domains/base_domain/";              #域名是"demo-domain"

close template;

$ cd /home/weblogic/oracle/wlserver/common/bin/

$ ./config.sh /home/weblogic/create_domain.resp
- 启动weblogic:
$ cd /home/weblogic/oracle/user_projects/domains/base_domain/bin/

$ ./startWebLogic.sh

$ netstat -lntp |grep java
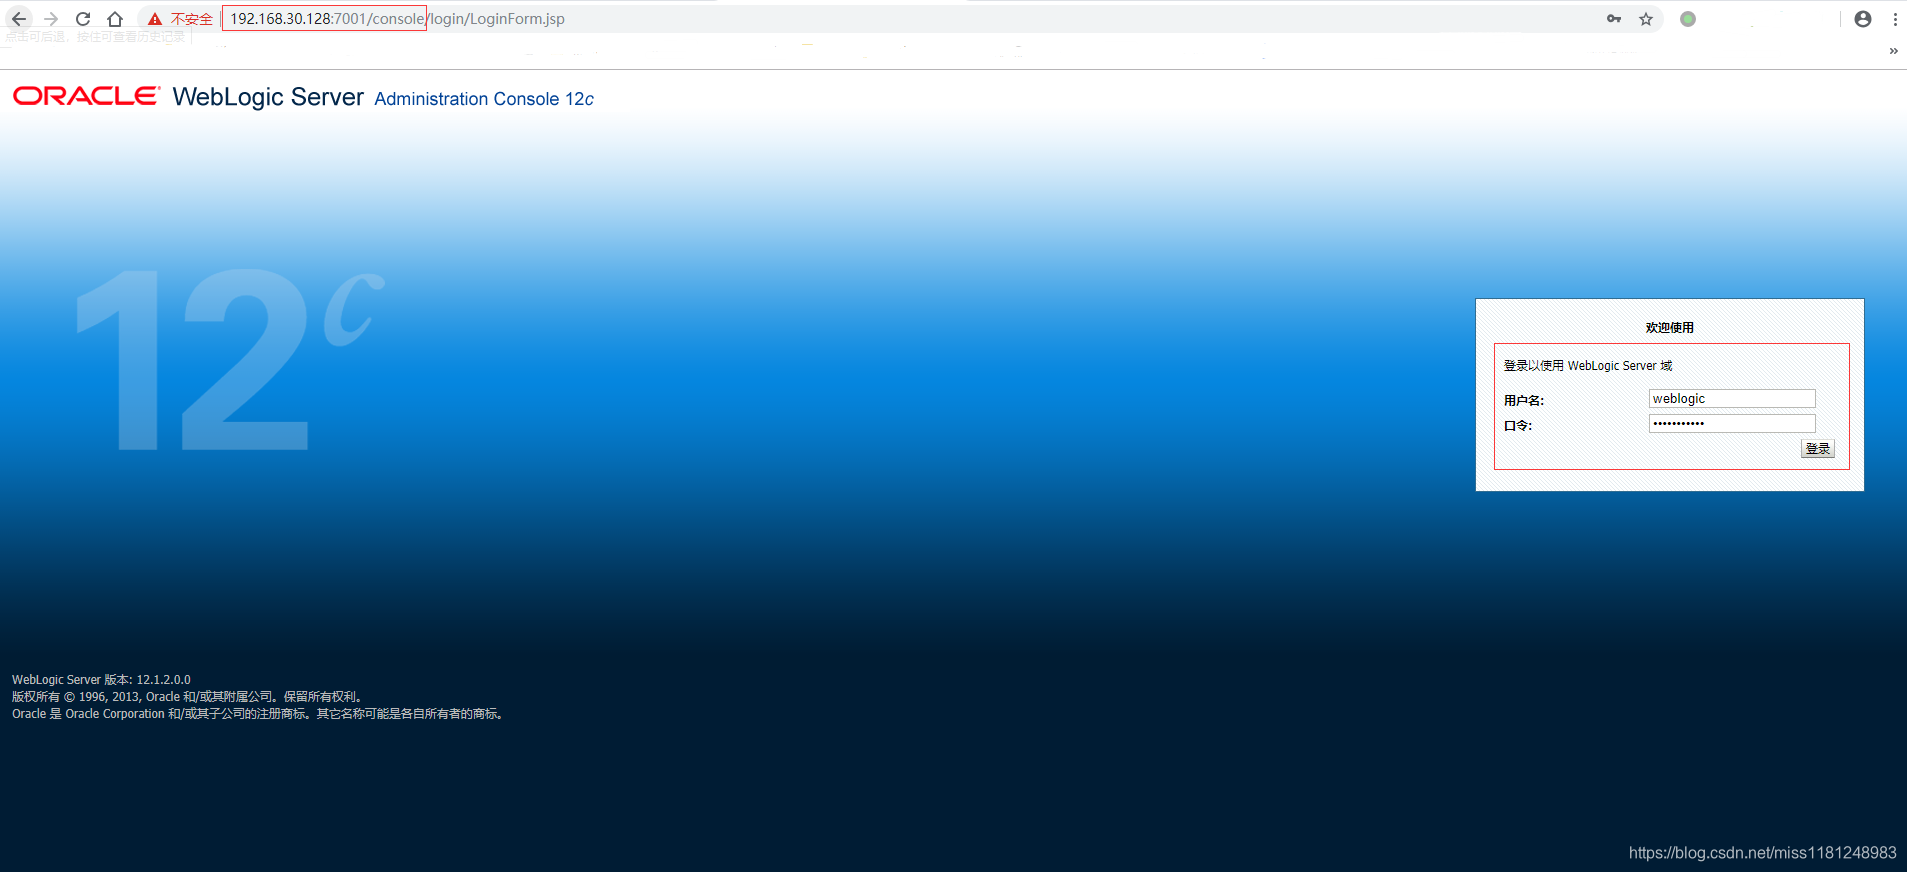
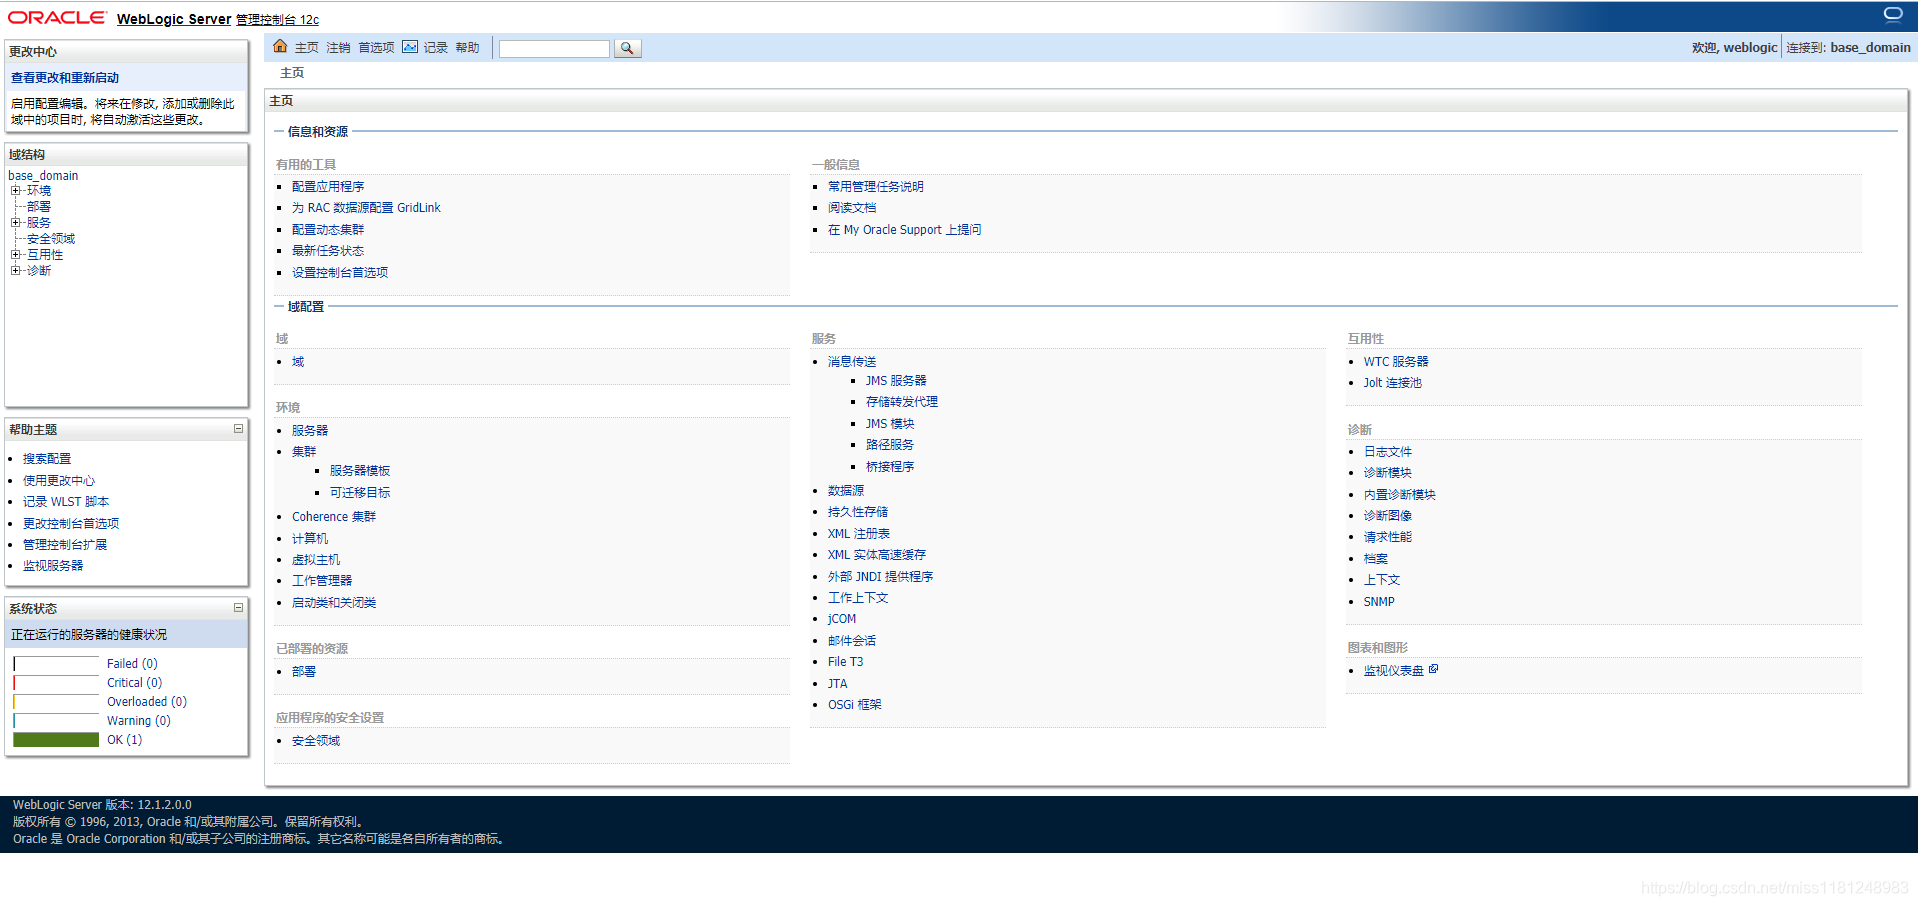
网页访问http://192.168.30.128:7001/console/login/LoginForm.jsp,出现登录页面,输入用户密码登录
更多资料参考: