一、使用步骤
1.安装plugin:

安装完后AS上就有一个freeline的编译按钮了。

2.配置Project以及Module的gradle
buildscript {
    repositories {
        jcenter()
    }
    dependencies {
        classpath 'com.antfortune.freeline:gradle:0.8.7'
    }
}
apply plugin: 'com.antfortune.freeline'
android {
...
freeline {
hack true
}
}
dependencies {
compile 'com.antfortune.freeline:runtime:0.8.7'
debugCompile 'com.antfortune.freeline:runtime:0.8.7'
releaseCompile 'com.antfortune.freeline:runtime-no-op:0.8.7'
testCompile 'com.antfortune.freeline:runtime-no-op:0.8.7'
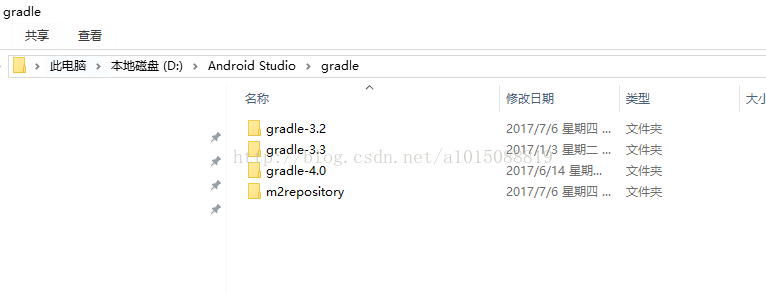
}4.安装gradle3.3版本
注意只能安装3.3版本,新版本不起作用
解压到AS的gradle目录下
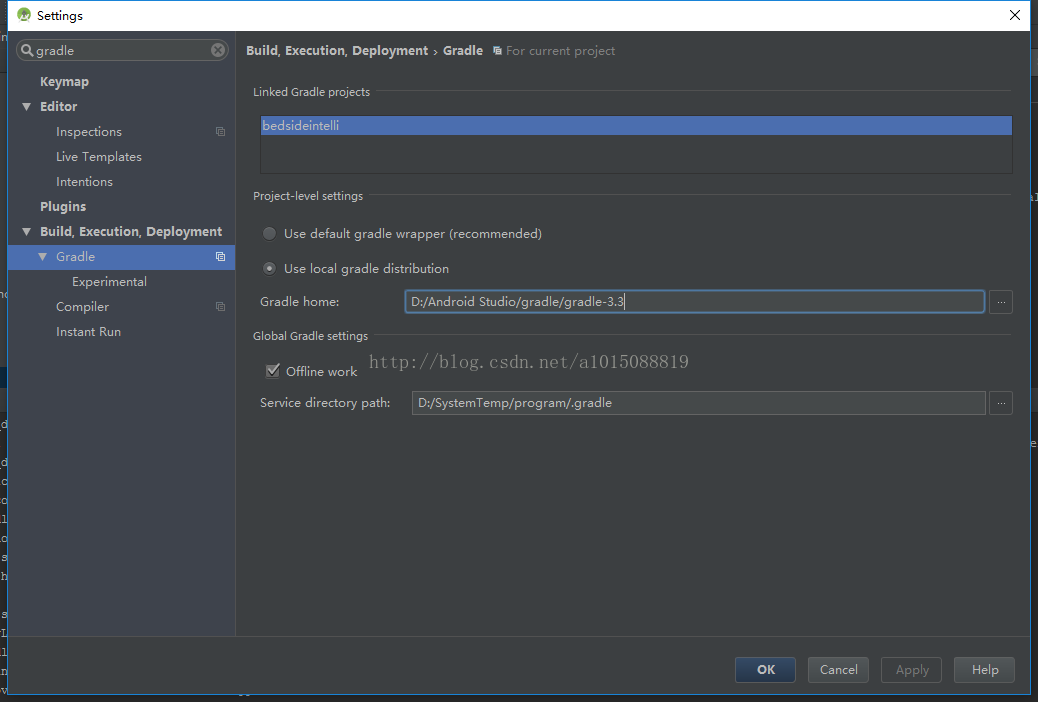
改变系统环境变量原来的版本到新的版本

设置AS中的gradle到新版本
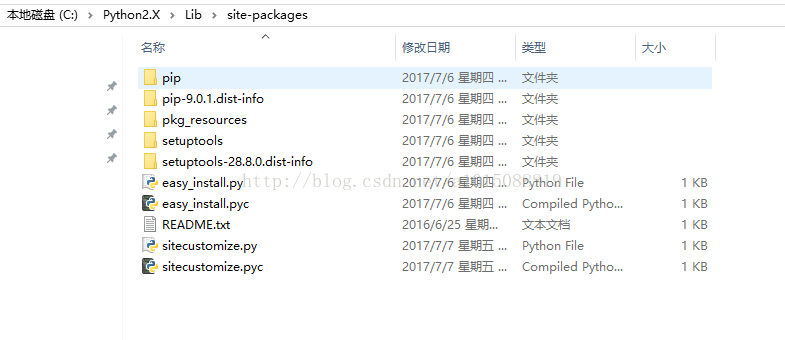
4.安装python2.7
设置环境变量到python
在python下复制进去新文件
C:\Python2.X\Lib\site-packages 复制进去文件 sitecustomize.py 和sitecustomize.pyc
C:\Python2.X\Lib\site-packages 复制进去文件 sitecustomize.py 和sitecustomize.pyc
不然在window下会有编码的问题
4.使用gradle初始化一下freeLine
gradlew initFreeline
然后就可以愉快的玩耍了!例如,我这次修改了Java代码之后,重新编译下,耗时如下:

3秒即可重新编译安装新的app到手机上!!!
比Instant Run稳定且更快!!!