0.引言
这里我先说下,网上对于websocket的解释有一堆不懂自己查,我这就不做原理解释,只上代码。
1.SpringBoot引入websocket
maven 依赖
<dependency>
            <groupId>org.springframework.boot</groupId>
            <artifactId>spring-boot-starter-websocket</artifactId>
</dependency>
WebSocketConfig 配置文件
import org.springframework.context.annotation.Configuration;
import org.springframework.messaging.simp.config.MessageBrokerRegistry;
import org.springframework.web.socket.config.annotation.EnableWebSocketMessageBroker;
import org.springframework.web.socket.config.annotation.StompEndpointRegistry;
import org.springframework.web.socket.config.annotation.WebSocketMessageBrokerConfigurer;

@Configuration
@EnableWebSocketMessageBroker
public class WebSocketConfig implements WebSocketMessageBrokerConfigurer {
    @Override
    public void configureMessageBroker(MessageBrokerRegistry config){
        config.enableSimpleBroker("/topic");
        config.setApplicationDestinationPrefixes("/app");
    }
    @Override
    public void registerStompEndpoints(StompEndpointRegistry registry){
        registry.addEndpoint("/chat").setAllowedOrigins("*").withSockJS();
    }
}
配置了之后基本上不用做其他的配置了
setAllowedOrigins()为跨域函数
然后是Controller
import org.just.computer.mathproject.Bean.Message;
import org.springframework.messaging.handler.annotation.MessageMapping;
import org.springframework.messaging.handler.annotation.SendTo;
import org.springframework.stereotype.Controller;

import java.security.Principal;
import java.util.Date;

@Controller
public class GreetingController {
    @MessageMapping("/hello")
    @SendTo("/topic/greetings")
    public Message greeting(String content, Principal pl) throws Exception{
        Message message = new Message();
        message.setContent(content.substring(1,content.length()-1));
        message.setData(new Date().toString());
        message.setName(pl.getName());
        return message;
    }
}
这里的Principal 为SpringSecurity相关知识,目的是通过session获得用户名。
到此为止,SpringBoot的配置已经没了
2、Vue通过stompClient使用webSocket
package.json
"dependencies": {
    "@tinymce/tinymce-vue": "^3.0.1",
    "axios": "^0.19.0",
    "echarts": "^4.2.1",
    "element-ui": "^2.11.1",
    "net": "^1.0.2",
    "nprogress": "^0.2.0",
    "sockjs-client": "^1.4.0",
    "stompjs": "^2.3.3",
    "tinymce": "^4.8.5",
    "tinymce-vue": "^1.0.0",
    "vue": "^2.5.2",
    "vue-axios": "^2.1.4",
    "vue-echarts": "^4.0.3",
    "vue-router": "^3.0.1",
    "vue-stomp": "0.0.5"
  }
一定要填加的有vue-stomp sockjs-client stompjs这三个
想用的地方直接引入。
import SockJS from 'sockjs-client'
import Stomp from 'webstomp-client'
vue中完整代码如下
<template>
  <div>
    <input type="text" v-model="text">
    <button @click="sendMessage">发送消息</button>
    <div class="bubble">
    </div>
    <div>
      <div v-for="(data,key) in datas" :key="key">
        {{data.content}}
      </div>
    </div>
  </div>
</template>
<script>
import SockJS from 'sockjs-client'
import Stomp from 'webstomp-client'
export default {
  name: 'ChatRoom',
  data () {
    return {
      text: '',
      datas: [],
      stompClient: null
    }
  },
  mounted () {
    if ('WebSocket' in window) {
      this.initWebSocket()
    } else {
      alert('当前浏览器 Not support websocket')
    }
  },
  methods: {
    sendMessage () {
      this.stompClient.send('/app/hello', JSON.stringify(this.text), {})
    },
    initWebSocket () {
      this.connection()
    },
    connection () {
      const socket = new SockJS(this.$baseUrl + '/chat')
      this.stompClient = Stomp.over(socket)
      this.stompClient.connect({}, (frame) => {
        this.stompClient.subscribe('/topic/greetings', (greeting) => {
          console.log(JSON.parse(greeting.body))
          this.datas.push(JSON.parse(greeting.body))
        })
      })
    }
  }
}
</script>

<style scoped>
</style>
注意在这行代码this.stompClient.send('/app/hello', JSON.stringify(this.text), {}) {}的位置,有的版本可能是相反的。
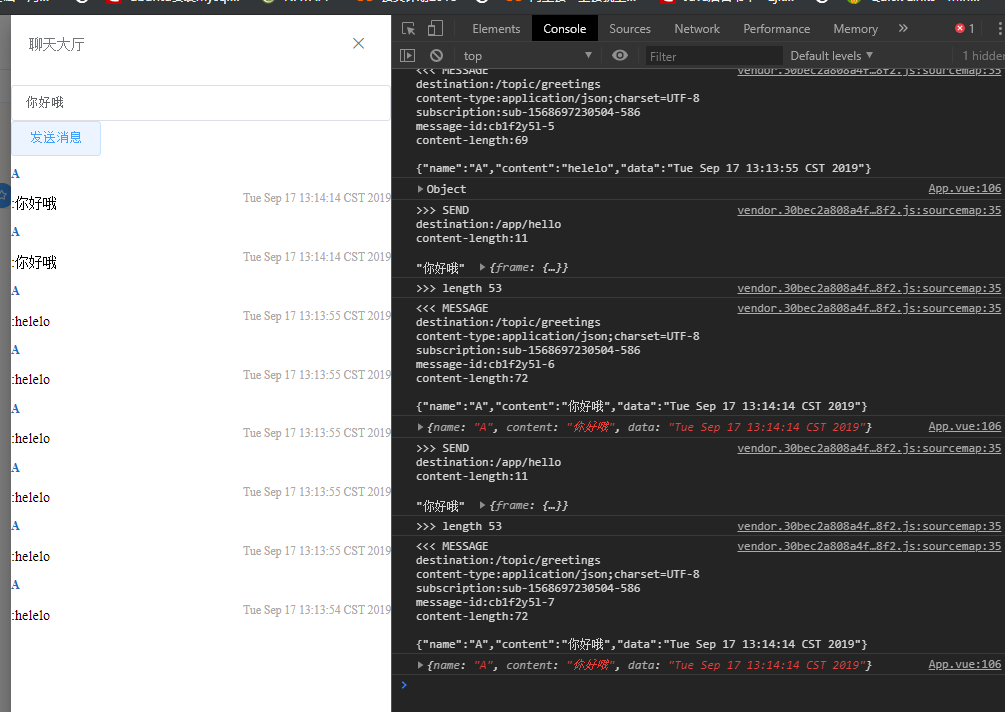
运行结果如下所示