一、通过idea建立一个springboot项目
1.File-New-Project--SpringInitializr--Next

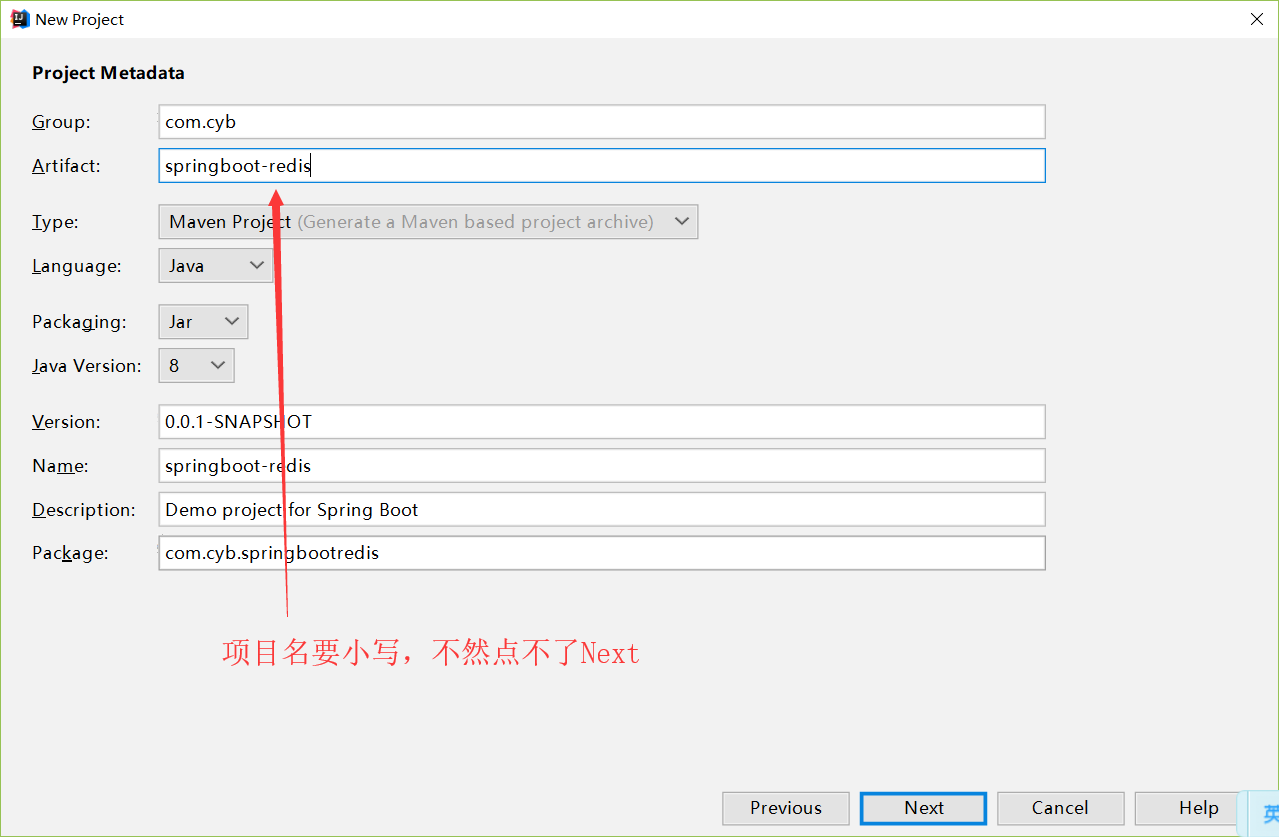
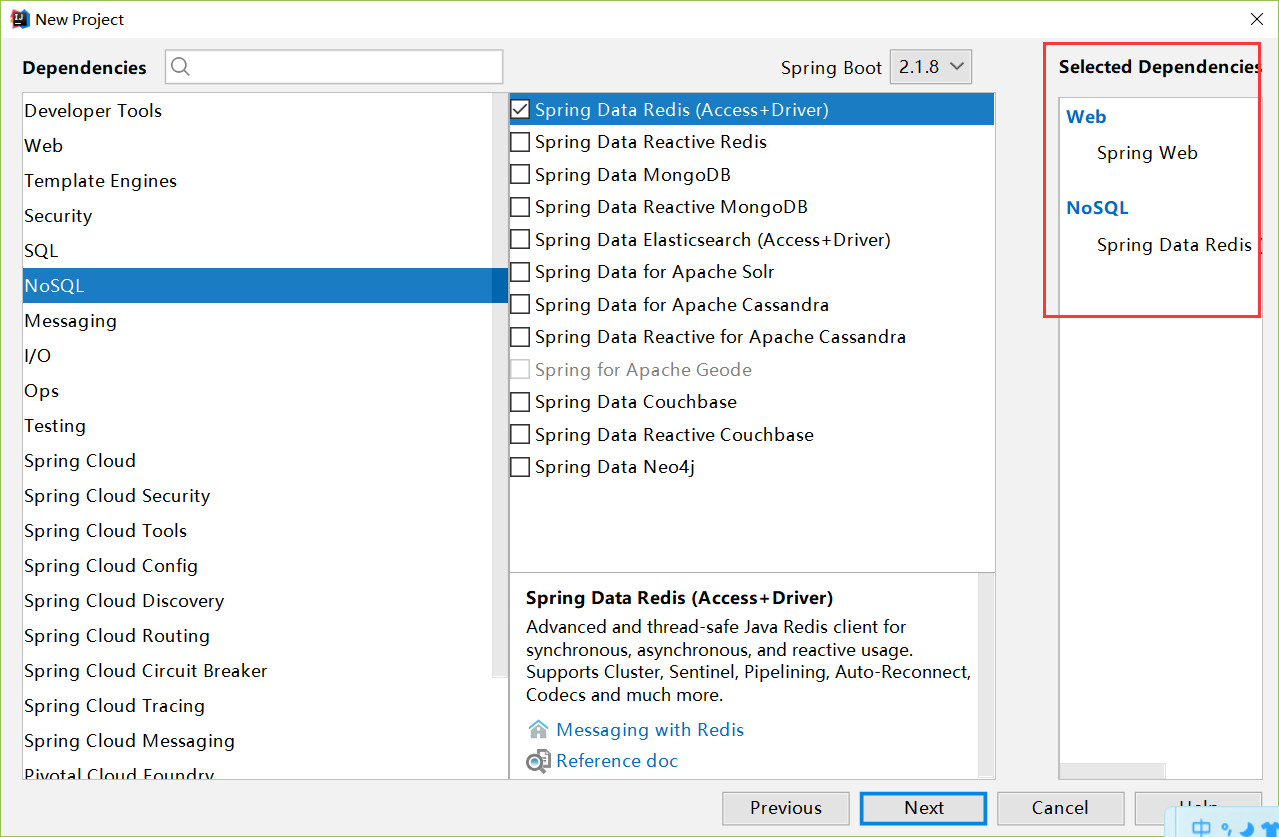
持续点击下一步即可。
二、建立包
需了解知识点:Redis5种基本数据类型:String/list/set/zset/hash;zset与set的区别在于zset可以排序但它们都不允许有重复值存在。
1、SpringBoot集成Redis
1.1新增配置文件信息
########################################################
###Redis (RedisConfiguration)
########################################################
spring.redis.database=0
spring.redis.host=127.0.0.1
spring.redis.port=6379
spring.redis.password=123456
spring.redis.pool.max-idle=8
spring.redis.pool.min-idle=0
spring.redis.pool.max-active=8
spring.redis.pool.max-wait=-1
spring.redis.timeout=5000
注意事项:
1、在使用时要先关闭防火墙,或者设置允许访问端口。本人这里使用关闭防火墙操作,防火墙操作项目命名:
1:查看防火状态
systemctl status firewalld
service  iptables status
2:暂时关闭防火墙
systemctl stop firewalld
service  iptables stop
3:永久关闭防火墙
systemctl disable firewalld
chkconfig iptables off
4:重启防火墙
systemctl enable firewalld
service iptables restart
5:永久关闭后重启
//暂时还没有试过
chkconfig iptables on
2.修改redis配置文件:
vi redis.conf
注释以下绑定的主机地址,允许所有ip进行访问
# bind 127.0.0.1
或者设定允许访问ip:
bind 192.168.1.69
2、修改redis服务器的参数配置
修改redis的守护进程为no ,不启用
127.0.0.1:6379> config set daemonize "no"
OK
修改redis的保护模式为no,不启用
127.0.0.1:6379> config set protected-mode "no"
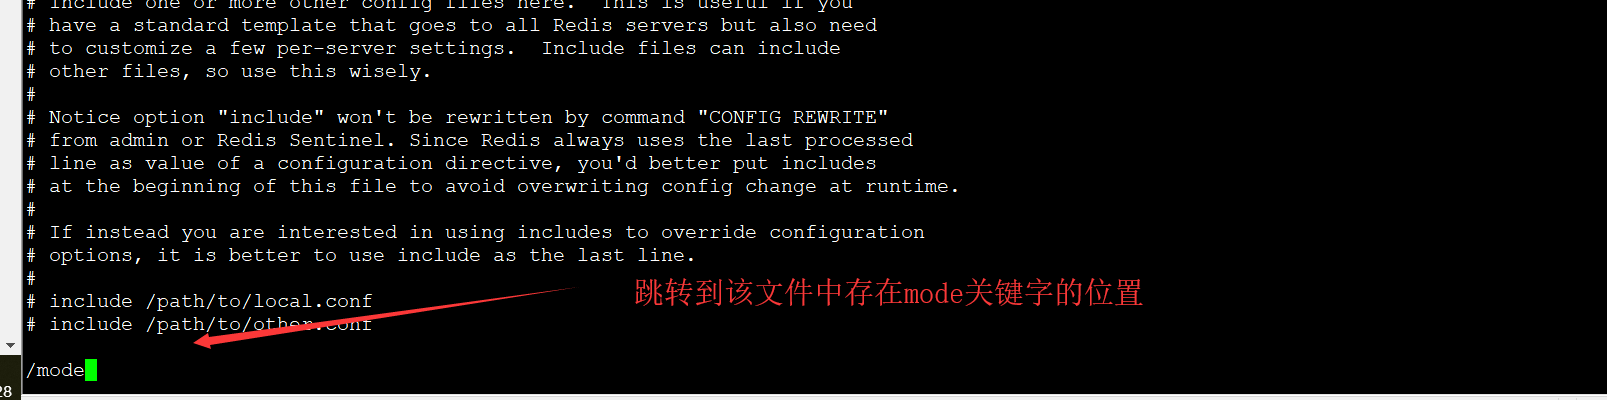
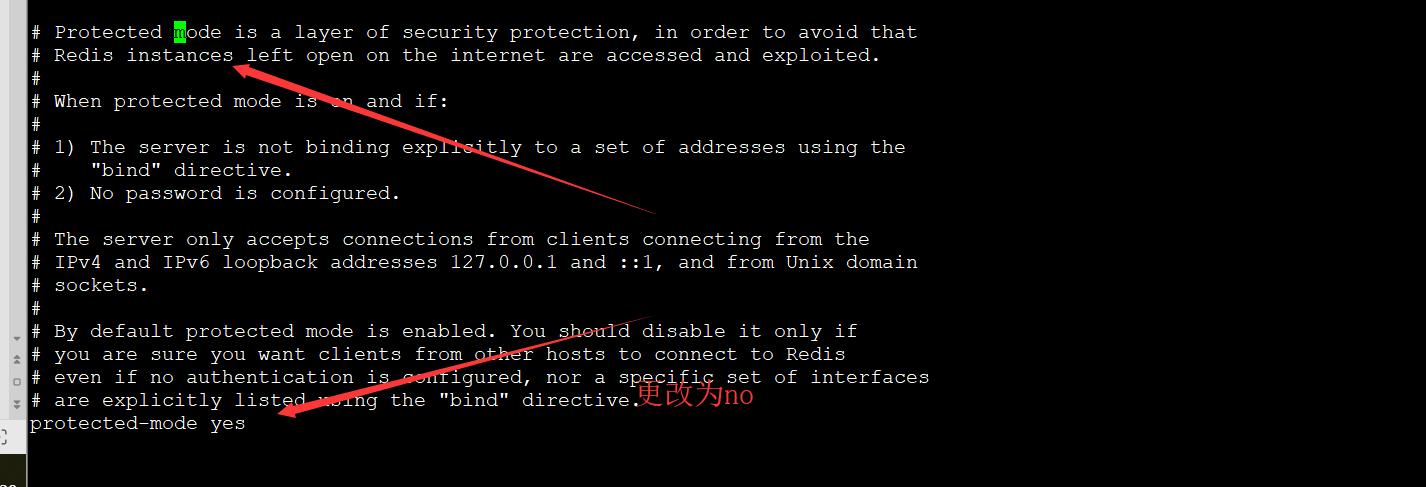
操作如下:用vi打开redis.conf文件后,在命令行下输入“/protected-mode”,修改 protected-mode yes 改为:protected-mode no;其余修改同理进行操作。切记修改完成后保存并重启redis服务
项目包结构如下:
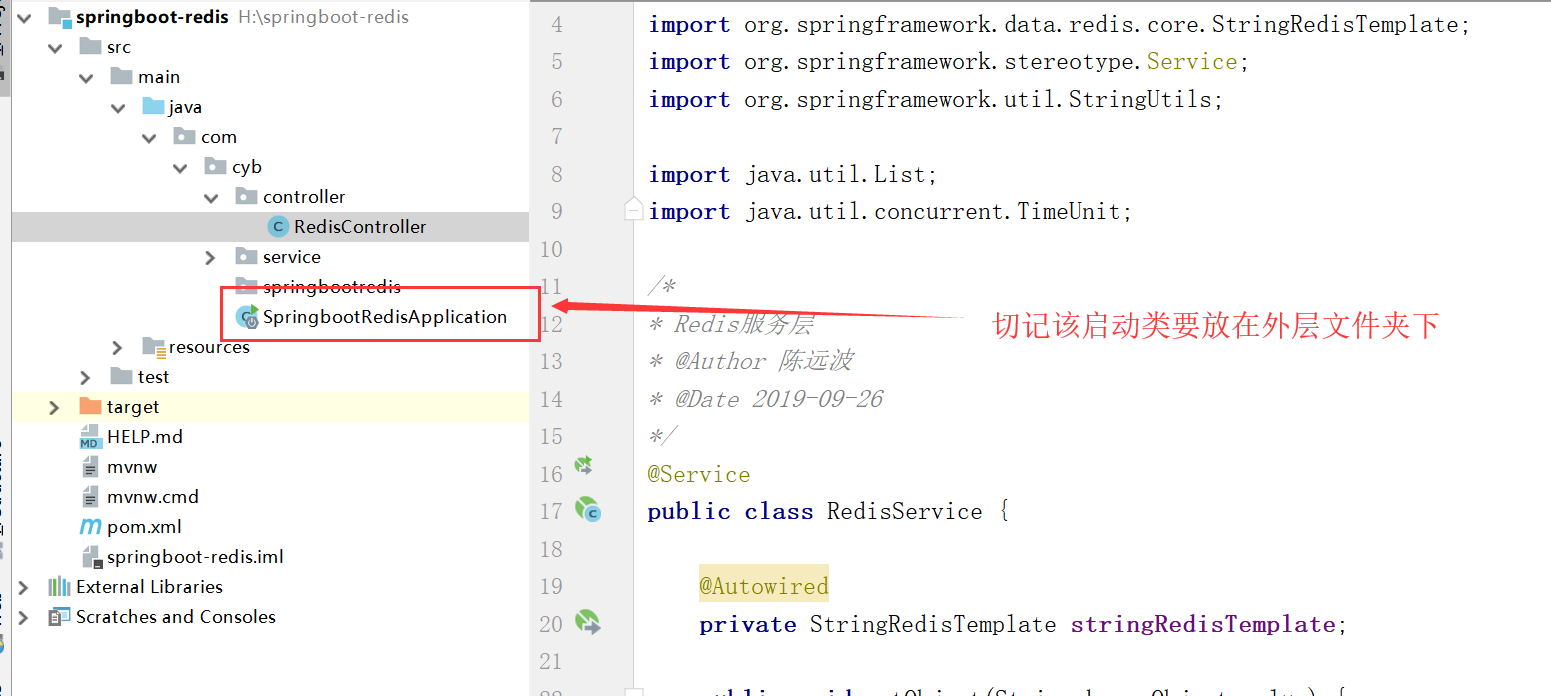
java service层代码如下:
@Service
public class RedisService {
    @Autowired
    private StringRedisTemplate stringRedisTemplate;

    public void setObject(String key, Object value) {
        this.setObject(key, value, null);
    }

    public void setObject(String key, Object value, Long time) {
        if (StringUtils.isEmpty(key) || value == null) {
            return;
        }
        if (value instanceof String) {
            // 存放string类型
            String stringValue = (String) value;
            if (time == null) {
                stringRedisTemplate.opsForValue().set(key, stringValue);
            } else {
                stringRedisTemplate.opsForValue().set(key, stringValue, time, TimeUnit.SECONDS);
            }

            return;
        }
        if (value instanceof List) {
            // 存放list類型
            List<String> listValue = (List<String>) value;
            for (String string : listValue) {
                stringRedisTemplate.opsForList().leftPush(key, string);
            }

        }

    }

    public void delKey(String key) {
        stringRedisTemplate.delete(key);
    }

    public String getString(String key) {
        return stringRedisTemplate.opsForValue().get(key);
    }

}
java控制层代码
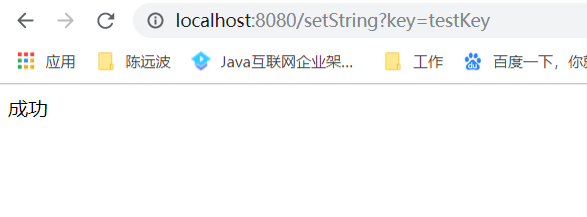
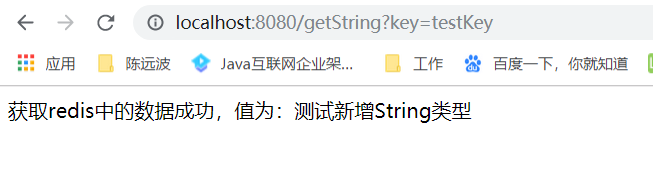
package com.cyb.controller;

import com.cyb.service.RedisService;
import org.springframework.beans.factory.annotation.Autowired;
import org.springframework.web.bind.annotation.RequestMapping;
import org.springframework.web.bind.annotation.RestController;

@RestController
public class RedisController {
    @Autowired
    private RedisService redisService;

    @RequestMapping("/setString")
    public String setString(String key){
       String string="测试新增String类型";
        redisService.setObject(key,string);
        return "成功";

    }
    @RequestMapping("/getString")
    public String getString(String key){
        String result=redisService.getString(key);
        return "获取redis中的数据成功,值为:"+result;
    }
}
效果如下:
以上工具类方法还未写完,主要提供思想,感兴趣的博友可以写完测试。以上工具类代码来源于蚂蚁课堂,对架构感兴趣的朋友可以前往蚂蚁课堂:http://www.mayikt.com/。另对以上博客知识有疑问的朋友欢迎留言探讨。转发请说明出处:https://www.cnblogs.com/chenyuanbo/