第一步:安装和配置nginx,可参考:http://www.cnblogs.com/klslb/p/8962379.html
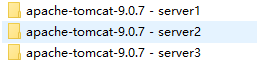
第二步:准备三个tomcat。
我这里准备了三个tomcat并重新命名方便区分。
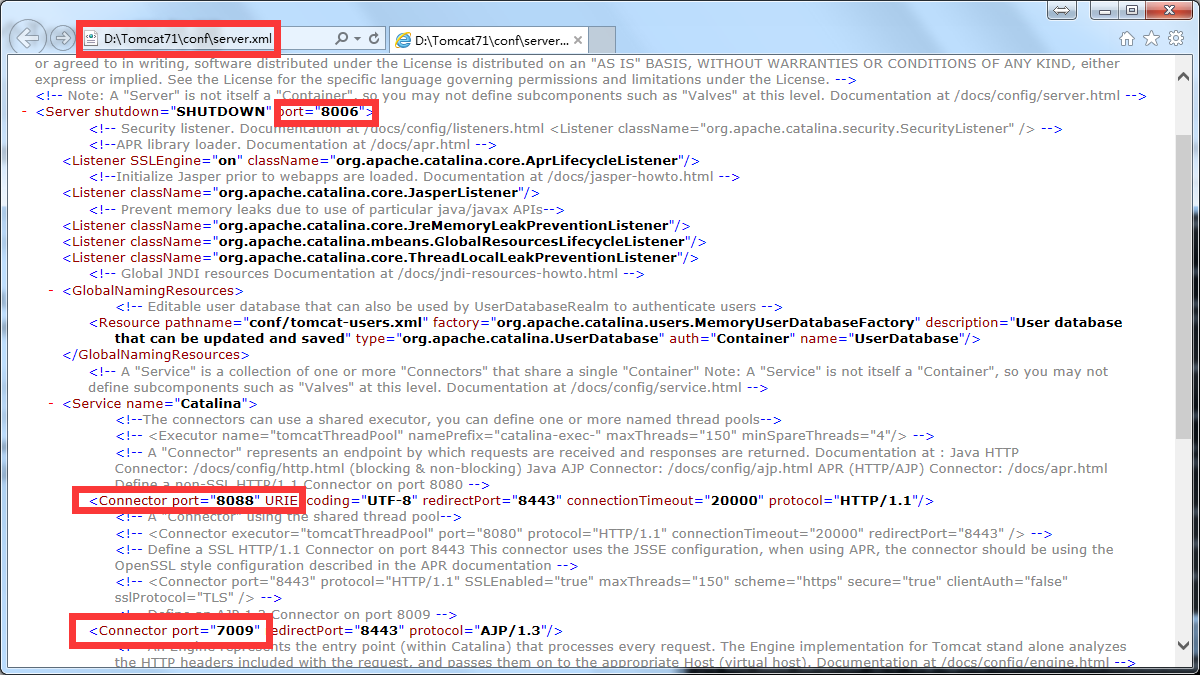
修改每个tomcat启动端口。并牢记!
为了区分是哪个tomcat,进入webapps\ROOT,修改index.jsp.的标题。

第三步:打开nginx安装目录,找到conf目录下的nginx.conf,,把下面配置文件全部替换。
  1 #Nginx所用用户和组,window下不指定
  2 #user  nobody;
  3
  4 #工作的子进程数量(通常等于CPU数量或者2倍于CPU)
  5 worker_processes  4;
  6
  7 #错误日志存放路径
  8 #error_log  logs/error.log;
  9 #error_log  logs/error.log  notice;
 10 error_log  logs/error.log  info;
 11
 12 #指定pid存放文件
 13 #pid        logs/nginx.pid;
 14
 15
 16 events {
 17     #允许最大连接数
 18     worker_connections  1024;
 19
 20 }
 21
 22
 23 http {
 24     include       mime.types;
 25     default_type  application/octet-stream;
 26
 27     access_log  logs/access.log;
 28     client_header_timeout  3m;
 29     client_body_timeout    3m;
 30     send_timeout           3m;
 31
 32     client_header_buffer_size    1k;
 33     large_client_header_buffers  4 4k;
 34
 35     sendfile        on;
 36     tcp_nopush      on;
 37     tcp_nodelay     on;
 38
 39     # 配置负载均衡
 40     upstream localhost{
 41         #Nginx是如何实现负载均衡的,Nginx的upstream目前支持以下几种方式的分配
 42            #1、轮询(默认)
 43         #每个请求按时间顺序逐一分配到不同的后端服务器,如果后端服务器down掉,能自动剔除。
 44         #2、weight
 45         #指定轮询几率,weight和访问比率成正比,用于后端服务器性能不均的情况。
 46         #2、ip_hash
 47         #每个请求按访问ip的hash结果分配,这样每个访客固定访问一个后端服务器,可以解决session的问题。
 48         #3、fair(第三方)
 49         #按后端服务器的响应时间来分配请求,响应时间短的优先分配。
 50         #4、url_hash(第三方)
 51         #按访问url的hash结果来分配请求,使每个url定向到同一个后端服务器,后端服务器为缓存时比较有效。
 52         ip_hash;


 53       #本机IP+三个tomcat端口号
 54          server 192.168.12.209:8081 weight=1;
 55           server 192.168.12.209:8082 weight=2;
 56           server 192.168.12.209:8083 weight=3;
 57     }
 58
 59     server {
 60         listen       80;
 61         server_name  localhost;
 62
 63         #charset koi8-r;
 64
 65         #access_log  logs/host.access.log  main;
 66
 67         location / {
 68             root   html;
 69             index  index.html index.htm;
 70             proxy_connect_timeout 3; #nginx跟后端服务器连接超时时间(代理连接超时)
 71               proxy_send_timeout 30; #后端服务器数据回传时间(代理发送超时)
 72                proxy_read_timeout 30; #连接成功后,后端服务器响应时间(代理接收超时)
 73                proxy_pass http://localhost;
 74         }
 75
 76         #error_page  404              /404.html;
 77
 78         # redirect server error pages to the static page /50x.html
 79         #
 80         error_page   500 502 503 504  /50x.html;
 81         location = /50x.html {
 82             root   html;
 83         }
 84
 85         # proxy the PHP scripts to Apache listening on 127.0.0.1:80
 86         #
 87         #location ~ \.php$ {
 88         #    proxy_pass   http://127.0.0.1;
 89         #}
 90
 91         # pass the PHP scripts to FastCGI server listening on 127.0.0.1:9000
 92         #
 93         #location ~ \.php$ {
 94         #    root           html;
 95         #    fastcgi_pass   127.0.0.1:9000;
 96         #    fastcgi_index  index.php;
 97         #    fastcgi_param  SCRIPT_FILENAME  /scripts$fastcgi_script_name;
 98         #    include        fastcgi_params;
 99         #}
100
101         # deny access to .htaccess files, if Apache's document root
102         # concurs with nginx's one
103         #
104         #location ~ /\.ht {
105         #    deny  all;
106         #}
107     }
108
109
110     # another virtual host using mix of IP-, name-, and port-based configuration
111     #
112     #server {
113     #    listen       8000;
114     #    listen       somename:8080;
115     #    server_name  somename  alias  another.alias;
116
117     #    location / {
118     #        root   html;
119     #        index  index.html index.htm;
120     #    }
121     #}
122
123
124     # HTTPS server
125     #
126     #server {
127     #    listen       443 ssl;
128     #    server_name  localhost;
129
130     #    ssl_certificate      cert.pem;
131     #    ssl_certificate_key  cert.key;
132
133     #    ssl_session_cache    shared:SSL:1m;
134     #    ssl_session_timeout  5m;
135
136     #    ssl_ciphers  HIGH:!aNULL:!MD5;
137     #    ssl_prefer_server_ciphers  on;
138
139     #    location / {
140     #        root   html;
141     #        index  index.html index.htm;
142     #    }
143     #}
144
145 }