centos6
bochs-2.6.2
安装好bochs后,将bin目录配置到环境变量中。
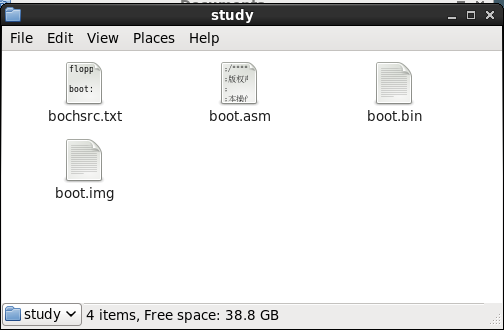
1、boot.img文件
bximage
创建fd软盘
1.44m
boot.img
2、boot.asm文件
- org 0x7c00
- BaseOfStack equ 0x7c00
- Label_Start:
- mov ax, cs
- mov ds, ax
- mov es, ax
- mov ss, ax
- mov sp, BaseOfStack
- ;======= clear screen
- mov ax, 0600h
- mov bx, 0700h
- mov cx, 0
- mov dx, 0184fh
- int 10h
- ;======= set focus
- mov ax, 0200h
- mov bx, 0000h
- mov dx, 0000h
- int 10h
- ;======= display on screen : Start Booting......
- mov ax, 1301h
- mov bx, 000fh
- mov dx, 0000h
- mov cx, 10
- push ax
- mov ax, ds
- mov es, ax
- pop ax
- mov bp, StartBootMessage
- int 10h
- ;======= reset floppy
- xor ah, ah
- xor dl, dl
- int 13h
- jmp $
- StartBootMessage: db "Start Boot"
- ;======= fill zero until whole sector
- times 510 - ($ - $$) db 0
- dw 0xaa55
3、boot.bin文件
- dd if=boot.bin of=boot.img bs=512 count=1 conv=notrunc
4、bin文件写入img
- dd if=boot.bin of=boot.img bs=512 count=1 conv=notrunc
5、bochsrc.txt文件
- floppya: 1_44="boot.img", status=inserted #Use FLoppy Disk A
- boot: floppy
- display_library: x
- #display_library:sdl
6、指定文件启动虚拟机
- bochs -f bochsrc.txt
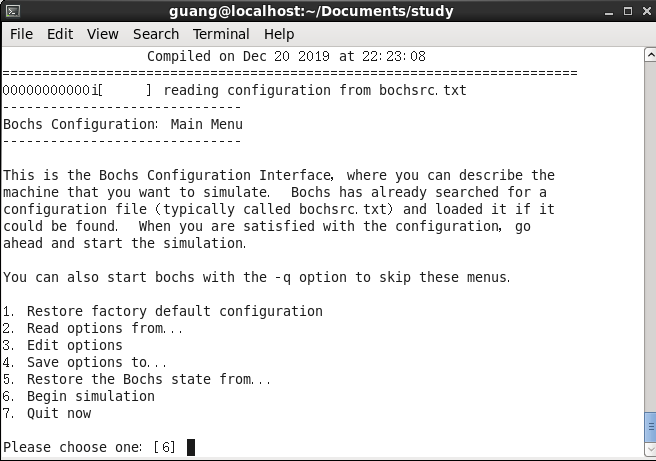
默认启动6
7、命令行调试
命令行中输入 c,或者 continue,进行调试

输入exit退出
8、图形化调试
修改启动配置文件bochsrc.txt如下
- floppya: 1_44="boot.img", status=inserted #Use FLoppy Disk A
- boot: floppy
- display_library: x, options="gui_debug"
- #display_library:sdl
运行
- bochs -f bochsrc.txt
就启动了图形化的调试界面,可以点击不同的按钮来调试