本安装教程使用Docker部署Jenkins。Docker宿主机环境Centos7.6。
Centos安装docker方法自行搜索,或参考https://www.cnblogs.com/qgc1995/p/9553572.html
下面直接开始安装Jenkins:
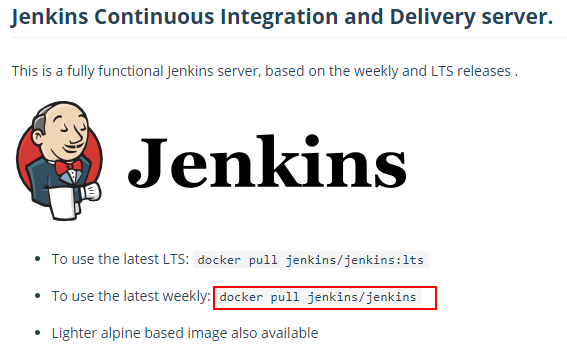
一、拉取Jenkins较新镜像:
| $ docker pull jenkins/jenkins |


[root@SY-SUZ-SRV128 secrets]# docker pull jenkins/jenkins
Using default tag: latest
latest: Pulling from jenkins/jenkins
146bd6a88618: Downloading
9935d0c62ace: Downloading
db0efb86e806: Downloading
e705a4c4fd31: Downloading
3d3bf7f7e874: Downloading
49371c5b9ff6: Downloading
e7873a7ca0fd: Downloading
769e621f8a94: Downloading
37e03f89066c: Downloading
85a2861d8bfe: Downloading
8287e2b85f65: Downloading
45795f77305c: Downloading
420f4df5a335: Downloading
2c08001b0f82: Downloading
cb6646354bba: Downloading
d86f2fa96e1e: Downloading
577c9805c979: Downloading
7de31f607abc: Downloading
latest: Pulling from jenkins/jenkins
146bd6a88618: Pull complete
9935d0c62ace: Pull complete
db0efb86e806: Pull complete
e705a4c4fd31: Pull complete
3d3bf7f7e874: Pull complete
49371c5b9ff6: Pull complete
e7873a7ca0fd: Pull complete
769e621f8a94: Pull complete
37e03f89066c: Pull complete
85a2861d8bfe: Pull complete
8287e2b85f65: Pull complete
45795f77305c: Pull complete
420f4df5a335: Pull complete
2c08001b0f82: Pull complete
cb6646354bba: Pull complete
d86f2fa96e1e: Pull complete
577c9805c979: Pull complete
7de31f607abc: Pull complete
Digest: sha256:d50755231cc671423a4cdb5eedd1099921d51e8390efce786737099769248bb8
Status: Downloaded newer image for jenkins/jenkins:latest
docker.io/jenkins/jenkins:latest
这里不要用 "docker pull jenkins",否则会安装Jenkins 2.6x的版本,各种插件都不支持这个版本,并且在安装默认插件时各种出错。
我吃过这样亏,到docker官网查看后,确认拉错镜像:
https://hub.docker.com/r/jenkins/jenkins
二、运行Jenkins容器
| $ docker run -d -p 8002:8080 -v ~/jenkins:/var/jenkins_home --name jenkins -u 0 jenkins/jenkins e139003a650a8f44683f2607aa3cb83e274db73d2bc9c037aae9e1d6f40d2904 $ docker ps | grep jenkins e139003a650a jenkins/jenkins "/sbin/tini -- /usr/…" 6 hours ago Up 4 hours 50000/tcp, 0.0.0.0:8002->8080/tcp jenkins |
-d: 守护式容器, -d 后台执行。
-p: 8002表示宿主机端口,映射容器8080端口。访问Jenkins时可以 http://<宿主机ip>:8002
~/jenkins : 表示宿主机当前用户目录,如果是root用户则表示/root/jenkins。
/var/jenkins: 表示容器内部绝对路径。
--name: 表示运行容器的名字。
-u 0: 表示使用jenkins用户在容器中进行授权操作。
jenkins/jenkins: 容器使用的镜像。
三、修改Jenkins插件下载地址
cd ~/jenkins/
ll
cp hudson.model.UpdateCenter.xml  hudson.model.UpdateCenter.xml.bak
vim hudson.model.UpdateCenter.xml
docker restart jenkins
<?xml version='1.1' encoding='UTF-8'?>
<sites>
<site>
<id>default</id>
<url>https://mirrors.tuna.tsinghua.edu.cn/jenkins/updates/update-center.json</url> <--< 修改这里, 修改后重启Jenkins
</site>
</sites>
四、进入Jenkins WEB页面
http://<宿主机ip>:8002
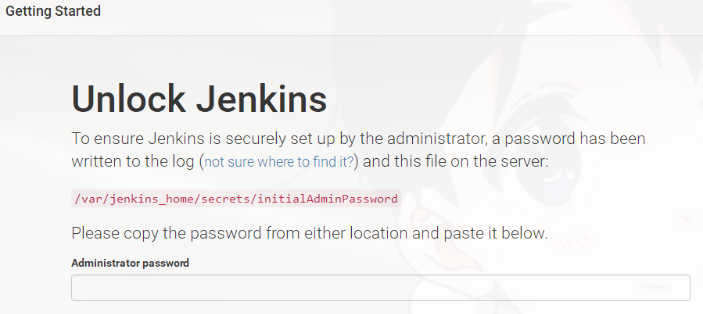
需要输入初始密码,来源于:
$ cat ~/jenkins/secrets/initialAdminPassword
登录后实际显示离线。
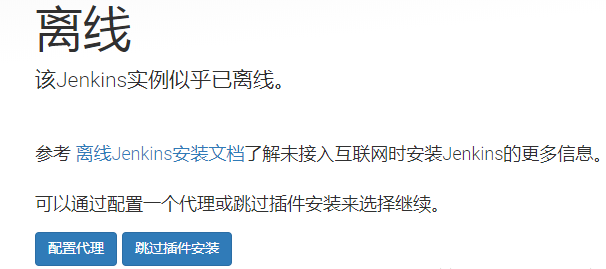
解决方法:
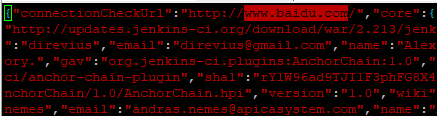
注意,只有在这个时候宿主机中才会出现如下目录:
cd ~/jenkins/updates
cp default.json default.json.bak
vim default.json
将 www.google.com 修改为www.baidu.com, Jenkins在安装插件时会先校验系统是否能够访问google,在国内没有vpn访问不了。

docker restart jenkins   <<--重启Jenkins 后问题解决。
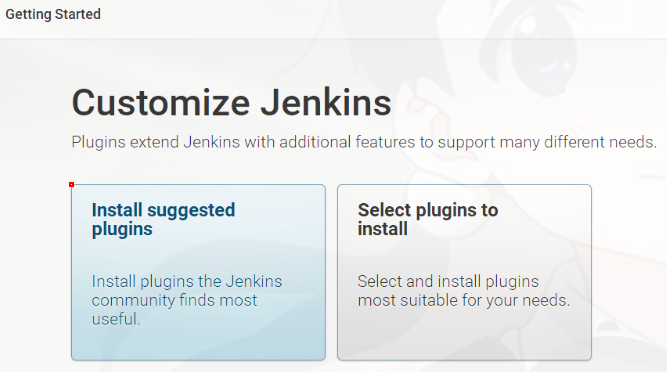
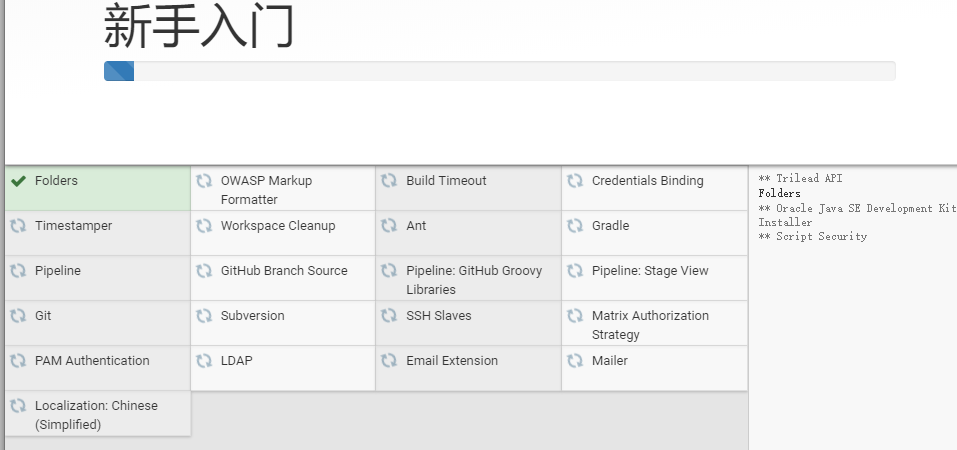
五、安装建议默认插件
因为第三步我们修改过插件的获取源为国内地址,因此安装建议默认插件成功。如果有一些不成功,可以retry。