本文中的知识点:
- python selenium库安装
- firefox geckodriver的下载与安装
- selenium+firefox使用代理
- 进阶学习
搭建开发环境:
- selenium库
- firefox geckodriver
- 火狐浏览器
PS:安装了的同学可以跳过了接着下一步,没安装的同学还是跟着我的步骤走一遍
安装selenium库
pip install selenium安装firefox geckodriver
这里要注意要配置系统环境,把firefox geckodriver解压后放到python路径的Scripts目录下,跟pip在一个目录下。
这里可以教大家一个查看python安装路径的命令
# windows系统,打开cmd
where python
# linux系统
whereis python
火狐浏览器
安装火狐官方浏览器
***
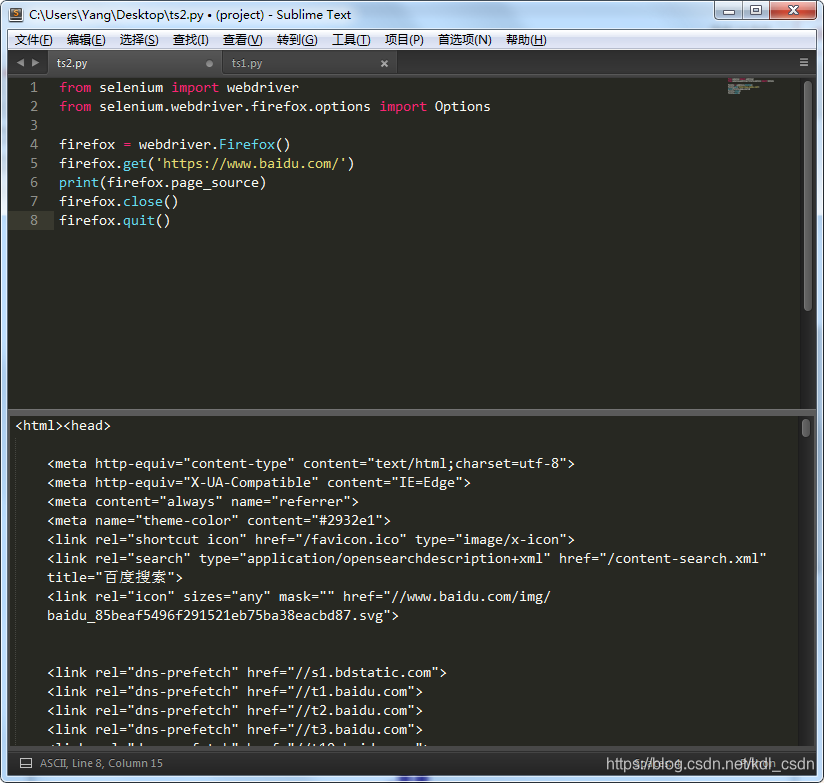
代码样例
以请求百度为例
from selenium import webdriver
from selenium.webdriver.firefox.options import Options

firefox = webdriver.Firefox()
firefox.get('https://www.baidu.com/')
print(firefox.page_source)
firefox.close()
firefox.quit()
结果如下

使用代理
from selenium import webdriver
from selenium.webdriver.firefox.options import Options

profile = webdriver.FirefoxProfile()
proxy = '113.222.81.54:23730'
ip, port = proxy.split(":")
port = int(port)
# 不使用代理的协议,注释掉对应的选项即可
settings = {
    'network.proxy.type': 0,  # 0: 不使用代理;1: 手动配置代理
    'network.proxy.http': ip,
    'network.proxy.http_port': port,
    'network.proxy.ssl': ip,  # https的网站,
    'network.proxy.ssl_port': port,
}
# 更新配置文件
for key, value in settings.items():
    profile.set_preference(key, value)
profile.update_preferences()

options = Options()
firefox = webdriver.Firefox(firefox_profile=profile, options=options)
firefox.get('https://www.baidu.com/')
firefox.close()
firefox.quit()
运行下,结果如下图

