基于gitlab webhooks 自动构建流程
1、服务器安装 git 服务
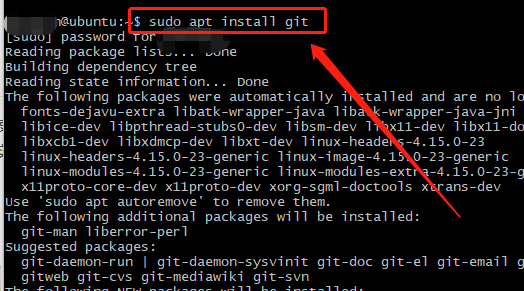
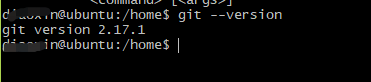
安装成功
配置 PHP 脚本:
<?php
        // 接受头部信息
        if (!isset($_GET['youparam'])) {
            logs('youparamnot isset');
            exit();
        }

        if ($_GET['youparam'] != 'qiuxue666') {
            logs('youparamnot neq key');
            exit();
        }

        // 接受参数
        $datas = file_get_contents('php://input', 'r');;
        $datas = json_decode($datas,true);

        // 参数配置
        $brand    = 'master';
        $execName = './exce_' . $brand .'.sh';

        $brands = 'refs/heads/' . $brand;
        if(isset($datas['ref']) && $datas['ref'] == $brands){

            $result = exec($execName);
            // logs(" exec result: " . $result);

        }
        logs($datas['user_name'] . " commit to branch:" . $brand);

        function logs ($data) {
            $text    = '[' . date('Y-m-d H:i:s') .'] ' . $data . PHP_EOL;
            file_put_contents('./log/gitlab'.date('md') . '.log', $text,FILE_APPEND);
        }

?>
shell 脚本编写:
#!/bin/sh


#php shell脚本目录
path="/data/wwwroot/objpath"
#项目脚本目录(要判断的目录)
objpath="/data/wwwroot/objpath/obj"

if [ -d "$objpath" ]; then

        cd "$objpath"

        git pull

else

        cd "$path"
        # 拉取 master
        git clone -b master [email protected]:youname/youobj.git

fi
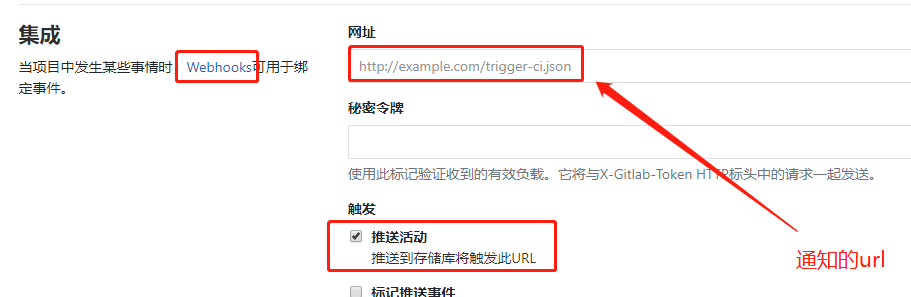
gitlab 配置webhooks:
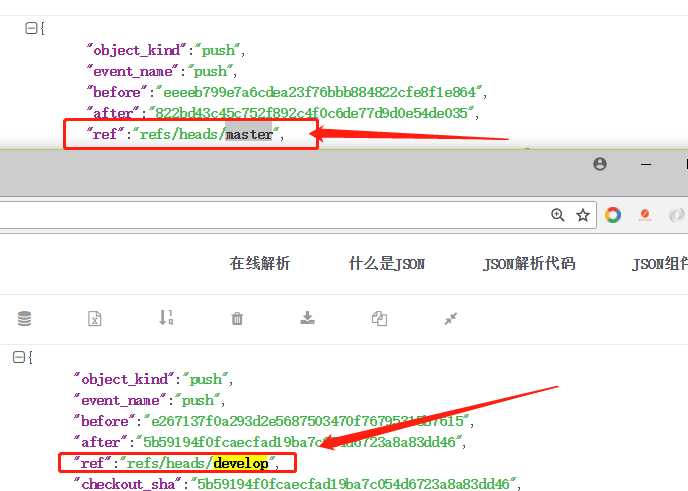
webhooks 推送的一些参数(具体可写入日志查看):
扫描二维码关注公众号,回复:
8895439 查看本文章

ref 参数可以看到推送事件所属那个分支