1.首先引入样式:
div, ul, li {
margin: 0px;
padding: 0px;
list-style-type: none;
}
#Over {
position: absolute;
width: 100%;
z-index: 100;
left: 0px;
top: 0px;
}
.img {
width:90%;
background-color: #FFF;
height: 90%;
}
.content {
text-align: center;
width: 800px;
margin-right: auto;
margin-left: auto;
}
.EnlargePhoto {
cursor: pointer;
}
.TempContainer {
position: absolute;
z-index: 101;
margin-right: 0px;
margin-left: 0px;
text-align: center;
width: 100%;
cursor: pointer;
}
2.然后将img标签用div进行包裹:
<div class="content">
    <td id="forCustQty">
         <input id="pic1Url1" type="hidden" value="${dsApply.pic1Url}"/>
         企业资质:<img src="${ctx}${dsApply.pic1Url!''}" class="upImg_img EnlargePhoto" id="pic1Url">
     </td>
     <td>
         <input id="pic2Url2" type="hidden" value="${dsApply.pic2Url}"/>
         制作证明:<img src="${ctx}${dsApply.pic2Url!''}" class="upImg_img EnlargePhoto" id="pic2Url">
     </td>
 </div>
 <div id="Over"></div>
3.js部分:
$(document).ready(function() {
var ImgsTObj = $('.EnlargePhoto');
if(ImgsTObj){
$.each(ImgsTObj,function(){
$(this).click(function(){
var currImg = $(this);
CoverLayer(1);
var TempContainer = $('<div class=TempContainer></div>');
with(TempContainer){
appendTo("body");
css('top',currImg.offset().top);
html('<img border=0 src=' + currImg.attr('src') + '>');
}
TempContainer.click(function(){
$(this).remove();
CoverLayer(0);
});
});
});
}else{
return false;
}
function CoverLayer(tag){
with($('#Over')){
if(tag==1){
css('height',$(document).height());
css('display','block');
css('opacity',0.9);
css("background-color","#000");
}else{
css('display','none');
}
}
}
}
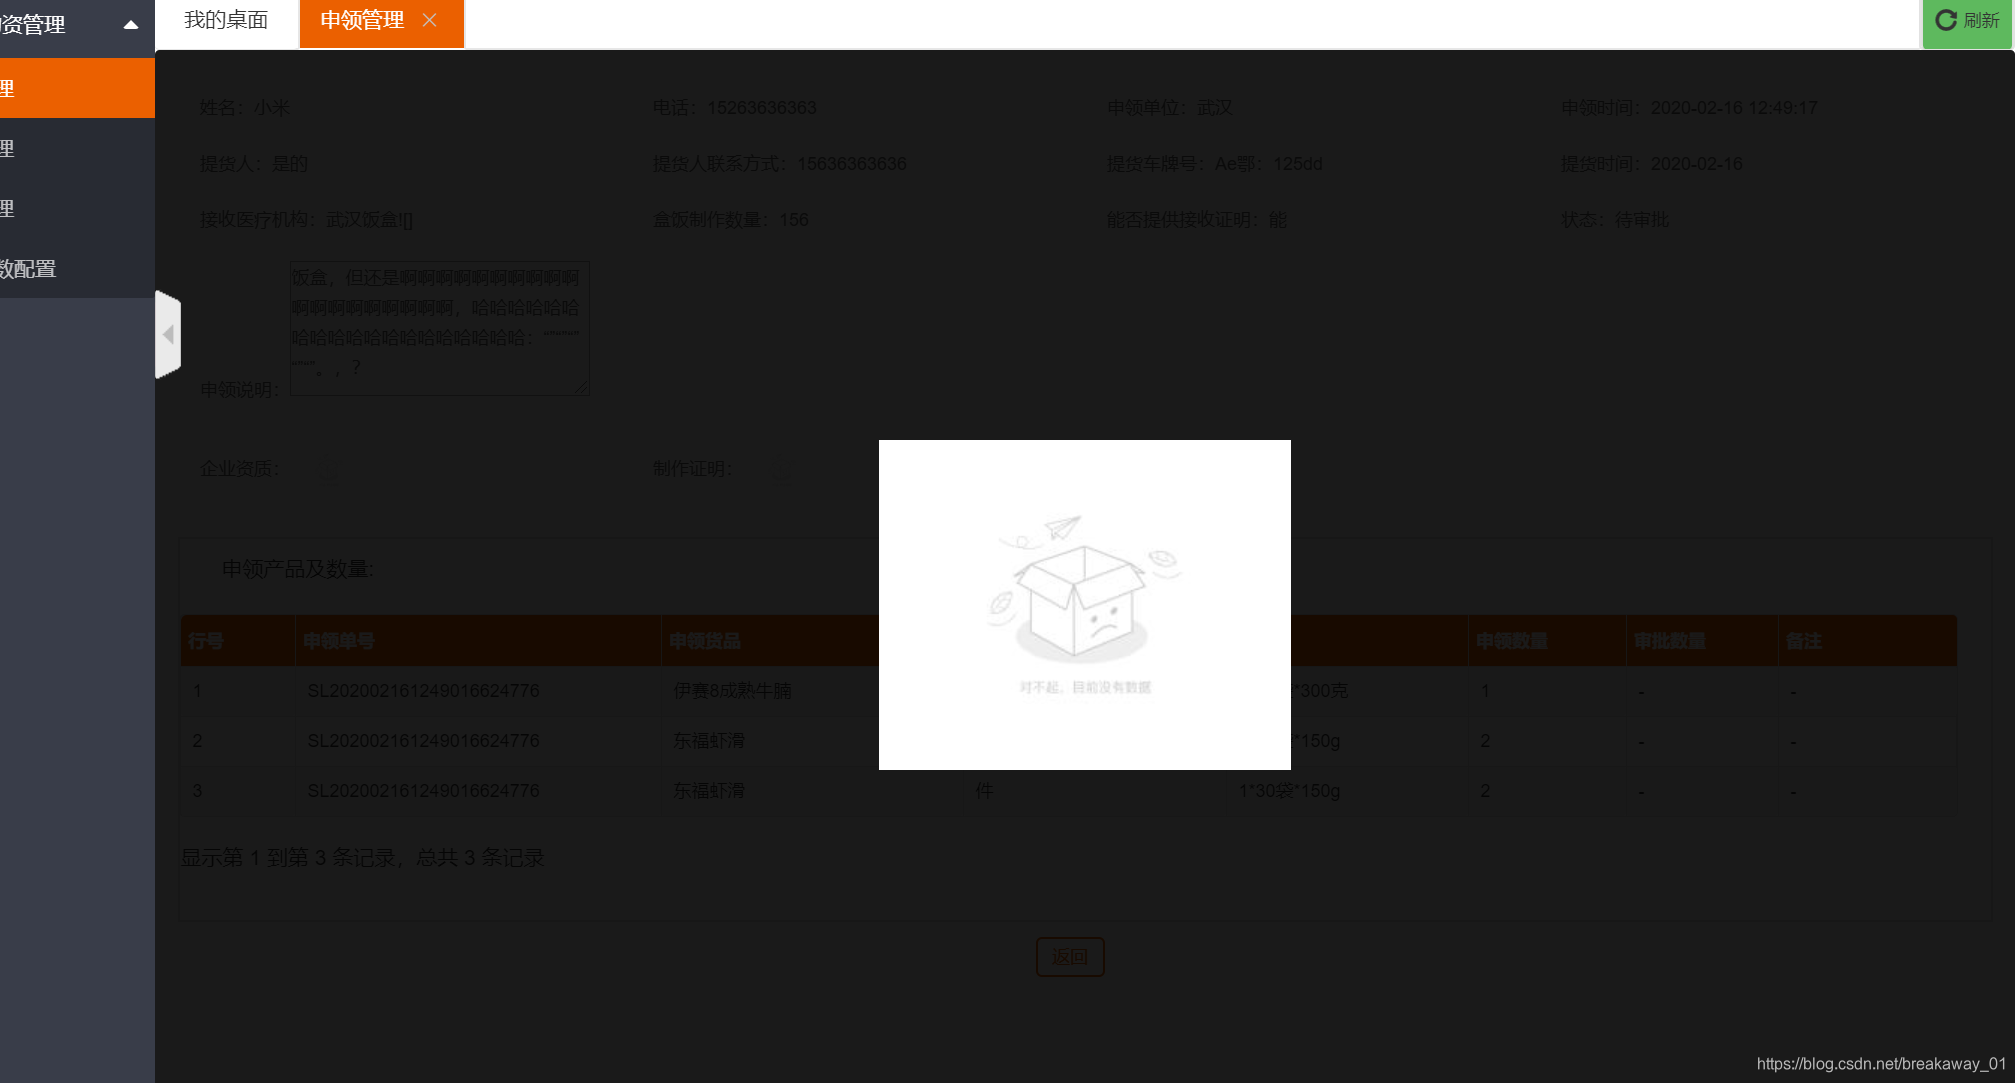
4.效果图,黑色底层还挺好看的:


