准备所需的安装包。(在这里使用的是cmake-2.8.6.tar.gz和mysql-5.5.22.tar.gz)
tar xzvf /usr/src/cmake-2.8.6.tar.gz -C /usr/src/ #用于配置数据库
tar xzvf /usr/src/mysql-5.5.22.tar.gz -C /usr/src/ #数据库源码包
yum -y install ncurses-devel #所需的组件。
一,安装cmake软件。
[root@Centos /]# cd /usr/src/cmake-2.8.6/
[root@Centos cmake-2.8.6]# ./configure
[root@Centos cmake-2.8.6]# gmake && gmake install
若没有报错则说明安装成功。
二,安装数据库。
1,准配先决条件。
[root@Centos /]# groupadd mysql
[root@Centos /]# useradd -M -s /sbin/nologin mysql -g mysql
2.配置数据库。
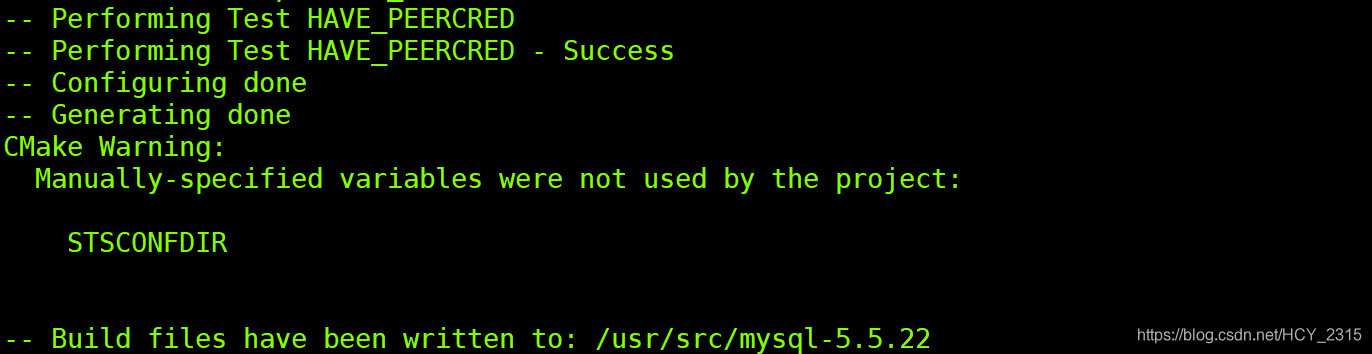
[root@Centos mysql-5.5.22]# cmake -DCMAKE_INSTALL_PREFIX=/usr/local/mysql -DDEFAULT_CHARSET=utf8 -DDEFAULT_COLLATION=utf8_general_ci -DWITH_EXTRA_CHARSETS=all -DSYSCONFDIR=/etc
#-DCMAKE_INSTALL_PREFIX: 指定将MySQL数据库安装到某目录下,
#-DDEFAULT_CHARSET: 指定默认使用的字符集编码
#-DDEFAULT_COLLATION: 指定默认使用的字符集校验规则
#-DWITH_EXTRA_CHARSETS: 指定额外支持的其他字符集编码
#-DSYSCONFDIR=/etc: 指定初始化参数文件目录
3.编译并安装。
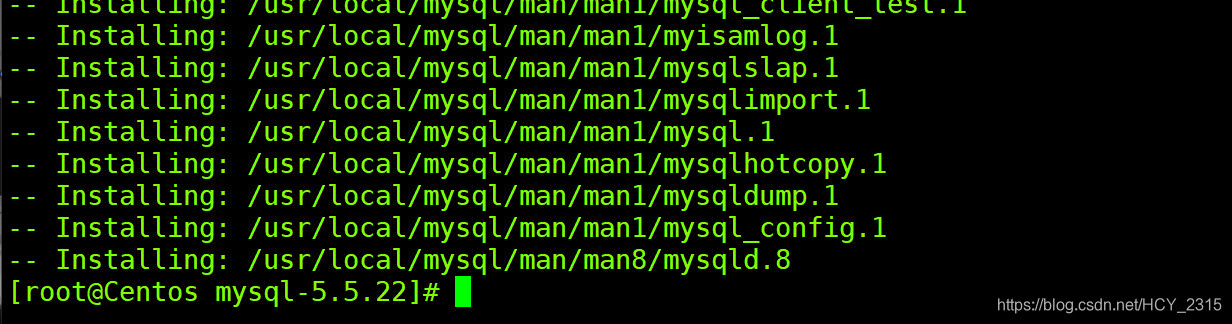
[root@Centos mysql-5.5.22]# make && make install
4.初始化MySQL和配置MySQL。
1)修改MySQL数据库安装目录所有者。
[root@Centos /]# chown -R mysql:mysql /usr/local/mysql/
2)生成数据库配置文件。
[root@Centos /]#cp /usr/src/mysql-5.5.22/support-files/my-medium.cnf /etc/my.cnf
3)生成MySQL服务配置文件。
[root@Centos /]# cp /usr/src/mysql-5.5.22/support-files/mysql.server /etc/init.d/mysqld
[root@Centos /]# chmod +x /etc/init.d/mysqld
4)优化程序执行目录。
[root@Centos /]# vim /etc/profile
PATH=$PATH:/usr/local/mysql/bin
[root@Centos /]# source /etc/profile
5)添加系统服务设置开机自动启动。
[root@Centos ~]# chkconfig --add mysqld
[root@Centos ~]# chkconfig --level 35 mysqld on
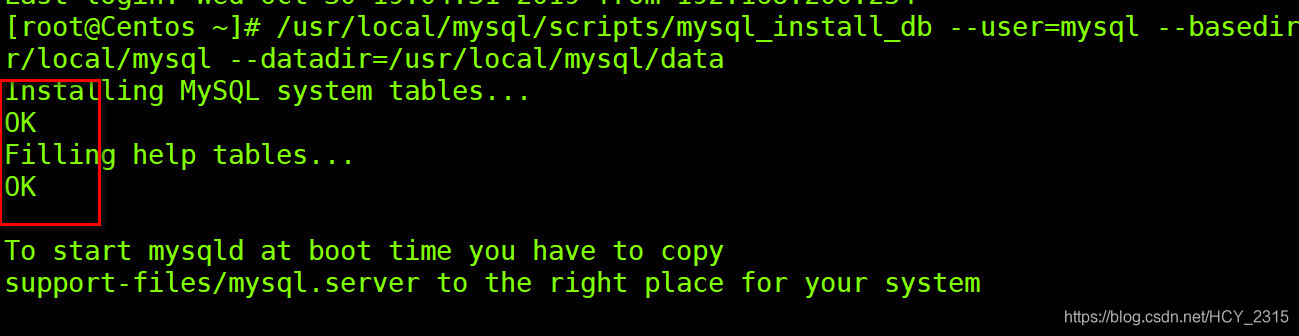
6)修改数据库管理用户,数据库位置和数据位置。
[root@Centos /]#/usr/local/mysql/scripts/mysql_install_db --user=mysql --basedir=/usr/local/mysql --datadir=/usr/local/mysql/data
三.数据库的基本管理。
1.连接数据库。
[root@Centos /]# mysqladmin -uroot password #修改密码。
[root@Centos /]# mysql -uroot -p #连接数据库。
mysql> exit; #退出数据库。
2.数据库管理。
1)创建benet数据库。
mysql> create database benet;
2)查看数据库。
mysql> show databases;
3)切换数据库。
mysql> use benet;
4)删除数据库;
mysql> drop database benet;
3.表的基本管理。
1)创建student表,表格为四列,分别为姓名,性别,年龄,联系方式,其中联系方式为主键。
mysql> create database benet;
mysql> use benet;
mysql> create table student (姓名 char(10),性别 char(1),年龄 char(100),联系电话 char(11),primary key(联系电话)); #创建表。
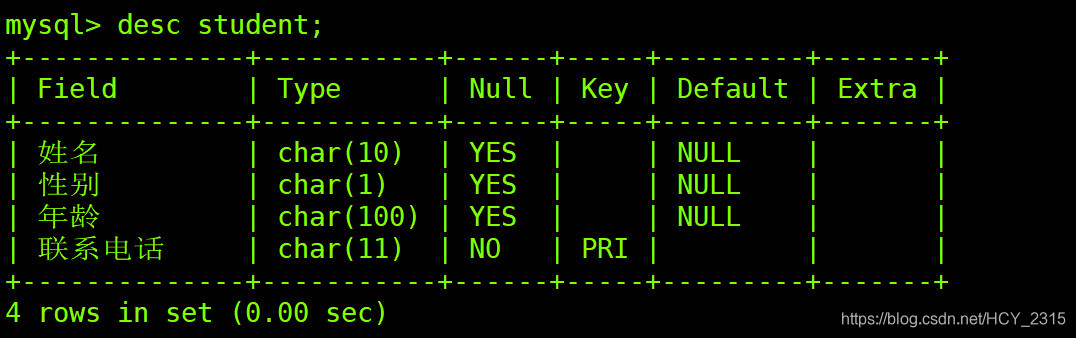
2)查看表的结构。
mysql> desc student;
3)在表格中插入数据。
mysql> insert into student value (‘张无忌’,‘男’,‘19’,‘11111111111’);
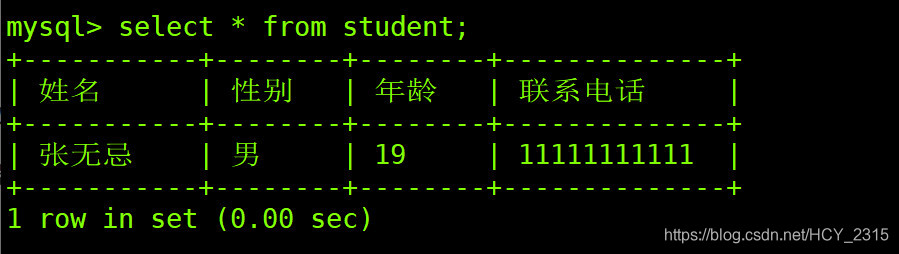
4)查看表中的数据。
mysql> select * from student;
5)只查看姓名和联系电话。
mysql> select 姓名,联系电话 from student;

6)修改表中的数据。
mysql> update student set 联系电话=‘22222222222’ where 姓名=‘张无忌’;(student是表,where指的是目标)
7)删除表中的数据。
mysql> delete from student where 姓名=‘张无忌’;
8)查看表。
mysql> show tables;
9)删除表。
mysql> drop table student;

4.配置数据库授权。
1)授权类型。
增:insert
删:delete
改:update
查:select
所有权限:all
2)授权bob用户对Benet数据库拥有所有权限。
mysql> grant all on benet.* to ‘bob’@‘localhost’ identified by ‘pwd@123’;(localhost:使用本地登录,pwd@123:bob登录数据库的密码)
3)查看授权。
mysql> show grant for ‘bob’@‘localhost’;
4)取消授权。
mysql> revoke all on benet.* from ‘bob’@‘localhost’;
