本文是在CentOS6 上通过yum 源安装mysql5.7
下载MySQL
访问MySQL官网下载地址:https://www.mysql.com/downloads/
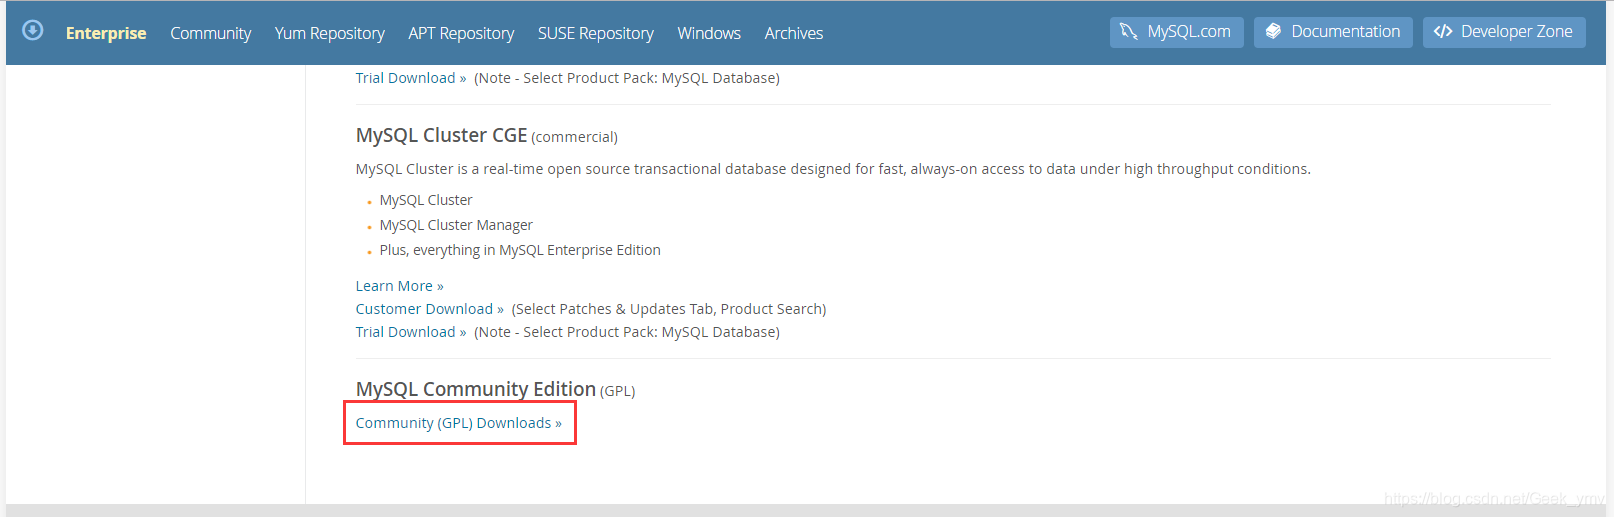
点击Community (GPL) Downloads
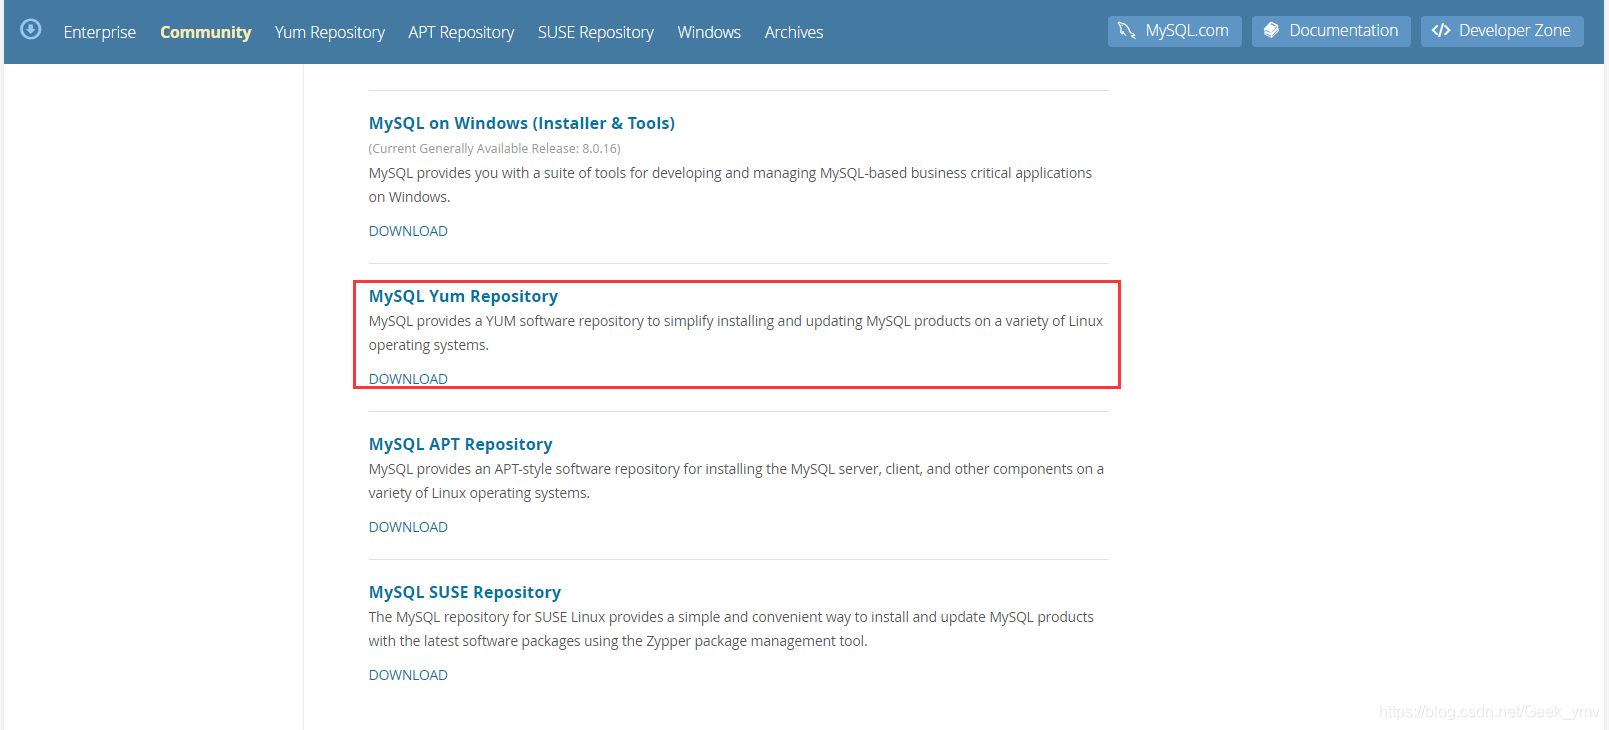
点击MySQL Yum Repository 跳转到https://dev.mysql.com/downloads/repo/yum/
下载
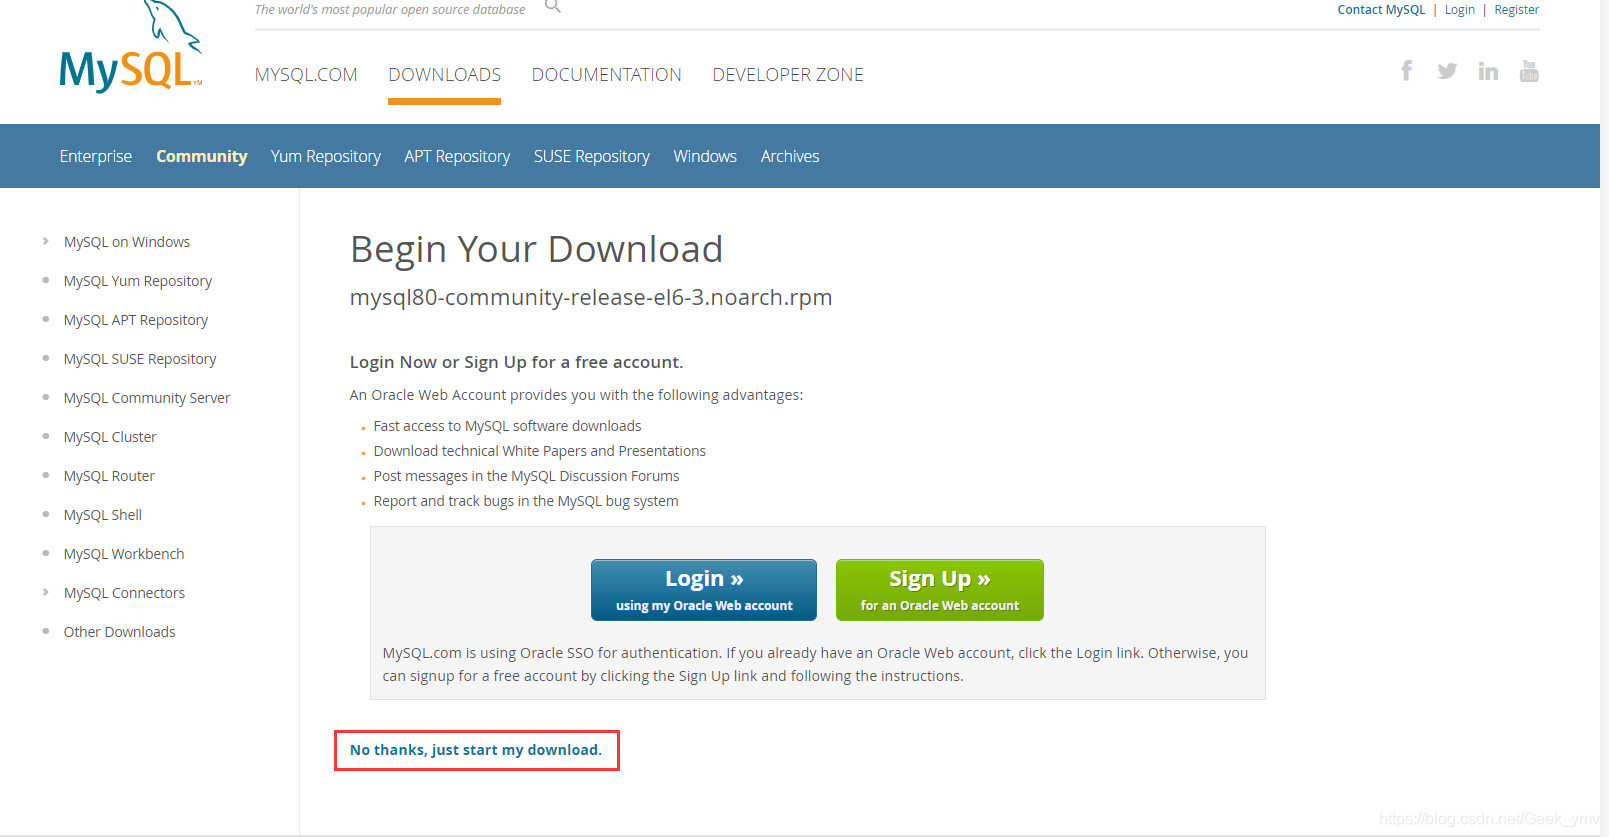
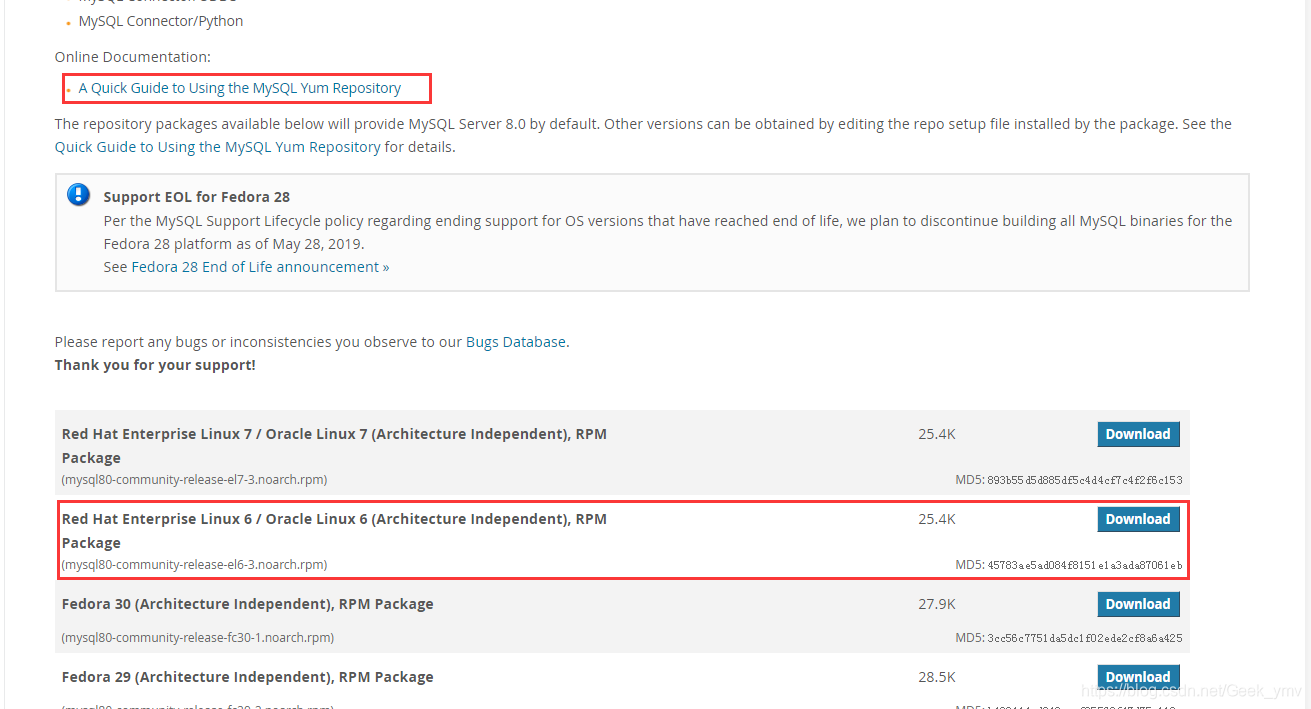
先下载到本机,然后使用xftp工具上传到linux
或者直接在linux 上使用 wget https://repo.mysql.com//mysql80-community-release-el6-3.noarch.rpm 下载
官网提供了使用yum 源安装mysql 快速指南 https://dev.mysql.com/doc/mysql-yum-repo-quick-guide/en/
1.添加mysql yum 源到系统源列表
rpm -Uvh mysql80-community-release-el6-3.noarch.rpm
2.选择一个发行版本
使用mysql yum 源时,默认安装mysql的最新的GA版本
yum repolist all |grep mysql
mysql-cluster-7.5-community        MySQL Cluster 7.5 Community   disabled
mysql-cluster-7.5-community-source MySQL Cluster 7.5 Community - disabled
mysql-cluster-7.6-community        MySQL Cluster 7.6 Community   disabled
mysql-cluster-7.6-community-source MySQL Cluster 7.6 Community - disabled
mysql-cluster-8.0-community        MySQL Cluster 8.0 Community   disabled
mysql-cluster-8.0-community-source MySQL Cluster 8.0 Community - disabled
mysql-connectors-community         MySQL Connectors Community    enabled:     94
mysql-connectors-community-source  MySQL Connectors Community -  disabled
mysql-tools-community              MySQL Tools Community         enabled:     78
mysql-tools-community-source       MySQL Tools Community - Sourc disabled
mysql-tools-preview                MySQL Tools Preview           disabled
mysql-tools-preview-source         MySQL Tools Preview - Source  disabled
mysql55-community                  MySQL 5.5 Community Server    disabled
mysql55-community-source           MySQL 5.5 Community Server -  disabled
mysql56-community                  MySQL 5.6 Community Server    disabled
mysql56-community-source           MySQL 5.6 Community Server -  disabled
mysql57-community                  MySQL 5.7 Community Server    disabled
mysql57-community-source           MySQL 5.7 Community Server -  disabled
mysql80-community                  MySQL 8.0 Community Server    enabled:     99
mysql80-community-source           MySQL 8.0 Community Server -  disabled
默认8.0启用的,我们这里安装的是5.7版本。
vim /etc/yum.repos.d/mysql-community.repo
将mysql57-community 下的enable设置为1,mysql80-community 下的enable设置为0。
# Enable to use MySQL 5.7
[mysql57-community]
name=MySQL 5.7 Community Server
baseurl=http://repo.mysql.com/yum/mysql-5.7-community/el/6/$basearch/
enabled=1
gpgcheck=1
gpgkey=file:///etc/pki/rpm-gpg/RPM-GPG-KEY-mysql

[mysql80-community]
name=MySQL 8.0 Community Server
baseurl=http://repo.mysql.com/yum/mysql-8.0-community/el/6/$basearch/
enabled=0
gpgcheck=1
gpgkey=file:///etc/pki/rpm-gpg/RPM-GPG-KEY-mysql
查看启用的
yum repolist enabled |grep mysql
mysql-connectors-community MySQL Connectors Community                         94
mysql-tools-community      MySQL Tools Community                              78
mysql57-community          MySQL 5.7 Community Server                        327
安装MySQL
yum install mysql-community-server
需要下载安装包,需要联网下载,耐心等待…
启动MySQL
[root@node01 yum.repos.d]# service mysqld start
Initializing MySQL database:                               [FAILED]
[root@node01 yum.repos.d]# service mysqld start
Starting mysqld:                                           [  OK  ]
查看MySQL状态
service mysqld status
登录MySQL
MySQL安装初始化过程会创建一个超级账号'root'@'localhost'。超级账号的临时密码存储在日志中。
通过命令查看
grep 'temporary password' /var/log/mysqld.log
使用临时密码登录
mysql -uroot -p
修改密码
alter user 'root'@'localhost' identified by 'MyNewPass4!';
修改字符集
[mysqld]
character_set_server=utf8
重启mysql
service mysqld restart
MySQL用户管理
创建用户
create user 'test'@'%' identified by 'pAssWord';
select user, host from mysql.user;
修改用户密码
alter user 'test'@'%' identified by 'MyNewPass4!';
用户名和主机唯一确定一个用户
赋予权限
grant all on *.* to 'test'@'%'
删除用户
drop user test;
