本文操作环境:Ubuntu 18.04 /Nginx 1.16 /PHP 7.2
1. 配置php.ini
首先定位配置文件php.ini 的位置。
php --ini |grep Loaded
输出例子:
root@wp2019:~# php --ini |grep Loaded
Loaded Configuration File:         /etc/php/7.2/cli/php.ini
编辑php.ini
nano /etc/php/7.2/cli/php.ini
编辑fix_pathinfo的设置内容。
在这个文件中,找到设置cgi.fix_pathinfo的参数。 这将用分号(;)注释掉,默认设置为“1”。
这是一个非常不安全的设置,因为它告诉PHP尝试执行最近的文件,如果找不到请求的PHP文件,它可以找到它。 这可以允许用户以一种允许他们执行不应允许执行的脚本的方式制作PHP请求。
取消注释并将其设置为“0”,如下所示:
cgi.fix_pathinfo=0
2. 配置nginx的PHP解析
nginx.conf 文件通常在“/etc/nginx”目录下。
通常有下面的描述。
user nginx;
...
http{
...
include /etc/nginx/conf.d/*.conf;
}
注意,这里用户用从nginx改为www-data。
| 修改前 | 修改后 | 修改目的 |
|---|---|---|
| user nginx; | user www-data www-data; | 为了保证解析php时,对/run/php/php7.2-fpm.sock有正确的存取权限。 |
nginx安装好之后,会创建/etc/nginx/conf.d/default.conf文件,里面记录网站的配置信息。
server {
    listen       80;
    server_name  localhost;

    #charset koi8-r;
    #access_log  /var/log/nginx/host.access.log  main;

    location / {
        root   /var/website;
        index  index.html index.htm;
    }

    #error_page  404              /404.html;

    # redirect server error pages to the static page /50x.html
    #
    error_page   500 502 503 504  /50x.html;
    location = /50x.html {
        root   /usr/share/nginx/html;
    }

    # proxy the PHP scripts to Apache listening on 127.0.0.1:80
    #
    #location ~ \.php$ {
    #    proxy_pass   http://127.0.0.1;
    #}

    # pass the PHP scripts to FastCGI server listening on 127.0.0.1:9000
    #
    #location ~ \.php$ {
    #    root           html;
    #    fastcgi_pass   127.0.0.1:9000;
    #    fastcgi_index  index.php;
    #    fastcgi_param  SCRIPT_FILENAME  /scripts$fastcgi_script_name;
    #    include        fastcgi_params;
    }

    # deny access to .htaccess files, if Apache's document root
    # concurs with nginx's one
    #
    #location ~ /\.ht {
    #    deny  all;
    #}
}
- listen - 定义Nginx将侦听的端口。
- root - 定义存储网站服务的文档根目录。
- index- 配置Nginx请求索引文件时优先处理index.php命名的文件。
- server_name - 将此指令指向服务器的域名或公共IP地址。
- location /- 第一个位置块包括一个try_files指令,该指令检查是否存在满足URI请求的文件。如果Nginx找不到合适的文件,则会返回404错误。
- location ~ .php$- 此位置块通过将Nginx指向fastcgi-php.conf配置文件和php7.2-fpm.sock文件来处理实际的PHP处理,该文件声明了与哪个套接字相关联php-fpm。检查/etc/php/7.0/fpm/pool.d/www.conf文件并查找“listen”行。
- location ~ /.ht- 通过添加deny all指令,如果任何.htaccess文件碰巧进入文档根目录,它们将不会被提供给访问者。
修改内容
- 将root(网站根目录) 设置放在外面
- 将index设置放在外面
- 打开.php文件的解析设置内容。就是“ location ~ .php$ { … }”这一段内容
| 修改前 | 修改后 | 修改目的 |
|---|---|---|
| #fastcgi_pass localhost:9000 | fastcgi_pass unix:/run/php/php7.2-fpm.sock; | 默认安装是sock方式 |
| #fastcgi_param SCRIPT_FILENAME /scripts$fastcgi_script_name; | fastcgi_param SCRIPT_FILENAME $document_root$fastcgi_script_name; |
php-fpm的fpm 指FastCGI Process Manager:FastCGI进程管理器,是一种面向高负载的PHP解释器。现在算是主流的PHP解释器。关于PHP-FPM更多的资料可以参考nginx 如何解析php文件php-fpm的解释。
注意,上面的第一个修改的.sock文件存取权限是www-data用户独有的,需要在nginx.conf将用户改为www-data,不然会出现502文件访问权限错误。
root@wp2019:/etc/nginx/conf.d# ll /run/php/php7.2-fpm.sock
srw-rw---- 1 www-data www-data 0 Jul 26 23:37 /run/php/php7.2-fpm.sock=
下面是修改完成后的样子。
server {
    listen       80;
    server_name  localhost;

    #charset koi8-r;
    #access_log  /var/log/nginx/host.access.log  main;

    root   /var/website;
    index  index.php index.html index.htm;

    #error_page  404              /404.html;

    # redirect server error pages to the static page /50x.html
    #
    #error_page   500 502 503 504  /50x.html;
    #location = /50x.html {
    #    root   /usr/share/nginx/html;
    #}

    # proxy the PHP scripts to Apache listening on 127.0.0.1:80
    #
    #location ~ \.php$ {
    #    proxy_pass   http://127.0.0.1;
    #}

    # pass the PHP scripts to FastCGI server listening on 127.0.0.1:9000
    #
    location ~ \.php$ {
    #    root           html;
        fastcgi_pass   unix:/run/php/php7.2-fpm.sock;
        #fastcgi_index  index.php;
        fastcgi_param  SCRIPT_FILENAME  $document_root$fastcgi_script_name;
        include        fastcgi_params;
    }

    # deny access to .htaccess files, if Apache's document root
    # concurs with nginx's one
    #
    location ~ /\.ht {
        deny  all;
    }
}
检查配置文件有没有语法错误
键入以下命令测试新配置文件的语法错误:
sudo nginx -t
如果报告了任何错误,请返回并重新检查您的文件,然后再继续。
重新加载Nginx的配置文件
准备好后,重新加载Nginx以进行必要的更改:
sudo systemctl reload nginx
这里是常用的nginx命令:
nginx           #启动
nginx -s reload #重新加载配置文件
nginx -s quit   #优雅退出
nginx -s stop   #立即停止
nginx -t        #验证配置文件
3. 测试PHP解析设置是否正常完成
验证Nginx是否可以正确地将.php文件传送到PHP处理器。
使用文本编辑器在文档根目录中创建info.php测试PHP文件是否能够被处理:
在网站根目录下创建info.php, 在新文件中输入以下PHP代码,这段代码可以返回有关服务器的信息:
<?php
phpinfo();
完成后,保存并关闭文件。
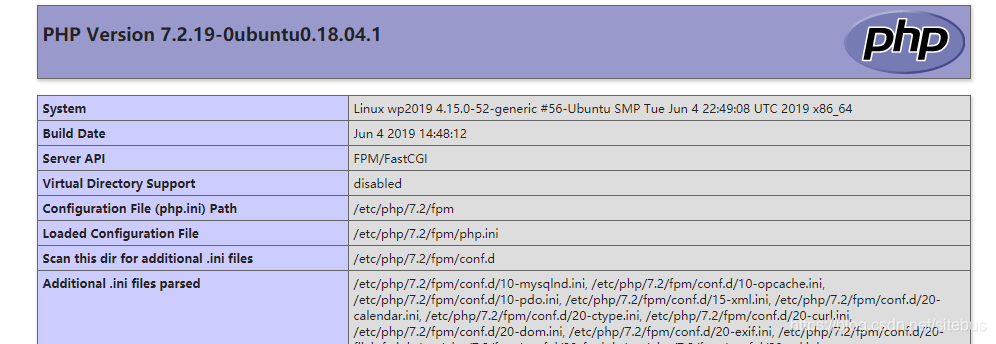
现在,可以通过访问服务器的域名或公共IP地址在Web浏览器中访问info.php页面:
http://your_server_domain_or_IP/info.php
如果设置正常,可以看到如下界面: