文章目录
一、服务器系统配置初始化
背景:新购买10台服务器冰冰安装Linux操作
需求:
 1. 设置时区并同步时间
 2. 禁用selinux
 3. 关闭防火墙
 4. 李世明令显示操作时间
 5. 禁止root远程登录
 6. 禁止定时任务发送邮件
 7. 设置最大打开文件数
 8. 较少Swap使用
 9. 系统内核参数优化
 10.安装系统性能分析工具及其他
1. 设置时区并同步时间
① 脚本编写
ln -s /usr/share/zoneinfo/Asia/Shanghai /etc/localtime
if ! crontab -l |grep ntpdate &>/dev/null ; then
    (echo "* 1 * * * ntpdate ntp1.aliyun.com >/dev/null 2>&1";hwclock -w;crontab -l) |crontab
fi
②脚本说明
查看系统信息
[root@ly-01 ~]# cat /etc/redhat-release
CentOS Linux release 7.6.1810 (Core)
#查看当前默认时区 UTC
[root@ly-01 ~]# date
Mon Feb 24 08:59:26 CST 2020

#修改时区为亚洲上海时区
ln -s /usr/share/zoneinfo/Asia/Shanghai /etc/localtime

#安装Linux系统时间同步服务软件:ntpdate 如果已安装,则跳过此步骤
[root@localhost ~]# yum -y install ntpdate

#Linux系统时间同步
#让当前服务器同步到网络时间,从而来更新当前服务器的时间。以下命令表示的是让当前服务器时间同步到ntp1.aliyun.com
[root@localhost ~]# ntpdate ntp1.aliyun.com
#Linux硬件时间同步:修改服务器硬件时间映射到我们的系统时间,也可以说系统时间同步到硬件时间,防止系统重启后时间还原。
hwclock -w

#定时同步,牵扯到定时任务
#查看当前用户的定时任务
[root@ly-01 ~]# crontab -l
#给当前用户添加定时任务
[root@ly-01 ~]# crontab -e

#同步时间规则,每天1点同步一次
* 1 * * *

#将错误追加为空 >前面下具体执行的命令
>/dev/null 2>&1

#判断现定时任务列表中是否有次定时任务,有,则跳过下面设置定时任务的逻辑
if ! crontab -l |grep ntpdate &>/dev/null ;
#下面这是一组命令 可直接执行
(echo "* 1 * * * ntpdate ntp1.aliyun.com >/dev/null 2>&1";hwclock -w;crontab -l) |crontab

2. 禁用selinux
① 脚本编写
sed -i '/SELINUX/{s/permissive/disabled/}' /etc/selinux/config
②脚本说明
#流编辑器
sed
#写入或者修改
-i
#区配关键字
/SELINUX
#将/etc/selinux/config文件中值为permissive替换为disabled
/permissive/disabled/ /etc/selinux/config

#咱们手动编辑修改一样的
vim /etc/selinux/config
#替换值permissive为disabled即可
3. 关闭防火墙
① 脚本编写
if egrep "7.[0-9]" /etc/redhat-release &>/dev/null; then
    systemctl stop firewalld
    systemctl disable firewalld
elif egrep "6.[0-9]" /etc/redhat-release &>/dev/null; then
    service iptables stop
    chkconfig iptables off
fi
②脚本说明
这是一个centos7和centos6 2个版本防火墙脚本
先去查看/etc/redhat-release文件中的系统版本内容,然后用正则表达式区配7.x还是6.x,然后使用管道命令过滤,最后,针对不同系统走不同分支
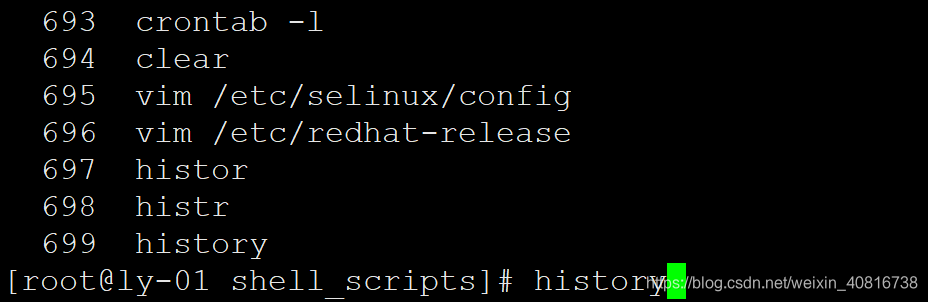
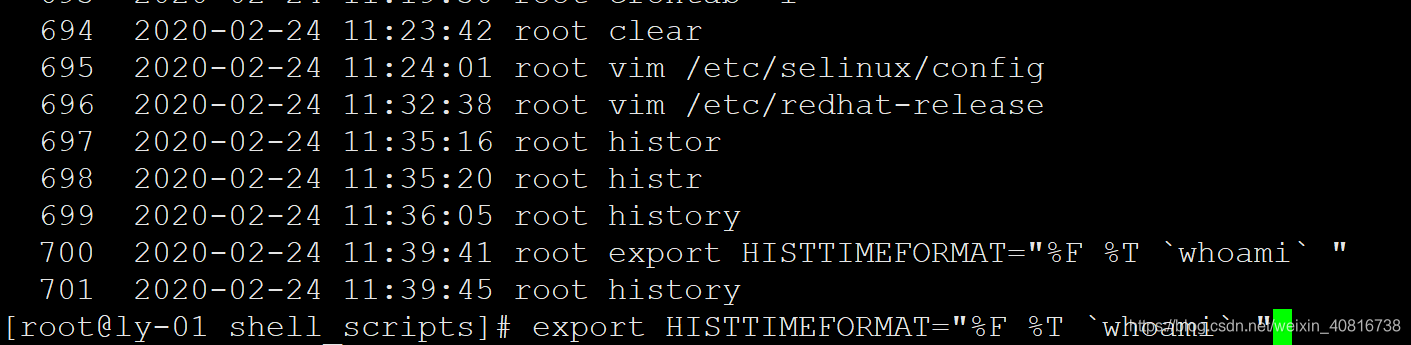
4. 历史命令显示操作时间
当前用户什么时间执行的什么命令
① 脚本编写
if ! grep HISTTIMEFORMAT /etc/bashrc; then
    echo 'export HISTTIMEFORMAT="%F %T `whoami` "' >> /etc/bashrc
fi
②脚本说明
#export HISTTIMEFORMAT 将此变量输出到环境变量中
#%F %T                 日期时间格式
#whoami                当前用户
export HISTTIMEFORMAT="%F %T `whoami` "
history
前
后:
5. 禁止root远程登录
① 脚本编写
#sed -i 's/#PermitRootLogin yes/PermitRootLogin no/' /etc/ssh/sshd_config
②脚本说明
此设置要慎重:执行此设置之前一定要提前把管理用户创建好,不然,服务器登录不上,建议先把此配置注释,改为yes root就登录不上了
编辑/etc/ssh/sshd_config文件,将#PermitRootLogin yes 注释去掉
6. 禁止定时任务发送邮件
① 脚本编写
操作错误时,服务器会定时发送邮件,目录在/var/mail/下面,导致小文件增多,影响服务器性能,上面的追加错误为空,也是为了这个目的
sed -i 's/^MAILTO=root/MAILTO=""/' /etc/crontab
②脚本说明
# 编辑/etc/crontab文件
vim /etc/crontab
#替换格式
's/^
#替换的目标对象
MAILTO=root
#替换后的值等于什么
MAILTO=""
7. 设置最大打开文件数
① 脚本编写
if ! grep "* soft nofile 65535" /etc/security/limits.conf &>/dev/null; then
cat >> /etc/security/limits.conf << EOF
    * soft nofile 65535
    * hard nofile 65535
EOF
fi
②脚本说明
# * 域的范围,*代表所有
# soft 类型 有soft 和hard 2种
#nofile 表示打开最大文件数
#65535 最大文件数数量

* soft nofile 65535

#简单的来说
#就是编辑/etc/security/limits.conf这个文件追加这2行内容
8. 较少Swap使用
① 脚本编写
echo "0" > /proc/sys/vm/swappiness
②脚本说明
编辑/proc/sys/vm/swappiness文件修改值
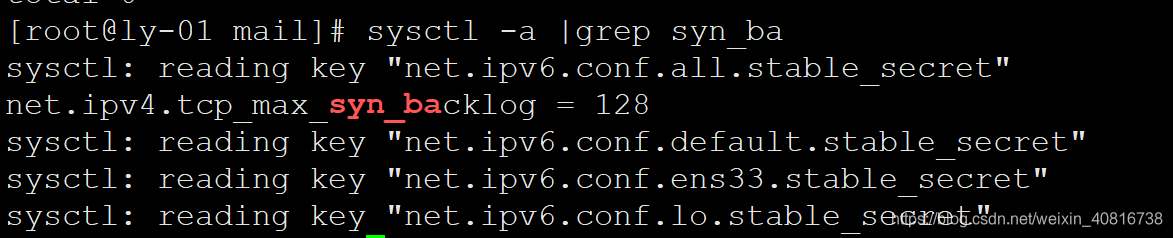
9. 系统内核参数优化
① 脚本编写
cat >> /etc/sysctl.conf << EOF
net.ipv4.tcp_syncookies = 1
net.ipv4.tcp_max_tw_buckets = 20480
net.ipv4.tcp_max_syn_backlog = 20480
net.core.netdev_max_backlog = 262144
net.ipv4.tcp_fin_timeout = 20
EOF
②脚本说明
编辑/etc/sysctl.conf文件追加下面参数

#当tcp溢出时一个保护机制策略
net.ipv4.tcp_syncookies = 1
#最大队列长度
net.ipv4.tcp_max_tw_buckets = 20480
#接收syn的队最大列长度
net.ipv4.tcp_max_syn_backlog = 20480
#网卡的最大队列长度
net.core.netdev_max_backlog = 262144
#超时设置
net.ipv4.tcp_fin_timeout = 20
#查看系统默认参数
[root@ly-01 mail]# sysctl -a |grep syn_ba
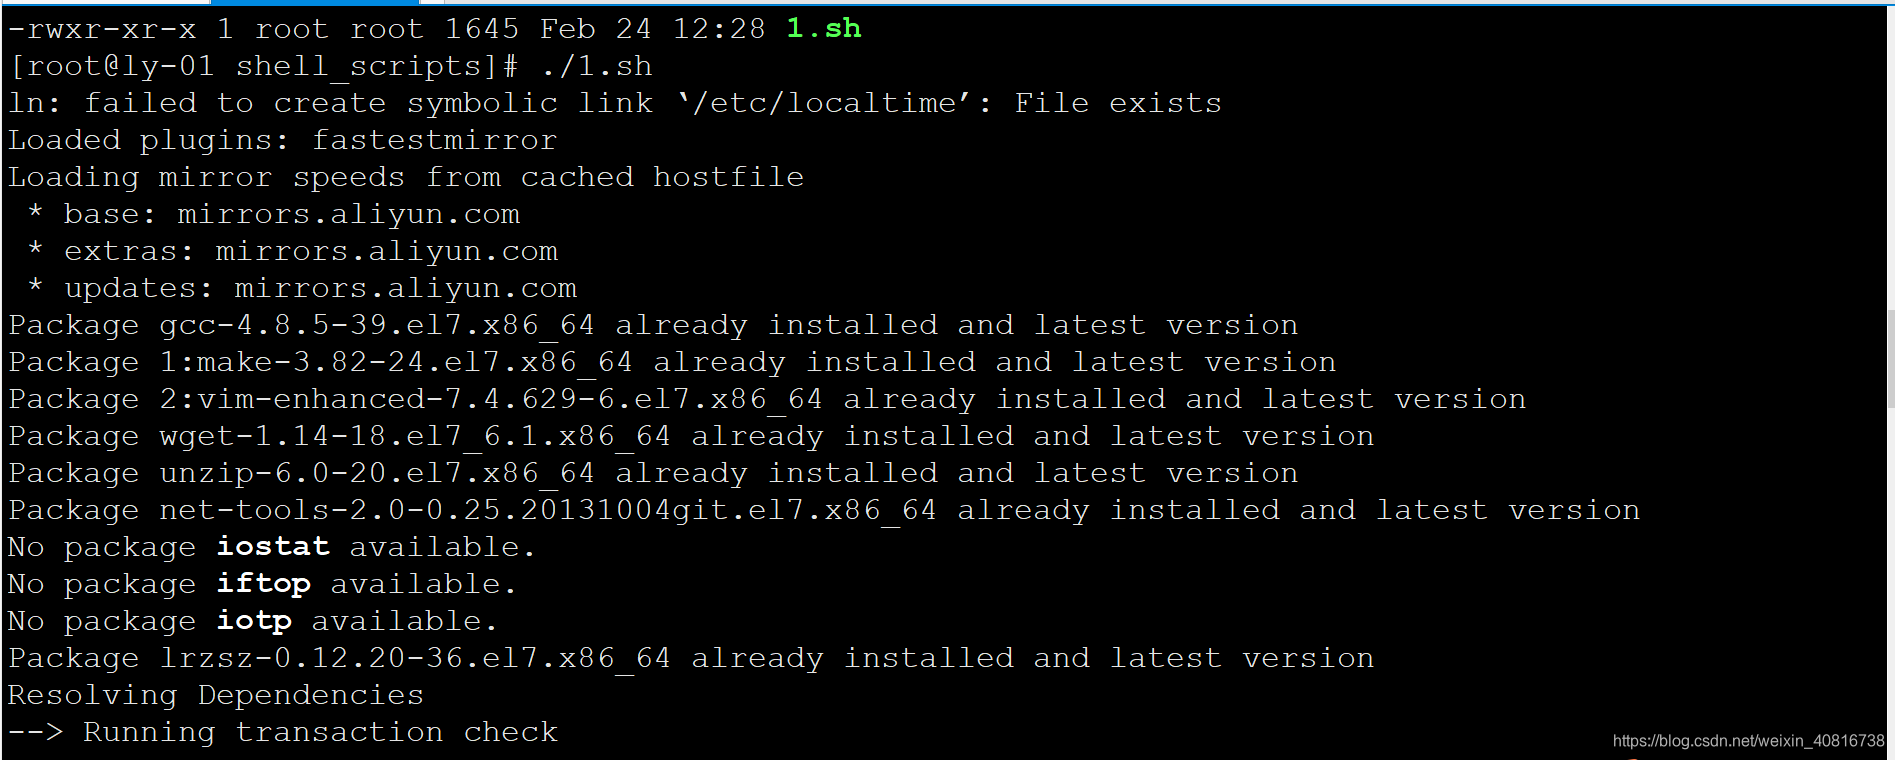
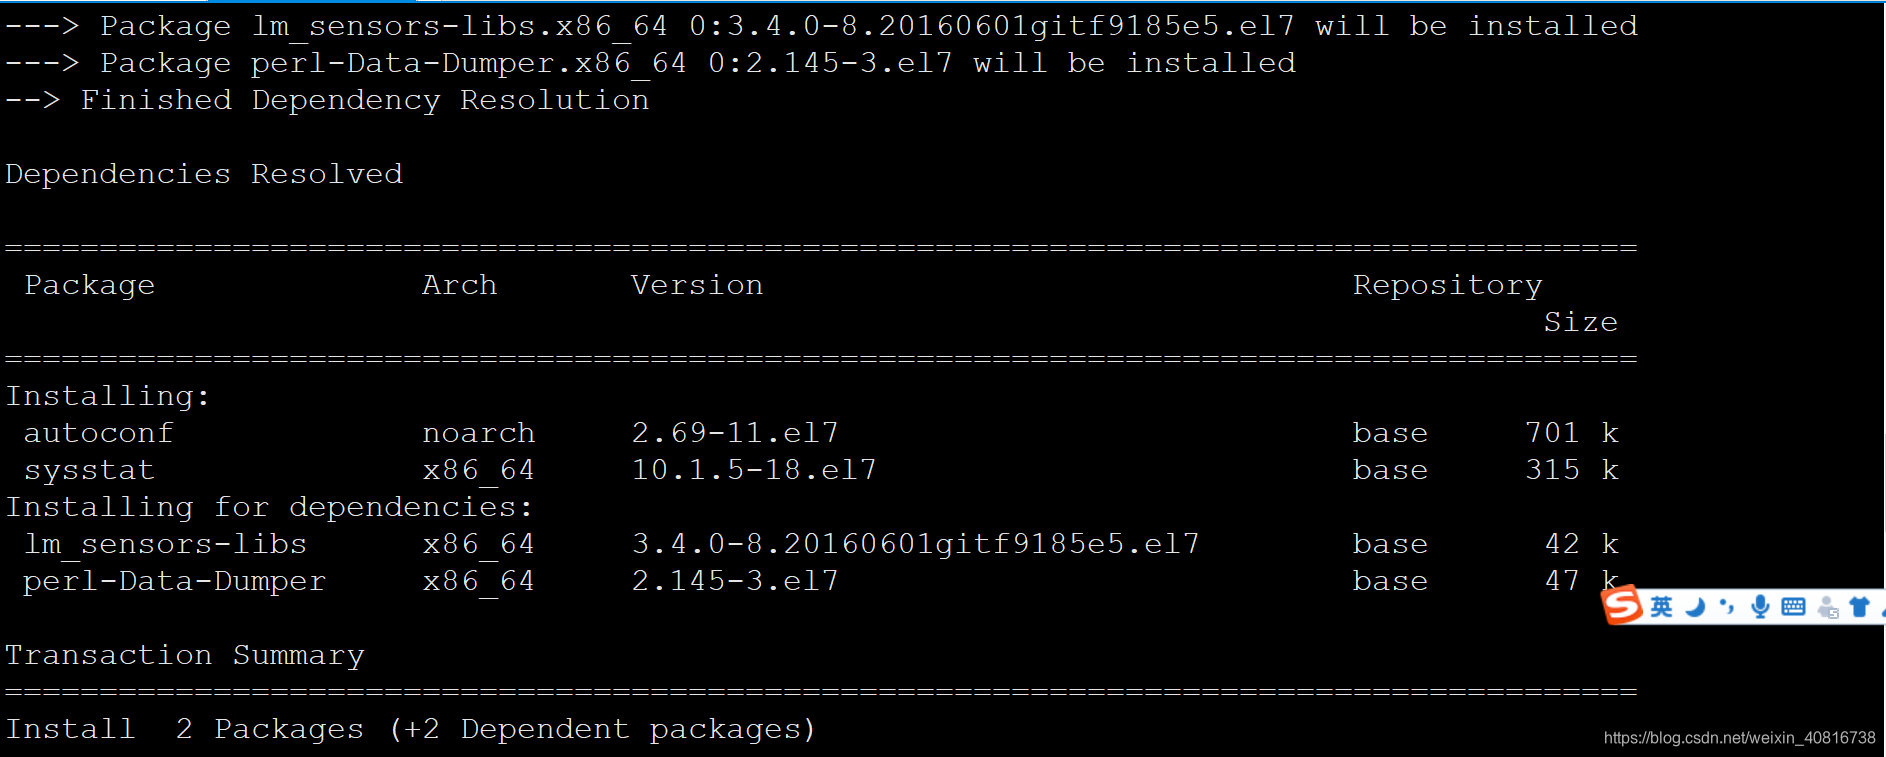
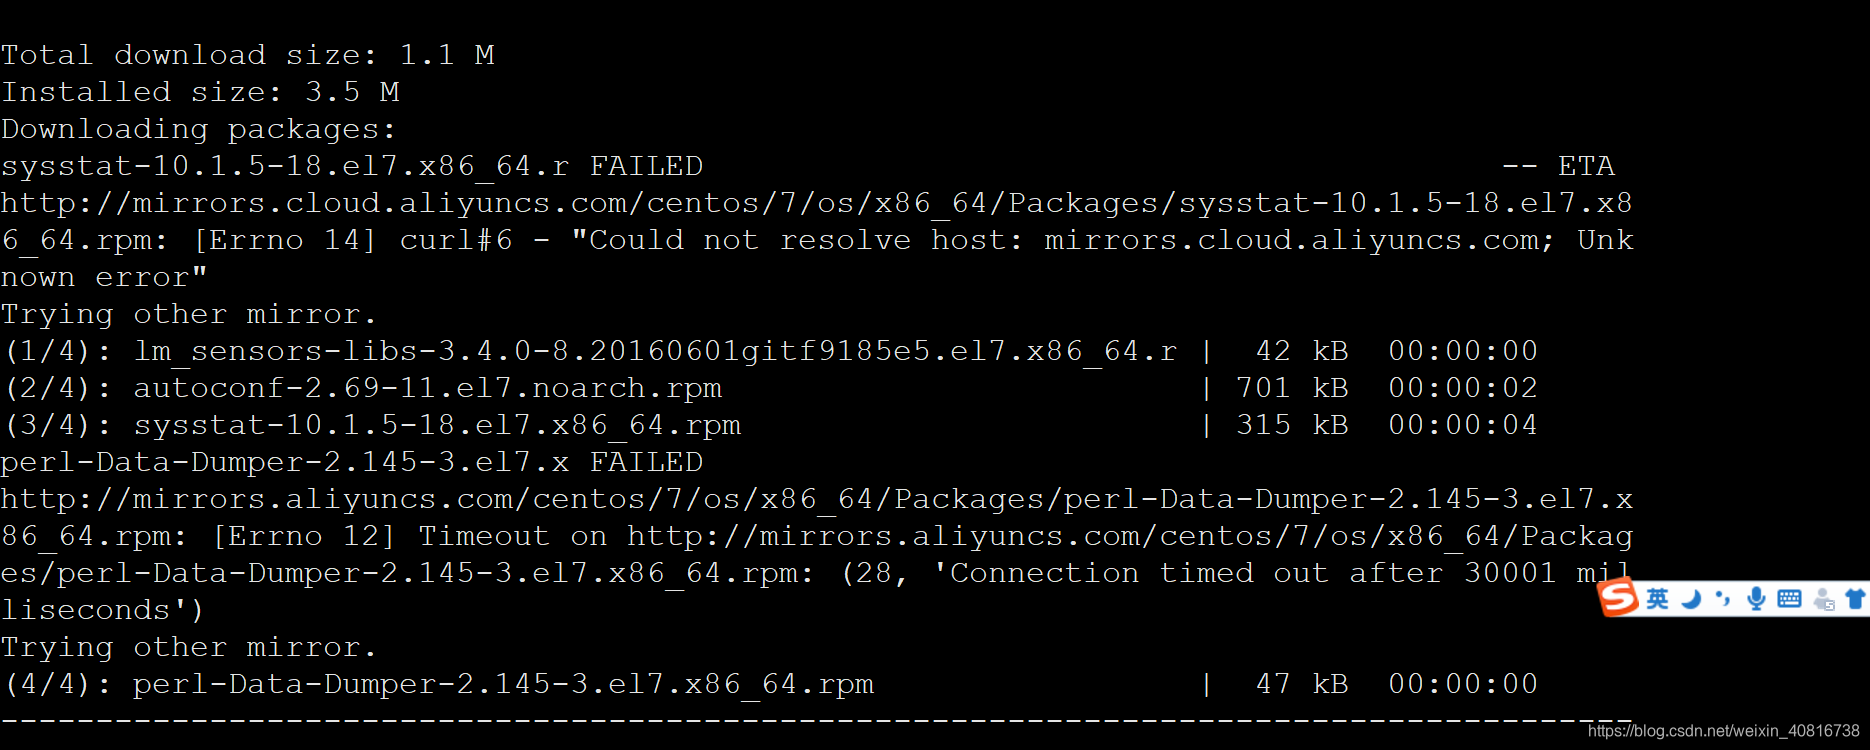
10. 安装系统性能分析工具及其他
① 脚本编写
yum install gcc make autoconf vim sysstat wget unzip net-tools iostat iftop iotp lrzsz -y
②脚本说明
在这里插入代码片
11. SSH超时时间
用于咱们ssh登录后的超时时间,栗子:你通过ssh登录服务器,在一定时间被没有做任何操作
设置超时时间安全性好
① 脚本编写
if ! grep "TMOUT=600" /etc/profile &>/dev/null; then
    echo "export TMOUT=600" >> /etc/profile
fi
②脚本说明
#将此变量追加到系统环境变量的配置文件中
echo "export TMOUT=600" >> /etc/profile
二、脚本集成+可执行权限
2.1. 全部脚本集成版本
#创建存储脚本的目录
mkdir shell_scripts
#创建脚本文件
vim 1.sh
#粘贴下面内容
#/bin/bash
# 设置时区并同步时间
ln -s /usr/share/zoneinfo/Asia/Shanghai /etc/localtime
if ! crontab -l |grep ntpdate &>/dev/null ; then
    (echo "* 1 * * * ntpdate ntp1.aliyun.com >/dev/null 2>&1";hwclock -w;crontab -l) |crontab
fi

# 禁用selinux
sed -i '/SELINUX/{s/permissive/disabled/}' /etc/selinux/config

# 关闭防火墙
if egrep "7.[0-9]" /etc/redhat-release &>/dev/null; then
    systemctl stop firewalld
    systemctl disable firewalld
elif egrep "6.[0-9]" /etc/redhat-release &>/dev/null; then
    service iptables stop
    chkconfig iptables off
fi

# 历史命令显示操作时间
if ! grep HISTTIMEFORMAT /etc/bashrc; then
    echo 'export HISTTIMEFORMAT="%F %T `whoami` "' >> /etc/bashrc
fi

# SSH超时时间
if ! grep "TMOUT=600" /etc/profile &>/dev/null; then
    echo "export TMOUT=600" >> /etc/profile
fi

# 禁止root远程登录
#sed -i 's/#PermitRootLogin yes/PermitRootLogin no/' /etc/ssh/sshd_config

# 禁止定时任务向发送邮件
sed -i 's/^MAILTO=root/MAILTO=""/' /etc/crontab

# 设置最大打开文件数
if ! grep "* soft nofile 65535" /etc/security/limits.conf &>/dev/null; then
cat >> /etc/security/limits.conf << EOF
    * soft nofile 65535
    * hard nofile 65535
EOF
fi

# 系统内核优化
cat >> /etc/sysctl.conf << EOF
net.ipv4.tcp_syncookies = 1
net.ipv4.tcp_max_tw_buckets = 20480
net.ipv4.tcp_max_syn_backlog = 20480
net.core.netdev_max_backlog = 262144
net.ipv4.tcp_fin_timeout = 20
EOF

# 减少SWAP使用
echo "0" > /proc/sys/vm/swappiness

# 安装系统性能分析工具及其他
yum install gcc make autoconf vim sysstat wget unzip  net-tools iostat iftop iotp lrzsz -y
2.2. 赋予脚本可执行权限
chmod +x 1.sh
2.3. 运行脚本
#在当前目录下面,运行脚本
./1.sh

2.4. 不赋予权限运行脚本
bash 脚本名称
2.5. 脚本调试技巧
哪一行报错,就把相关的脚本复制出来,单独创建一个.sh的文件,招贴内容到文件中,用bash +脚本文件名,运行脚本
2.6. 脚本格式转换
在Windows编辑的脚本在Linux运行有时会发生格式或者语法问题
解决方案:
#安装dos2unix
yum install dos2unix -y

# dos2unix 脚本名称
 dos2unix 1.sh

#再次运行脚本
./1.sh
三、验证
3.1. 刷新使脚本生效
source /etc/bashrc
3.2. 查看命令
#查看命令
cat /etc/bashrc

3.3. 查看追加的环境变量
cat /etc/profile

