1.另存下面两张图片备用。


2.设置vscode的用户代码片段,文件>首选项>用户代码片段,输入html,弹出的下拉项选html.json。

3.在html.json文件中"Print to console": {...},后面添加下面的自定义代码段。
	"my html": {
		"prefix": "!!",
		"body": [
			"<!DOCTYPE html>",
			"<html>",
			"<head>",
			"\t<meta charset='UTF-8'>",
			"\t<title>hello</title>",
			"\t<style>",
			"\t</style>",
			"</head>",
			"<body>",
			"\t$1",
			"\t<script>",
			"\t</script>",
			"</body>",
			"</html>"
		],
		"description": "my html"
	}
4.新建06.html,输入!!(两个感叹号,注意英文输入),按回车键。自定义代码片段自动呈现。
<!DOCTYPE html>
<html>
<head>
    <meta charset='UTF-8'>
    <title>hello</title>
    <style>
    </style>
</head>
<body>

    <script>
    </script>
</body>
</html>
5.body中输入div标签,div中输入img、span、type="file"的input标签各一个
    <div>
        <img id="img" src="06file.png">
        <span id="info"></span>
        <input id="upload" type="file" accept="image/png,image/gif,image/jpeg" />
    </div>
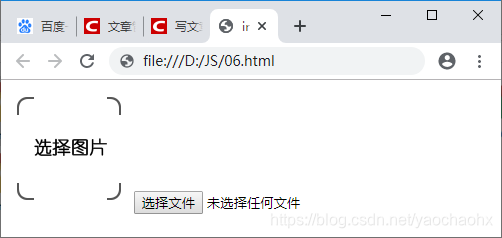
6.给上面的标签添加样式,#info、#img、#upload是id选择器。
        div {
            width: 120px;
            height: 120px;
            margin: 0 auto;/*div水平居中对齐*/
            border: solid 1px #666;
            border-radius: 4px;
        }

        #info {
            position: absolute;
            font-size: 10px;
        }

        #img {
            position: absolute;
            width: 120px;
            height: 120px;
        }

        #upload {
            width: 120px;
            height: 120px;
            position: absolute;
            opacity: 0;
            cursor: pointer;
        }
7.添加js代码进行交互
        var img = document.getElementById('img')
        var upload = document.getElementById('upload')
        var info = document.getElementById('info')

        upload.onchange = function (e) {//类型为file的input的变更事件
            var file = e.target.files[0]
            if (file) {
                img.src = file.name
                info.innerHTML = file.name + '<br>' + (file.size / 1024).toFixed(1) + 'KB'//显示新的图片信息
            }
        }
最终效果