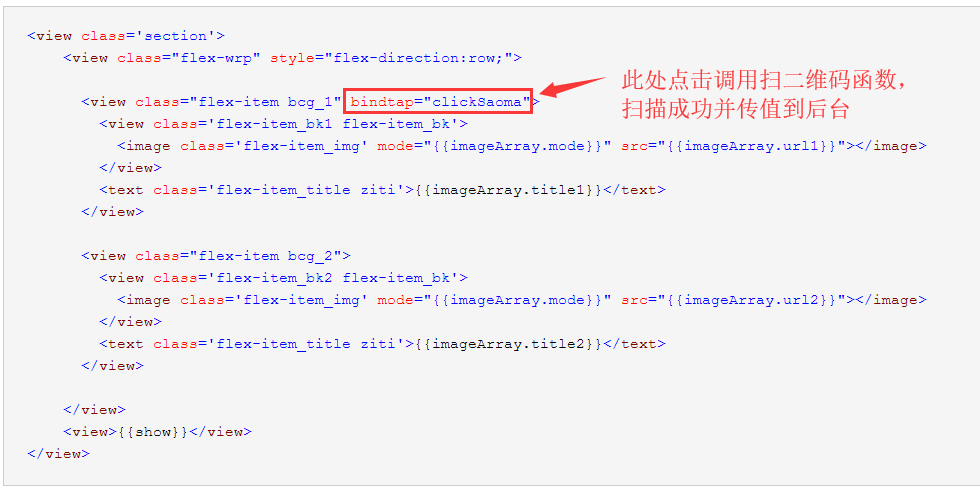
1、wxml
<view class='section'>
    <view class="flex-wrp" style="flex-direction:row;">

      <view class="flex-item bcg_1" bindtap="clickSaoma">
        <view class='flex-item_bk1 flex-item_bk'>
          <image class='flex-item_img' mode="{{imageArray.mode}}" src="{{imageArray.url1}}"></image>
        </view>
        <text class='flex-item_title ziti'>{{imageArray.title1}}</text>
      </view>

      <view class="flex-item bcg_2">
        <view class='flex-item_bk2 flex-item_bk'>
          <image class='flex-item_img' mode="{{imageArray.mode}}" src="{{imageArray.url2}}"></image>
        </view>
        <text class='flex-item_title ziti'>{{imageArray.title2}}</text>
      </view>

    </view>
    <view>{{show}}</view>
</view>
2、js
Page({

  /**
   * 页面的初始数据
   */
  data: {
    imageArray: {
        mode: 'aspectFit',//保持纵横比缩放图片,使图片的长边能完全显示出来
        url1: '/images/ewmkq.png', //字符串需要使用引号
        url2: '/images/klkq.png',
        title1: '扫码考勤',
        title2: '口令考勤'
    },
    show:""
  },

  /**
   * 生命周期函数--监听页面加载
   */
  onLoad: function (options) {

  },
  clickSaoma: function() {
    var that = this;

    // 调起客户端扫码界面,扫码成功后返回对应的结果
    wx.scanCode({
      onlyFromCamera: true,
      success: (res) => {
        this.show = "结果:" + res.result + "二维码类型:" + res.scanType + "字符集:" + res.charSet + "路径:" + res.path;

        //变量设值可传回页面
        // that.setData({
        //   show: this.show
        // }),

        // 显示消息提示框
        wx.showToast({
          title: '成功',
          icon: 'success',
          duration: 2000
        }),

        //向后台发送请求
        wx.request({
          url: 'http://cu6xda.natappfree.cc/wxcs/ewmData',
          method: 'POST',
          header: { 'content-type': 'application/x-www-form-urlencoded' },
          data: {
            msg: this.show
          },
          success: function (res) {
            wx.showToast({
              title: res,
              icon: 'success',
              duration: 2000
            })
          }
        })
      },
      fail: (res) => {
        wx.showToast({
          title: '失败',
          icon: 'success',
          duration: 2000
        })
      },
      complete: (res) => {
      }
    });
  },
  /**
   * 生命周期函数--监听页面初次渲染完成
   */
  onReady: function () {

  },

  /**
   * 生命周期函数--监听页面显示
   */
  onShow: function () {

  },

  /**
   * 生命周期函数--监听页面隐藏
   */
  onHide: function () {

  },

  /**
   * 生命周期函数--监听页面卸载
   */
  onUnload: function () {

  },

  /**
   * 页面相关事件处理函数--监听用户下拉动作
   */
  onPullDownRefresh: function () {

  },

  /**
   * 页面上拉触底事件的处理函数
   */
  onReachBottom: function () {

  },

  /**
   * 用户点击右上角分享
   */
  onShareAppMessage: function () {

  }
})

3、我后台简短的写了各struts,也可以用spring或者servrlt都是可以获取到数据的
4、测试效果图:

