直接上步骤:
(1)在pom文件中进行如下设置,打包设置为war包:
	<groupId>com.springboot.filter</groupId>
	<artifactId>springboot-filter</artifactId>
	<version>0.0.1-SNAPSHOT</version>
	<name>learn-springboot-filter</name>
	<description>Demo project for Spring Boot</description>
	<packaging>war</packaging>
(2) 取消Springboot的内置tomcat,在pom.xml中进行如下配置:
	<!-- 屏蔽springboot内置的tomcat -->
	<dependency>
            <groupId>org.springframework.boot</groupId>
            <artifactId>spring-boot-starter-tomcat</artifactId>
            <scope>provided</scope>
    </dependency>
(3) 启动类继承SpringBootServletInitializer ,并重写configure方法。
public class Application extends SpringBootServletInitializer {

	@Override
	protected SpringApplicationBuilder configure(SpringApplicationBuilder builder) {
		// TODO Auto-generated method stub
		return builder.sources(Application.class);
	}

	public static void main(String[] args) {
		SpringApplication.run(Application.class, args);
	}
}
(4)使用maven进行打包,maven clean package
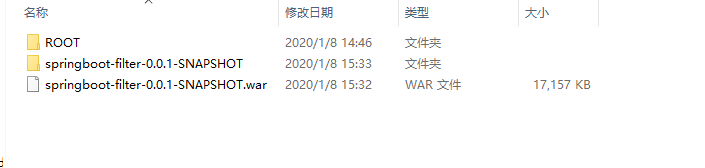
(5) 将生成的war包放到tomcat的webapp目录中,启动tomcat。
(6)webapp目录下会自动解压war包,如下图所示:
(7)在浏览器中访问,这时的访问需要加上解压后的文件夹的名称:
http://localhost:8080/springboot-filter-0.0.1-SNAPSHOT/request
(8) 完成。
