1.Apollo介绍
Apollo(阿波罗)是携程框架部门研发的开源配置管理中心,能够集中化管理应用不同环境、不同集群的配置,配置修改后能够实时推送到应用端,并且具备规范的权限、流程治理等特性。服务端基于Spring Boot和Spring Cloud开发,打包后可以直接运行,不需要额外安装Tomcat等应用容器。
2.Apollo的优势
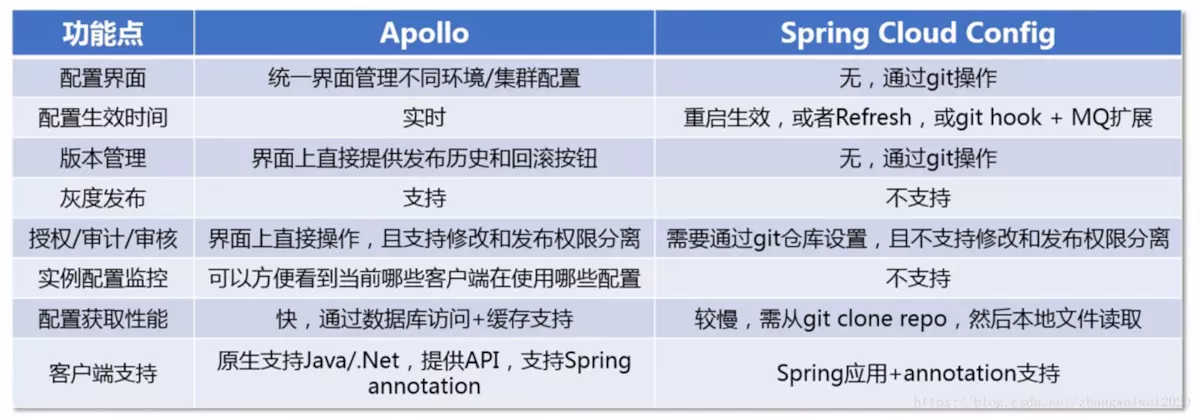
3.Apollo - Namespace
Namespace就相当于spring boot项目中的配置文件,例如namespace中有默认的application,格式为properties,则对应着application.properties
Namespace还具有:properties、xml、yml、yaml、json等格式
Namespace权限:private (私有的)、public (公共的)
4.本地安装Apollo
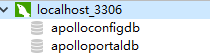
下载完安装包解压后,在apollo-quick-start-1.5.1\sql文件下,有两个sql,apolloconfigdb.sql,apolloportaldb.sql,复制两面的sql去只想该sql语句,会发现本地下多了两个数据库
修改demo.sh文件,修改mysql的url,username,password

右键git base,输入命令启动或者停止
./demo.sh start //启动
./demo.sh stop //停止
启动时,出现以下内容,表明启动成功
==== starting service ====
Service logging file is ./service/apollo-service.log
Started [10768]
Waiting for config service startup.......
Config service started. You may visit http://localhost:8080 for service status now!
Waiting for admin service startup....
Admin service started
==== starting portal ====
Portal logging file is ./portal/apollo-portal.log
Started [10846]
Waiting for portal startup......
Portal started. You can visit http://localhost:8070 now!
启动成功后,打开浏览器输入:http://localhost:8070,默认用户名:apollo,默认密码:admin
接下来就可以创建自己的项目了
8080、8070、8090这三个端口不要被占用,也不要随意改动这三个端口!
5.springboot2.x项目加载apollo配置中心配置
1)使用IDEA新建springboot项目,在pom文件中引入apollo-client依赖
<dependency>
            <groupId>com.ctrip.framework.apollo</groupId>
            <artifactId>apollo-client</artifactId>
            <version>1.4.0</version>
</dependency>