从b站学习springcloud,现在进行总结,该总结除去了视频中出现的小错误,对有些易错的地方进行了提醒
b站链接:https://www.bilibili.com/video/av55304977
资料链接:
https://pan.baidu.com/s/1o0Aju3IydKA15Vo1pP4z5w
提取码: 21ru
上一节链接: https://blog.csdn.net/qq_40893824/article/details/103323782
下一节链接:https://blog.csdn.net/qq_40893824/article/details/103326409
下面的内容总结:子工程→pom→application→entity的Student→接口及实现→handler→启动类
实现细节:
1.创建maven工程——eurekaclient(服务提供者)

next后填入eurekaclient

Finish后

可见创建成功
2.在该工程的pom文件下填入代码:

代码:
	<dependencies>
        <dependency>
            <groupId>org.springframework.cloud</groupId>
            <artifactId>spring-cloud-starter-netflix-eureka-client</artifactId>
            <version>2.0.2.RELEASE</version>
        </dependency>
    </dependencies>
3.创建该项的application.yml


创建成功,填入代码:
server:
  port: 8010
spring:
  application:
    name: provider
eureka:
  client:
    service-url:
      defaultZone: http://localhost:8761/eureka/
  instance:
    prefer-ip-address: true
#      是否将当前服务的 IP 注册到 Eureka Server。
4.创建启动类:
创建java下创建com.southwind包,不知道的请看我第一篇文章的第8.中有讲:
https://blog.csdn.net/qq_40893824/article/details/103323782
southwind下创建启动

进入ProviderApplication.java

填入代码:
package com.southwind;

import org.springframework.boot.SpringApplication;
import org.springframework.boot.autoconfigure.SpringBootApplication;

@SpringBootApplication
public class ProviderApplication {
    public static void main(String[] args) {
        SpringApplication.run(ProviderApplication.class,args);
    }
}
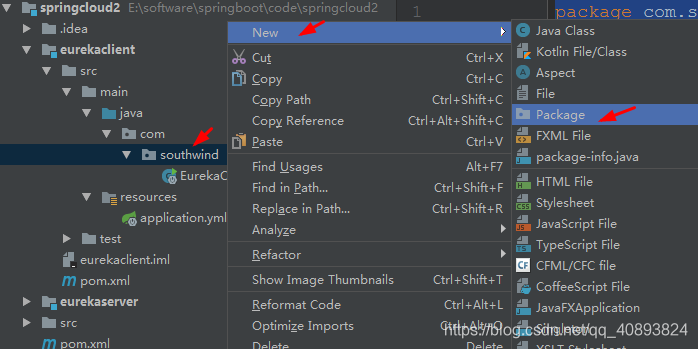
5.创建实体类:entity→Student


进入Student中

这是代码中有@Data,这个需要在父pom中加入依赖

<!--下面这个依赖对应于eurekaclient中entity的@Data-->
        <dependency>
            <groupId>org.projectlombok</groupId>
            <artifactId>lombok</artifactId>
            <version>1.18.8</version>
            <scope>provided</scope>
        </dependency>
< scope>provided< /scope>中的provider表明该包只在编译和测试的时候用
在Student中加入代码:
package com.southwind.entity;

import lombok.AllArgsConstructor;
import lombok.Data;
import lombok.NoArgsConstructor;

@Data
@AllArgsConstructor
@NoArgsConstructor
public class Student {
    private long id;
    private String name;
    private int age;
}
6.创建接口:
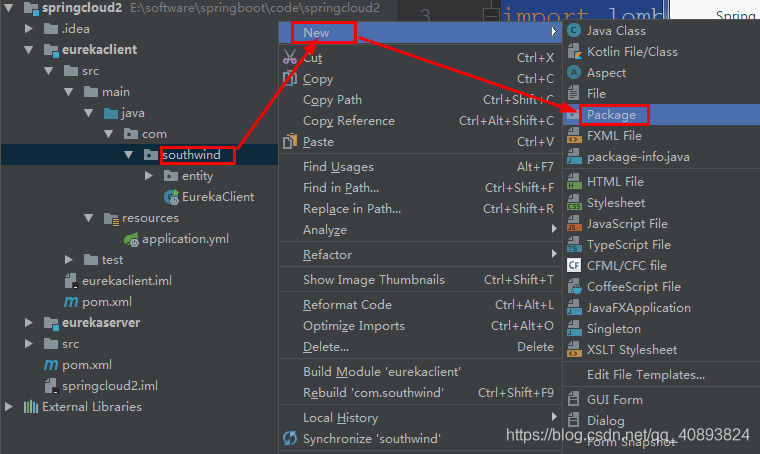
包:repository
名称:StudentRepository,其类型改为接口类型

进入StuentRepository
填入:
package com.southwind.repository;

import com.southwind.entity.Student;
import java.util.Collection;

public interface StudentRepository {
    /*增 改*/
    public void saveorupdate(Student student);
    /*删*/
    public void deleteById(long id);
    /*查*/
    public Collection<Student> findAll();
    /*查*/
    public Student findById(long id);
}
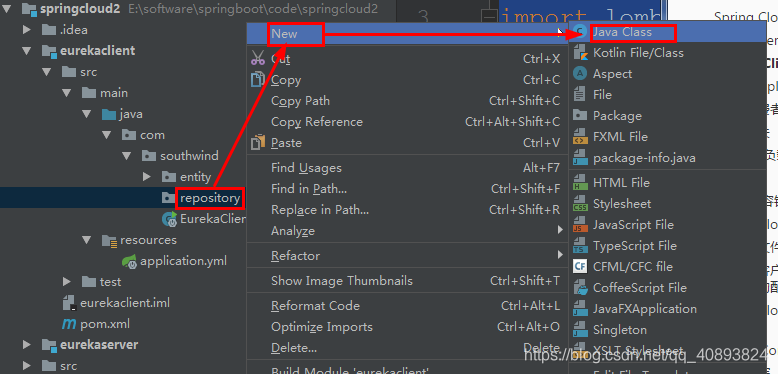
7.在repotory下创一个impl的包
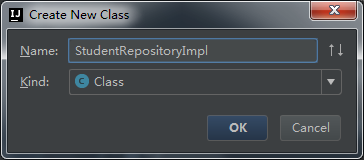
在impl中创建StudentRepository的实现类——StudentRepositoryImpl
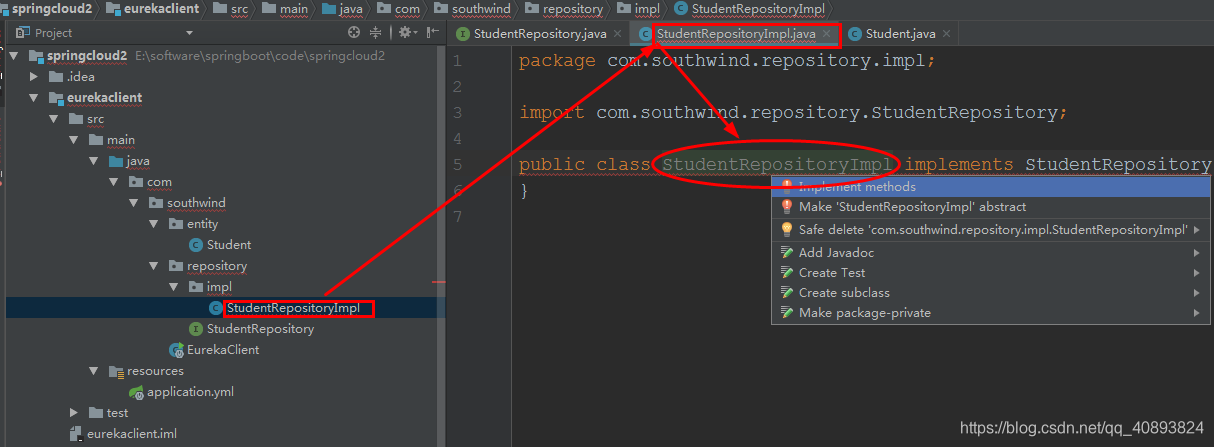
要实现接口的操作要implements StudentRepository
鼠标移至StudentRepositoryImpl,alt+enter后,神奇的一幕:
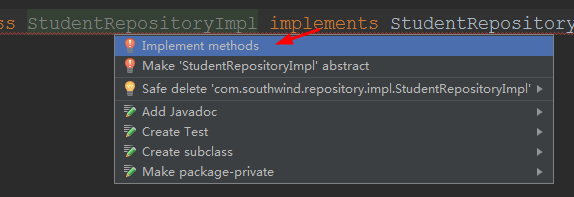
进入箭头:

自动填充代码:

填入代码:
不要忘记@Repository
package com.southwind.repository.impl;

import com.southwind.entity.Student;
import com.southwind.repository.StudentRepository;
import org.springframework.stereotype.Repository;

import java.util.Collection;
import java.util.HashMap;
import java.util.Map;

@Repository
public class StudentRepositoryImpl implements StudentRepository{

    private static Map<Long,Student> studentMap;

    static{
        studentMap = new HashMap<>();
        studentMap.put(1L,new Student(1L,"张三",12));
        studentMap.put(2L,new Student(2L,"李四",22));
        studentMap.put(3L,new Student(3L,"王五",15));
    }

    @Override
    public void saveorupdate(Student student) {
        studentMap.put(student.getId(),student);
    }

    @Override
    public void deleteById(long id) {
        studentMap.remove(id);
    }

    @Override
    public Collection<Student> findAll() {
        return studentMap.values();
    }

    @Override
    public Student findById(long id) {
        return studentMap.get(id);
    }
}
8.创建Handler
在southwind下创建包controller
controller中创建 StudentHandler
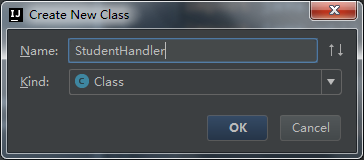
填入代码:
package com.southwind.controll;

import com.southwind.entity.Student;
import com.southwind.repository.StudentRepository;
import org.springframework.beans.factory.annotation.Autowired;
import org.springframework.web.bind.annotation.*;

import java.util.Collection;

@RestController
@RequestMapping("/student")
public class StudentHandler {

    @Autowired
    private StudentRepository studentRepository;

    /*增 改*/
    @PostMapping("/save")
    public void save(@RequestBody Student student){
        studentRepository.saveorupdate(student);
    }
    @PutMapping("/update")
    public void update(@RequestBody Student student){
        studentRepository.saveorupdate(student);
    }

    /*删*/
    @DeleteMapping("/deleteById/{id}")
    public void deleteById(@PathVariable("id") long id){
        studentRepository.deleteById(id);
    }

    /*查*/
    @GetMapping("/findAll")
    public Collection<Student> findAll(){
        return studentRepository.findAll();
    }

    /*查*/
    @GetMapping("/findById/{id}")
    public Student findById(@PathVariable("id") long id){
        return studentRepository.findById(id);
    }

}
开启启动类
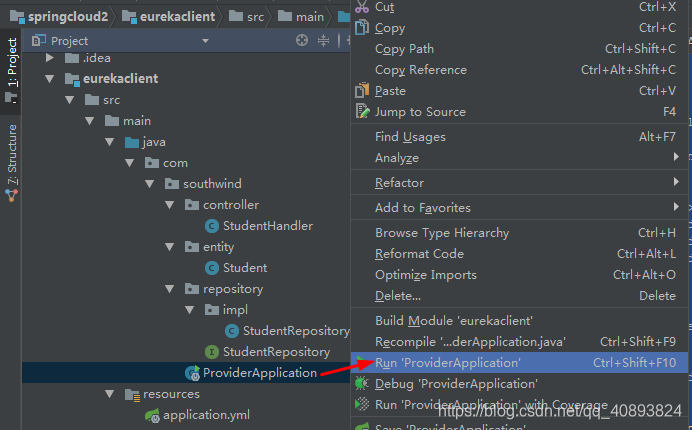
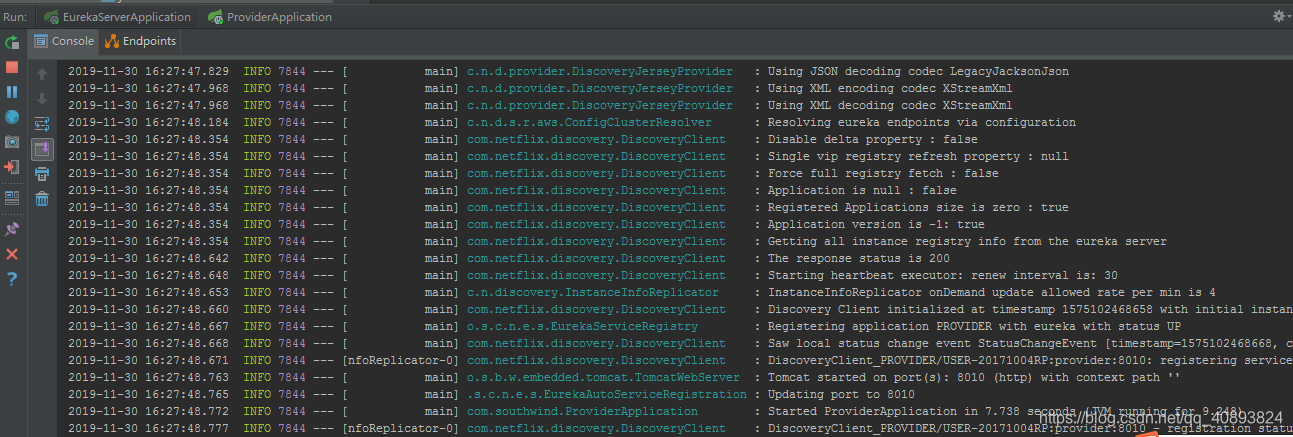
运行正常
进入http://localhost:8761
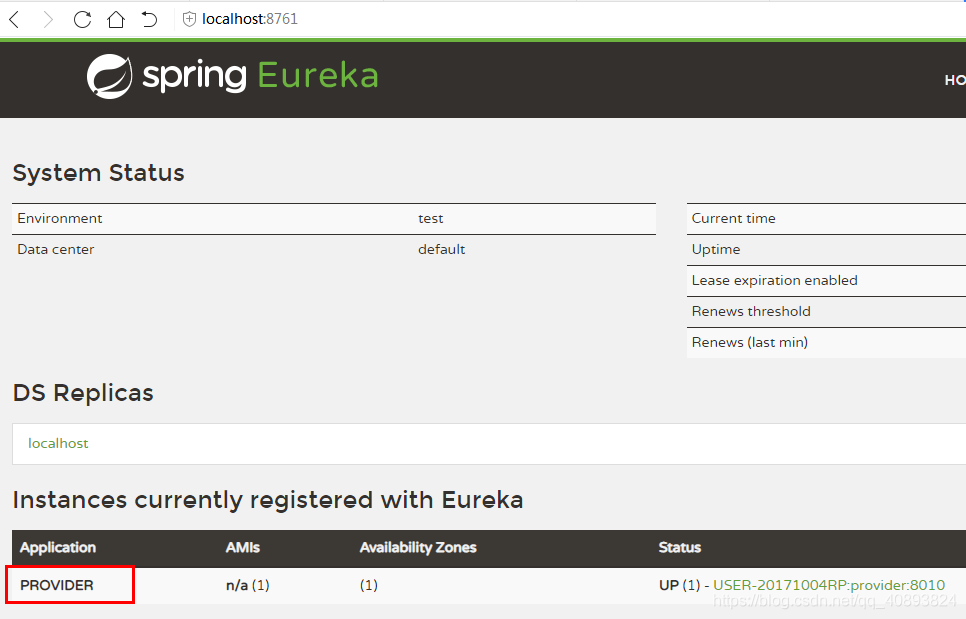
服务提供者已经注册进来了
进入 http://localhost:8010/student/findAll

9.在Postman中进行详细测试
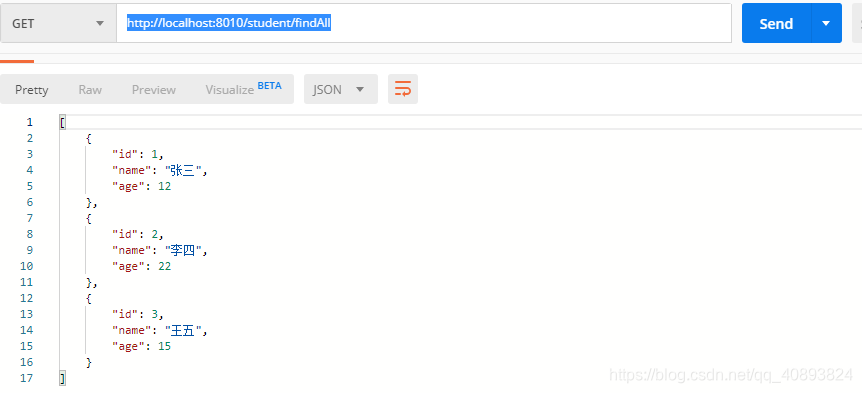
a. 全查 get→http://localhost:8010/student/findAll
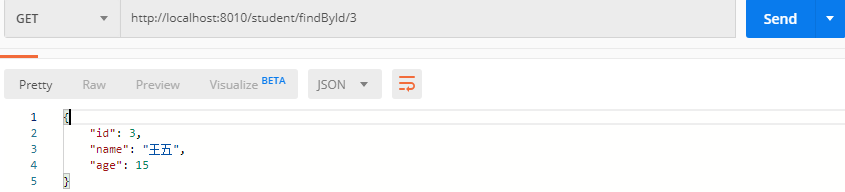
b. 查找 get→http://localhost:8010/student/findById/3
c. 存入一个人的信息
post→http://localhost:8010/student/save

d.看有没存进去
get→http://localhost:8010/student/findAll
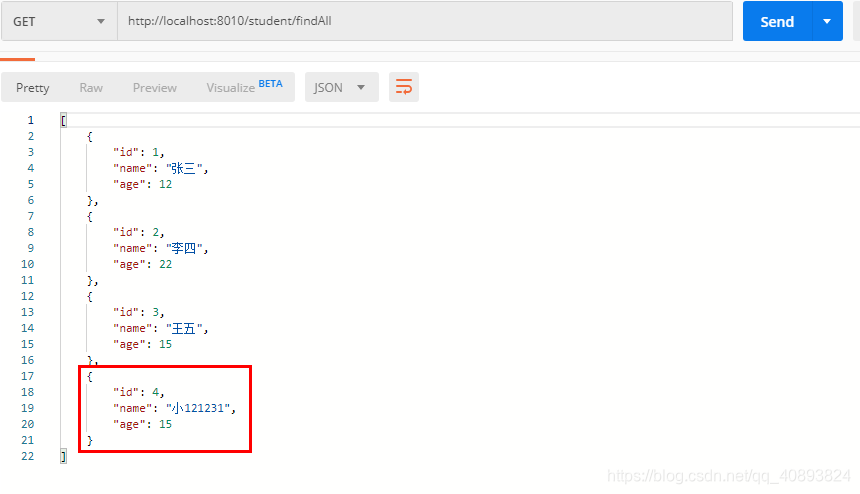
成功存进!
e.更新之
put→http://localhost:8010/student/update

f.看没有更新
get→http://localhost:8010/student/findAll
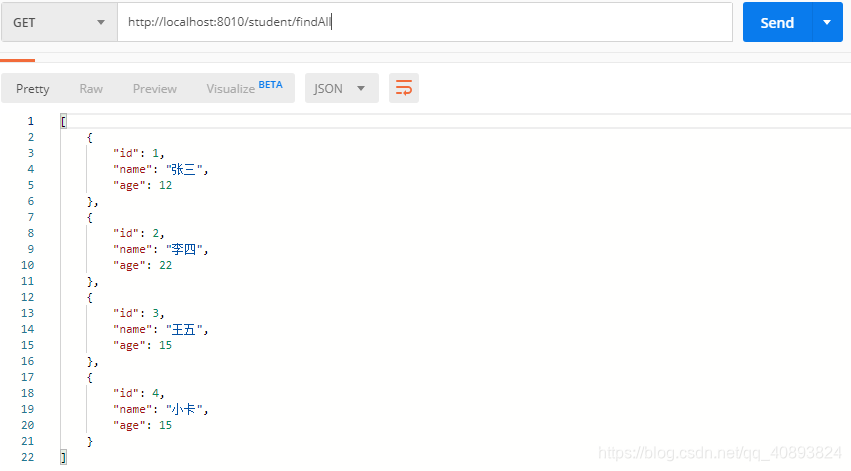
成功更新!
上一节链接: https://blog.csdn.net/qq_40893824/article/details/103323782
下一节链接:https://blog.csdn.net/qq_40893824/article/details/103326409
