今天上课做了一个在linux平台下通过qt制作一个画图软件,画图软件的步骤大概如下:
1.新建一张全白图(以下我以打开一张图片为例子)
2.通过获取鼠标的位置,点击然后修改对应像素点的颜色
3.保存图片(时间有限,这个部分没有完成)
接下来说一下制作这个小程序的方法
1.打开linux虚拟机,在qt中新建一个工程文件

2.设置ui界面,我这里很简单,就是一个label个一个pushbutton

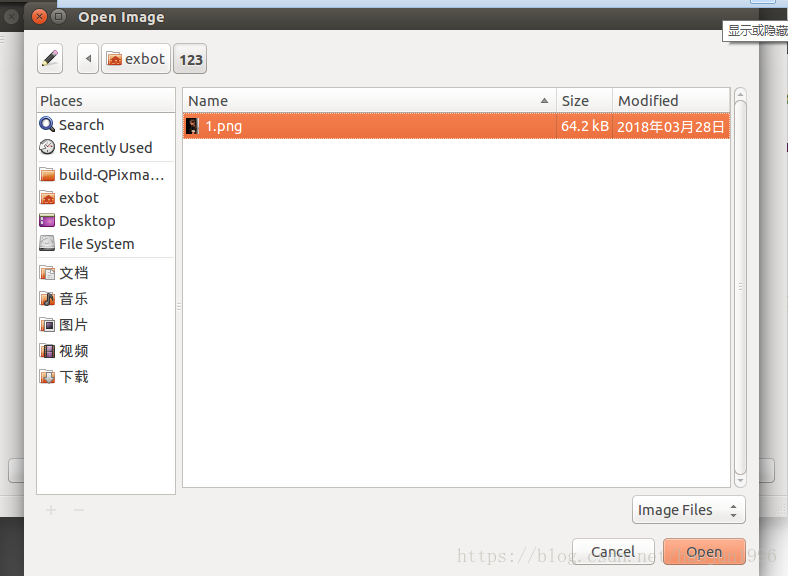
3.界面设计完成后,就要开始做一些功能性的东西了,在qt里面,设置slot函数,此时,我的思路是点击按钮,然后弹出文件选择框,选择需要的图片,选择格式过滤为jpg和png,所以就点击pushbutton,添加slot函数,在clicked()中添加如下代码:
void MainWindow::on_pushButton_clicked()
{
    /*QFileDialog return String value,so declare String filename in mainwindow.h*/
    filename=QFileDialog::getOpenFileName(this,tr("Open Image"),"/home/exbot/123",tr("Image Files(*.jpg *.png)"));

    /*loading the filename to image*/
    image.load(filename);   //direct to load image and do not create the mix variable pPixmap

    /*show the pic of filename or a complete path instead it*/
    ui->label->setPixmap(QPixmap(filename));

   // ui->label->setGeometry(ui->label->pos().rx(),ui->label->pos().ry(),image.width(),image.height());

    /*let the pic of the head match the label of the position (0,0)*/
    ui->label->setGeometry(ui->label->geometry().topLeft().x(),ui->label->geometry().topLeft().y(),image.width(),image.height());
    ui->label->setScaledContents(true);
}

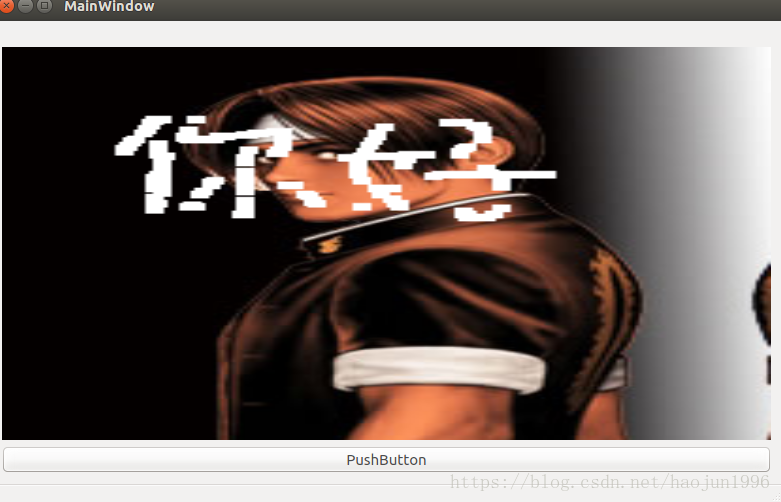
4.上一步弄完后就可以点击按钮,然后弹出选择框,默认的路径是/home/exbot/123目录下。好了,现在能够选择并且打开图片了,那么下一步我们就要搞一下如何鼠标点击,然后有画笔的功能(修改像素点)。实现这个功能,要用到mouseMoveEvent函数,这个要自己敲,没有好像按钮右键slot函数然后自动生成(有点麻烦- - ),以下给出mouseMoveEvent函数的全部代码,然后再一条一条解释什么意思(程序完成了,懒得拆开代码来写文档- - )
void MainWindow::mouseMoveEvent(QMouseEvent *e)
{
static int times=0; //鼠标滑动事件的次数
times++; //鼠标按住滑动,次数就一直加
//qDebug()<<"mouse move"<<times<<e->x()<<e->y(); //打印鼠标滑动的次数和鼠标的(x,y)坐标
qDebug()<<"label pos "<<ui->label->geometry().topLeft().x()<<ui->label->geometry().topLeft().y(); //打印label左上角的坐标位置
// image=QPixmap(filename).toImage();
unsigned char *data;
data=image.bits();
int Width=image.width();
int Height=image.height();
// memset(data,0xFF,times*1000);
int labelX=ui->label->geometry().topLeft().x();
int labelY=ui->label->geometry().topLeft().y(); //label的左上角横纵坐标
int image_width=image.width();
int image_height=image.height(); //图片的长宽
int label_width=ui->label->width();
int label_height=ui->label->height(); //label的长宽
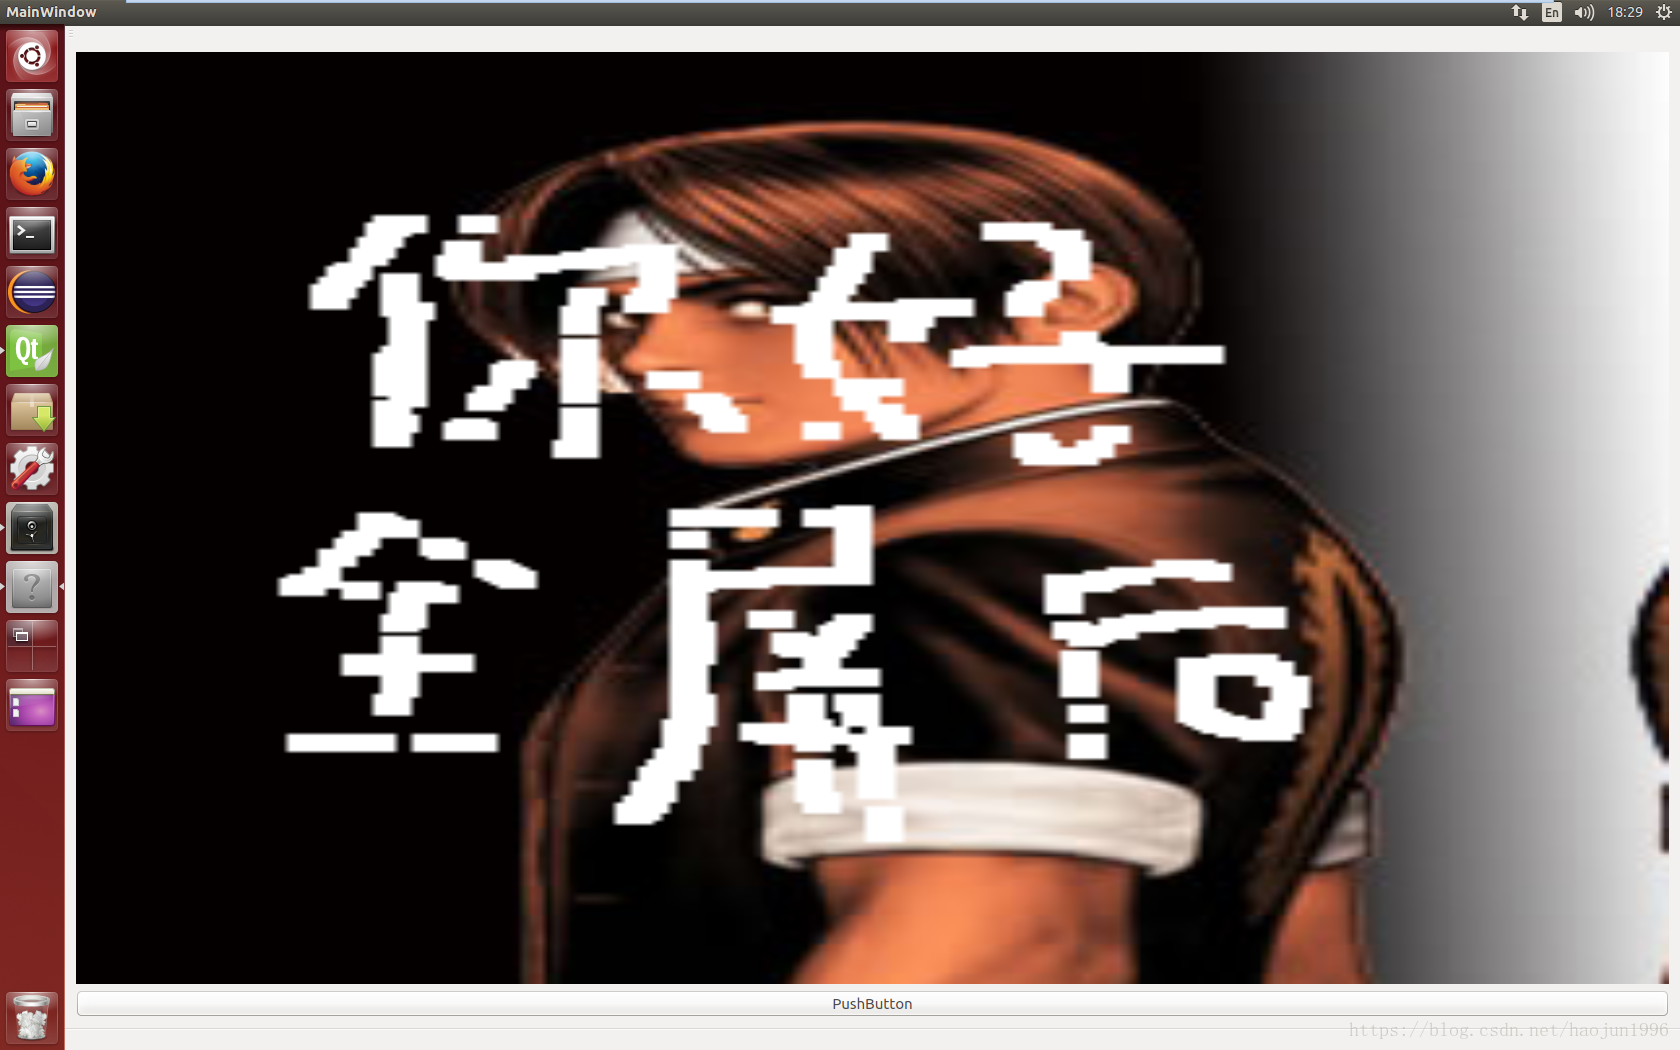
double Yrate=(double)image_height/(double)label_height;
double Xrate=(double)image_width/(double)label_width; //计算图片的长宽占label长宽的比例 (用来实现屏幕自适应后的画图效果)
int targetX=(int)((double)(e->x() - labelX))*Xrate;
int targetY=(int)((double)(e->y() - labelY-15))*Yrate; //确定鼠标要画的那个点的坐标
int border_bottomRightX=ui->label->geometry().bottomRight().x();
int border_bottomRightY=ui->label->geometry().bottomRight().y();
int border_topleftX=ui->label->geometry().topLeft().x();
int border_topleftY=ui->label->geometry().topRight().y(); //这4条语句其实就是图片的边界
// if(e->x()<border_bottomRightX&&e->y()<border_bottomRightY&&e->x()>border_topleftX&&e->y()>border_topleftY)
for(int i=targetY;i<targetY+5;i++) // 通过这个循环,可以修改鼠标点击的那个像素点的值,这里设置为全部255(白色)
{
for(int j=targetX;j<targetX+5;j++)
{
*(data+RGB_32*(i*Width+j))=255;
*(data+RGB_32*(i*Width+j)+1)=255;
*(data+RGB_32*(i*Width+j)+2)=255;
}
}
/*
for(int i=e->y()-13;i<e->y();i++) //和上面的循环同等效果
{
for(int j=e->x();j<e->x()+5;j++)
{
*(data+RGB_32*(i*Width+j))=255;
*(data+RGB_32*(i*Width+j)+1)=255;
*(data+RGB_32*(i*Width+j)+2)=255;
}
}
*/
QPixmap ConvertPixmap=QPixmap::fromImage(image); //把image转回pixmap形式
ui->label->setPixmap(ConvertPixmap); //显示图片
}
以上就是全部代码,有一些是测试代码没有删掉,你们可以用来测试一下,验证一些代码的功能
5.给出全部文件的代码提供参考
(1)mainwindow.h
#ifndef MAINWINDOW_H
#define MAINWINDOW_H

#include <QMainWindow>
#include<QFileDialog>
#include<QDebug>
#include<QMouseEvent>
#include<QWidget>
#include<QPaintEvent>
namespace Ui {
class MainWindow;
}

class MainWindow : public QMainWindow
{
    Q_OBJECT

public:
    explicit MainWindow(QWidget *parent = 0);
    ~MainWindow();
    QString filename;
    QImage image;

private slots:
    void on_pushButton_clicked();
    void mouseMoveEvent(QMouseEvent *e);

private:
    Ui::MainWindow *ui;
};

#endif // MAINWINDOW_H
(2)mainwindow.cpp
#include "mainwindow.h"
#include "ui_mainwindow.h"

#define RGB_32 4
MainWindow::MainWindow(QWidget *parent) :
    QMainWindow(parent),
    ui(new Ui::MainWindow)
{
    ui->setupUi(this);
    ui->label->setText("");


}
MainWindow::~MainWindow()
{
    delete ui;
}


void MainWindow::on_pushButton_clicked()
{
    /*QFileDialog return String value,so declare String filename in mainwindow.h*/
    filename=QFileDialog::getOpenFileName(this,tr("Open Image"),"/home/exbot/123",tr("Image Files(*.jpg *.png)"));

    /*loading the filename to image*/
    image.load(filename);   //direct to load image and do not create the mix variable pPixmap

    /*show the pic of filename or a complete path instead it*/
    ui->label->setPixmap(QPixmap(filename));

   // ui->label->setGeometry(ui->label->pos().rx(),ui->label->pos().ry(),image.width(),image.height());

    /*let the pic of the head match the label of the position (0,0)*/
    ui->label->setGeometry(ui->label->geometry().topLeft().x(),ui->label->geometry().topLeft().y(),image.width(),image.height());
    ui->label->setScaledContents(true);
}

void MainWindow::mouseMoveEvent(QMouseEvent *e)
{
    static int times=0;
    times++;
    //qDebug()<<"mouse move"<<times<<e->x()<<e->y();
       qDebug()<<"label pos "<<ui->label->geometry().topLeft().x()<<ui->label->geometry().topLeft().y();

   // image=QPixmap(filename).toImage();
    unsigned char *data;
    data=image.bits();
    int Width=image.width();
    int Height=image.height();
  //  memset(data,0xFF,times*1000);

    int labelX=ui->label->geometry().topLeft().x();
    int labelY=ui->label->geometry().topLeft().y();

    int image_width=image.width();
    int image_height=image.height();

    int label_width=ui->label->width();
    int label_height=ui->label->height();


    double Yrate=(double)image_height/(double)label_height;
    double Xrate=(double)image_width/(double)label_width;

    int targetX=(int)((double)(e->x() - labelX))*Xrate;
    int targetY=(int)((double)(e->y() - labelY-15))*Yrate;

    int border_bottomRightX=ui->label->geometry().bottomRight().x();
    int border_bottomRightY=ui->label->geometry().bottomRight().y();
    int border_topleftX=ui->label->geometry().topLeft().x();
    int border_topleftY=ui->label->geometry().topRight().y();

   // if(e->x()<border_bottomRightX&&e->y()<border_bottomRightY&&e->x()>border_topleftX&&e->y()>border_topleftY)

            for(int i=targetY;i<targetY+5;i++)
            {
                for(int j=targetX;j<targetX+5;j++)
                {
                    *(data+RGB_32*(i*Width+j))=255;
                    *(data+RGB_32*(i*Width+j)+1)=255;
                    *(data+RGB_32*(i*Width+j)+2)=255;
                }
            }


    /*
    for(int i=e->y()-13;i<e->y();i++)
    {
        for(int j=e->x();j<e->x()+5;j++)
        {
            *(data+RGB_32*(i*Width+j))=255;
            *(data+RGB_32*(i*Width+j)+1)=255;
            *(data+RGB_32*(i*Width+j)+2)=255;
        }
    }
    */
    QPixmap ConvertPixmap=QPixmap::fromImage(image);
    ui->label->setPixmap(ConvertPixmap);
}
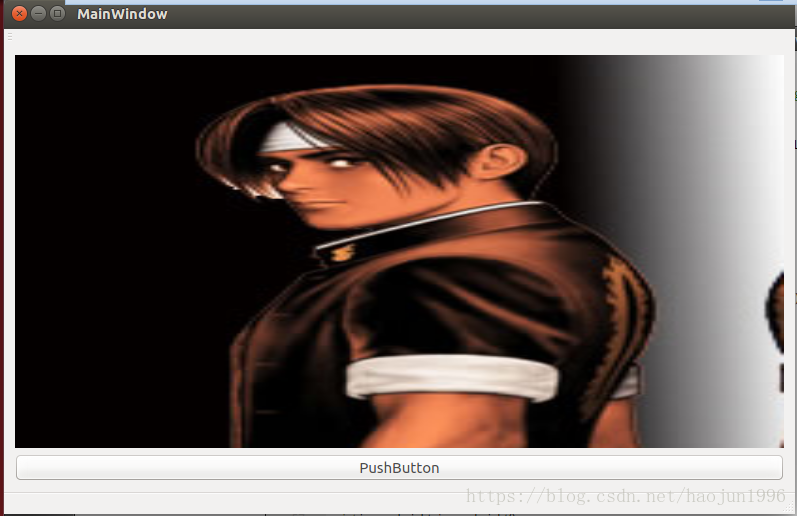
6.运行效果如下