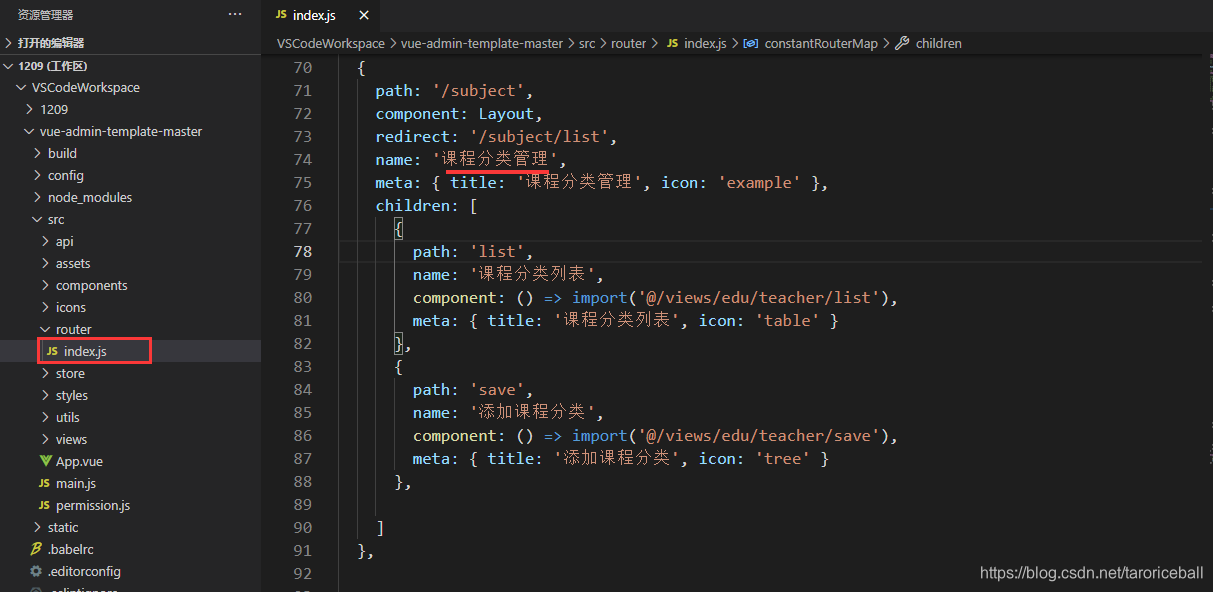
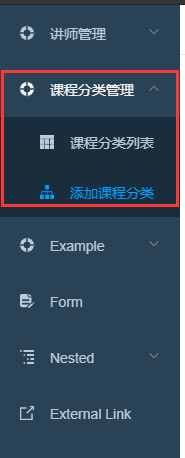
1.添加“课程分类”路由
打开浏览器,发现登录出错。
启动一下。
出现了。
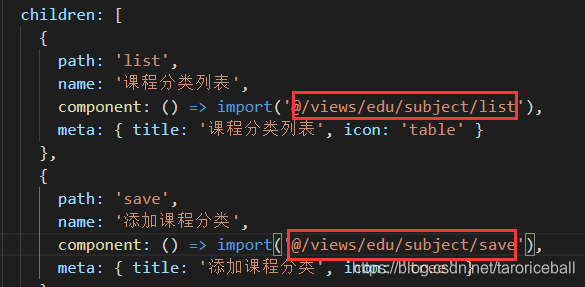
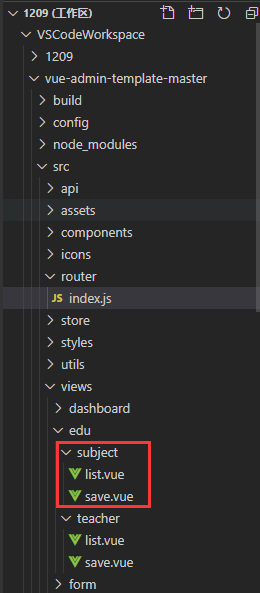
2.修改路由对应的页面路径,创建课程列表、添加两个页面
3.编写添加课程分类页面save.vue,实现添加课程分类效果
3.1添加上传组件
<template>
    <div class="app-container">
        <el-form label-width="120px">
        <el-form-item label="信息描述">
            <el-tag type="info">excel模版说明</el-tag>
            <el-tag>
                <i class="el-icon-download"/>
                <a :href="OSS_PATH +'/static/01.xlsx'">点击下载模版</a>
            </el-tag>
        </el-form-item>
        <el-form-item label="选择Excel">
            <el-upload
                ref="upload"
                :auto-upload="false"
                :on-success="fileUploadSuccess"
                :on-error="fileUploadError"
                :disabled="importBtnDisabled"
                :limit="1"
                :action="BASE_API+'/admin/edu/subject/import'"
                name="file"
                accept="application/vnd.ms-excel">
                <el-button slot="trigger" size="small" type="primary">选取文件</el-button>
                <el-button
                    :loading="loading"
                    style="margin-left: 10px;"
                    size="small"
                    type="success"
                    @click="submitUpload">上传到服务器</el-button>
            </el-upload>
        </el-form-item>
        </el-form>
    </div>
</template>

<script>
export default {


    data(){


        return{


            BASE_API: process.env.BASE_API, // 接口API地址
            importBtnDisabled: false, // 按钮是否禁用,
            loading: false
        }
    },
    created(){


    },
    methods:{


    }
}
</script>
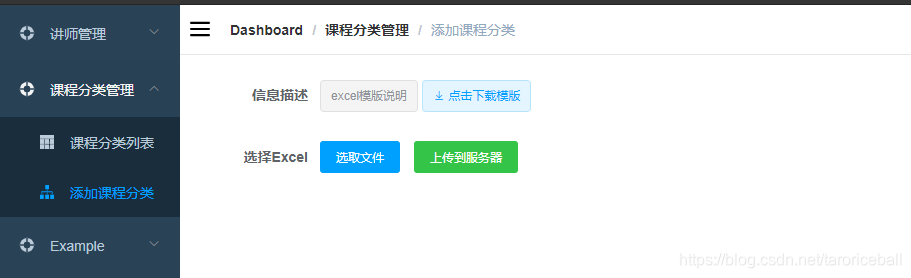
效果:
3.2编写vue方法
主要有3个方法。点击上传按钮、上传成功、上传失败
<template>
    <div class="app-container">
        <el-form label-width="120px">
        <el-form-item label="信息描述">
            <el-tag type="info">excel模版说明</el-tag>
            <el-tag>
                <i class="el-icon-download"/>
                <a :href="OSS_PATH +'/static/01.xlsx'">点击下载模版</a>
            </el-tag>
        </el-form-item>
        <el-form-item label="选择Excel">
            <el-upload
                ref="upload"
                :auto-upload="false"
                :on-success="fileUploadSuccess"
                :on-error="fileUploadError"
                :disabled="importBtnDisabled"
                :limit="1"
                :action="BASE_API+'/eduservice/subject/addSubject'"
                name="file"
                accept="application/vnd.ms-excel">
                <el-button slot="trigger" size="small" type="primary">选取文件</el-button>
                <el-button
                    :loading="loading"
                    style="margin-left: 10px;"
                    size="small"
                    type="success"
                    @click="submitUpload">上传到服务器</el-button>
            </el-upload>
        </el-form-item>
        </el-form>
    </div>
</template>

<script>
export default {


    data(){


        return{


            BASE_API: process.env.BASE_API, // 接口API地址
            importBtnDisabled: false, // 按钮是否禁用,
            loading: false
        }
    },
    created(){


    },
    methods:{


        //1.点击按钮长传文件到接口里面
        submitUpload(){


            this.importBtnDisabled = true
            this.loading = true
            this.$refs.upload.submit()
        },
        //2.上传成功
        fileUploadSuccess(){


            //提示信息
            this.loading = false
            this.$message({


            type: 'success',
            message: '添加课程分类成功'
            })
            //跳转课程分类列表

        },
        //3.上传失败
        fileUploadError(){


            //提示信息
            this.loading = false
            this.$message({


            type: 'error',
            message: '添加课程分类失败'
            })
        }
    }
}
</script>
3.3测试能不能上传成功
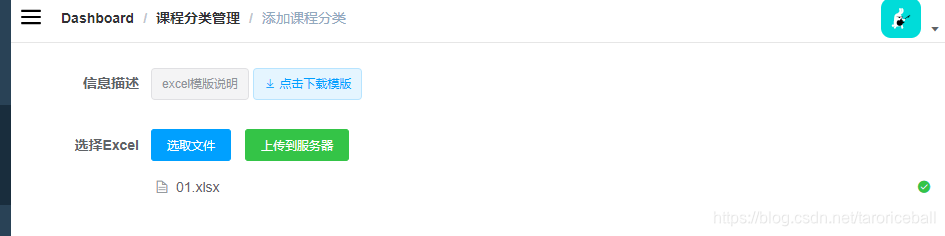
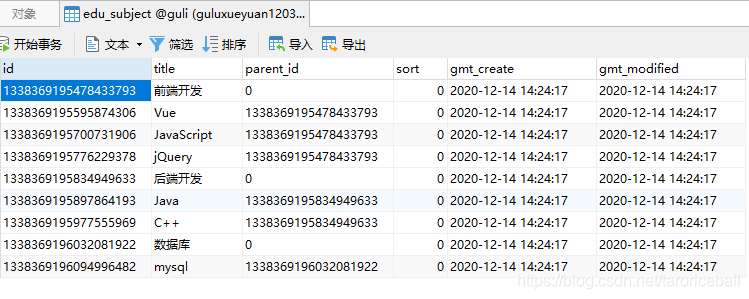
上传成功!