一、Redis搭建
[root@k8s-master1 ~]# wget https://download.redis.io/releases/redis-6.0.10.tar.gz
[root@k8s-master1 ~]# tar xzf redis-6.0.10.tar.gz
[root@k8s-master1 ~]# mv redis-6.0 redis

root@k8s-master1 redis-6.0.10]# gcc -v

[root@k8s-master1 redis-6.0.10]# yum -y install centos-release-scl
[root@k8s-master1 redis-6.0.10]# yum -y install devtoolset-9-gcc devtoolset-9-gcc-c++ devtoolset-9-binutils
[root@k8s-master1 redis-6.0.10]# scl enable devtoolset-9 bash

[root@k8s-master1 redis-6.0.10]# echo "source /opt/rh/devtoolset-9/enable" >>/etc/profile
[root@k8s-master1 redis-6.0.10]# make install PREFIX=/usr/local/redis
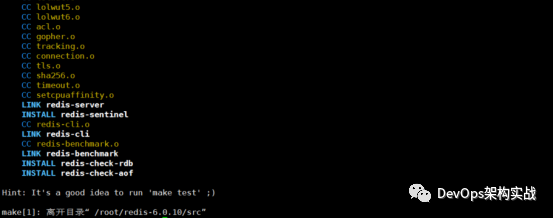
[root@k8s-master1 redis-6.0.10]#make test
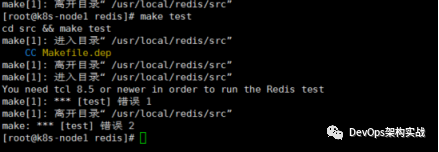
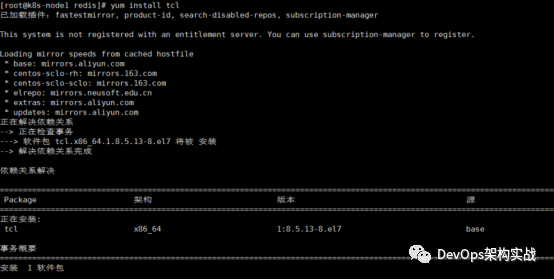
[root@k8s-node1 redis]# yum install tcl
1、使用systemctl进行服务管理
[root@k8s-node1 redis]# more /usr/lib/systemd/system/redis.service
[Unit]
Description=Redis
After=network.target
[Service]
Type=forking
PIDFile=/var/run/redis_6379.pid
ExecStart=/usr/local/redis/bin/redis-server /usr/local/redis/redis.conf
ExecReload=/bin/kill -s HUP $MAINPID
ExecStop=/bin/kill -s QUIT $MAINPID
PrivateTmp=true
[Install]
WantedBy=multi-user.target
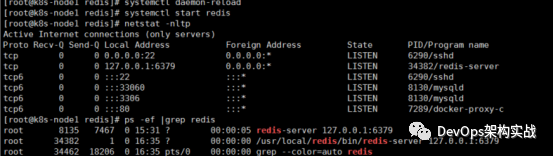
[root@k8s-node1 redis]# daemon-reload
[root@k8s-node1 redis]# systemctl start redis
[root@k8s-node1 redis]# systemctl enable redis
二、主从复制搭建步骤
192.168.210.85 redis-master
192.168.210.177 redis-slave
192.168.210.195 redis-slave
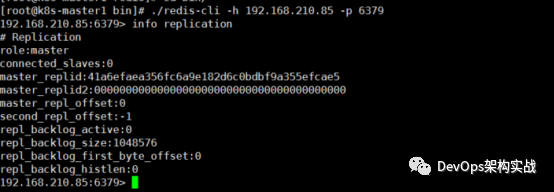
1、查询主从复制信息,分别选择三个端口,执行命令:info replication
[root@k8s-master1 bin]# ./redis-cli -h 192.168.210.85 -p 6379
192.168.210.85:6379> info replication
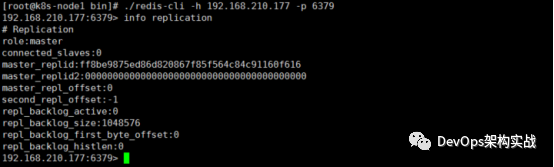
[root@k8s-node1 bin]# ./redis-cli -h 192.168.210.177 -p 6379
192.168.210.177:6379> info replication
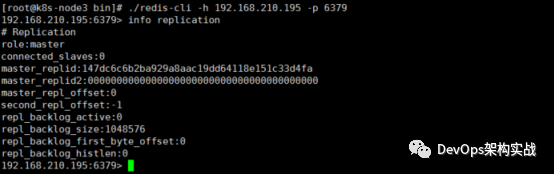
[root@k8s-node3 bin]# ./redis-cli -h 192.168.210.195 -p 6379
192.168.210.195:6379> info replication
 2、执行命令:set name sfqd
192.168.210.85:6379> set name sfqd
OK
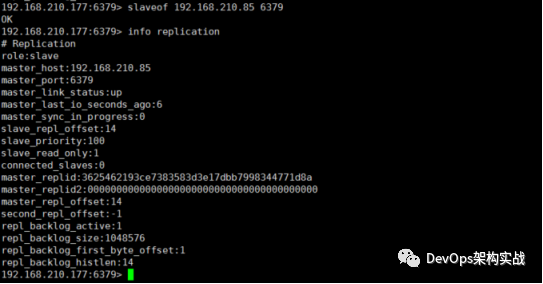
3、设置主从关系,分别在177和195服务器执行,执行命令:SLAVEOF192.168.210.85 6379
192.168.210.177:6379> slaveof 192.168.210.85 6379
OK
192.168.210.177:6379> info replication
# Replication
role:slave
master_host:192.168.210.85
master_port:6379
master_link_status:up
master_last_io_seconds_ago:6
master_sync_in_progress:0
192.168.210.195:6379> slaveof 192.168.210.85 6379
OK
192.168.210.195:6379> info replication
# Replication
role:slave
master_host:192.168.210.85
master_port:6379
master_link_status:up
master_last_io_seconds_ago:7
master_sync_in_progress:0
slave_repl_offset:56
slave_priority:100
slave_read_only:1
connected_slaves:0
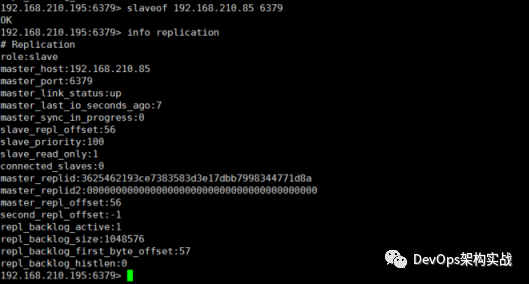
主从关系发生了变化
4、全量复制,分别选择177和195服务器,执行命令:get name
192.168.210.177:6379> get name
"sfqd"
192.168.210.177:6379>

192.168.210.195:6379> get name
"sfqd"
192.168.210.195:6379>

都可以打印name的值,说明在建立主从关系,从机便拥有了主机的数据
5、主从的读写分离,选择177服务器,执行命令:set k1 v1
192.168.210.177:6379> set k1 v1
(error) READONLY You can't write against a read only replica.

从机177写入失败,是因为读写分离的机制
192.168.210.85:6379> set k1 v1
OK


6、主机宕机的情况,执行命令:shutdown
192.168.210.85:6379> shutdown
not connected>
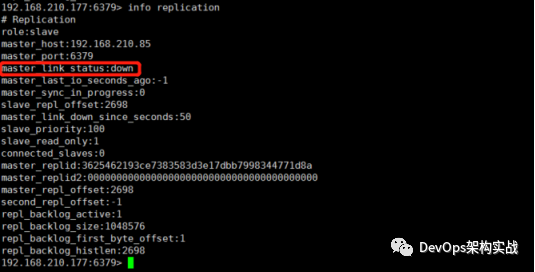
7、主机宕机后恢复
[root@k8s-master redis]# systemctl start redis
