1. 首先新建一个项目
进入到想要创建angular项目的文件夹,打开cmd输入:
ng new 项目名
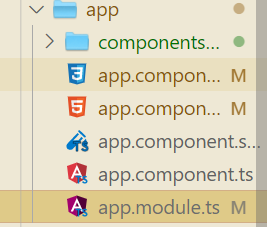
2. 给项目新增一个组件
cmd进入该项目,输入:
ng g component components/form
这段代码的意思是在当前项目的app目录下面创建一个components文件夹,并且新建一个form组件
3. 导入双向绑定数据的模块
app.module.ts
import {

     NgModule } from '@angular/core';
import {

     BrowserModule } from '@angular/platform-browser';
import {

     FormsModule } from '@angular/forms'; // 导入模块
import {

     AppComponent } from './app.component';
import {

     FormComponent } from './components/form/form.component';

@NgModule({


  declarations: [AppComponent, FormComponent],
  imports: [BrowserModule, FormsModule], // 声明模块
  providers: [],
  bootstrap: [AppComponent],
})
export class AppModule {

    }
4. 布局组件页面
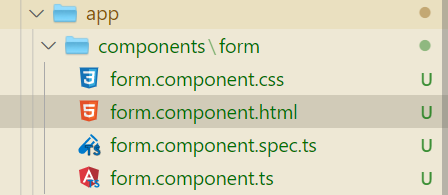
form.componnet.html
<h2>人员登记系统</h2>
<div class="people_list">
<ul>
<li>姓 名:<input type="text" id="username" [(ngModel)]="peopleInfo.username" value="fonm_input" /></li>
<li>性 别:
<input type="radio" value="1" name="sex" id="sex1" [(ngModel)]="peopleInfo.sex"> 男
<input type="radio" value="2" name="sex" id="sex2" [(ngModel)]="peopleInfo.sex"> 女
</li>
<li>
城 市:
<select name="city" id="city" [(ngModel)]="peopleInfo.city">
<option [value]="item" *ngFor="let item of peopleInfo.cityList">{
{
item}}</option>
</select>
</li>
<li>
爱 好:
<span *ngFor="let item of peopleInfo.hobby;let key=index;">
<input type="checkbox" [id]="'check'+key" [(ngModel)]="item.checked" /> <label [for]="'check'+key">
{
{
item.title}}</label>
</span>
</li>
<li>
备 注:
<textarea name="mark" id="mark" cols="30" rows="10" [(ngModel)]="peopleInfo.mark"></textarea>
</li>
</ul>
<button (click)="doSubmit()" class="submit" style="width: 200px; border-radius: 5px;">获取表单的内容</button>
<br>
<br>
<br>
<br>
<pre>
<!-- 通过json把 peopleInfo信息格式化展示出来-->
{
{
peopleInfo | json}}
</pre>
</div>
5. 美化页面
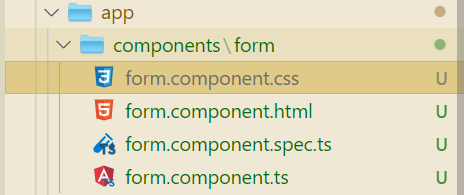
form.component.css
h2 {


  text-align: center;
}

.people_list {


  width: 400px;
  margin: 40px auto;
  padding: 20px;
  border: 1px solid #eee;
}

li {


  height: 50px;
  line-height: 50px;
}
.fonm_input {


  width: 300px;
  height: 28px;
}
.submit {


  width: 100px;
  height: 30px;
  float: right;
  margin-right: 50px;
  margin-top: 120px;
}

style.css
/* 定义公共样式 */
* {


  /* 消除游览器默认内外边距 */
  padding: 0px;
  margin: 0px;
}
/* 取消列表默认的格式 */
ul,
ol {


  list-style-type: none;
}
6. 定义数据
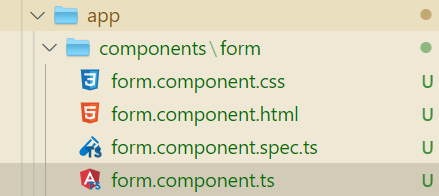
form.components.ts
import {

     Component, OnInit } from '@angular/core';

@Component({


  selector: 'app-form',
  templateUrl: './form.component.html',
  styleUrls: ['./form.component.css'],
})
export class FormComponent implements OnInit {


  public peopleInfo: any = {


    username: '',
    sex: '2',
    cityList: ['北京', '上海', '深圳'],
    city: '上海',

    hobby: [
      {


        title: '吃饭',
        checked: false,
      },
      {


        title: '睡觉',
        checked: false,
      },
      {


        title: '敲代码',
        checked: true,
      },
    ],

    mark: '',
  };

  constructor() {

    }

  ngOnInit() {

    }

  doSubmit() {


    console.log(this.peopleInfo);
  }
}
7. 运行项目
命令行在当前项目目录输入:
ng serve --open
运行结果:

