前言
这个功能基本会用在甲方需要展示已制作完成的PPT的情况下,经过一轮的研究决定选用Aspose.Slides来实现,主要是将所有的页面读取出来,分页展示,展示页码同时实现分页切换的功能。
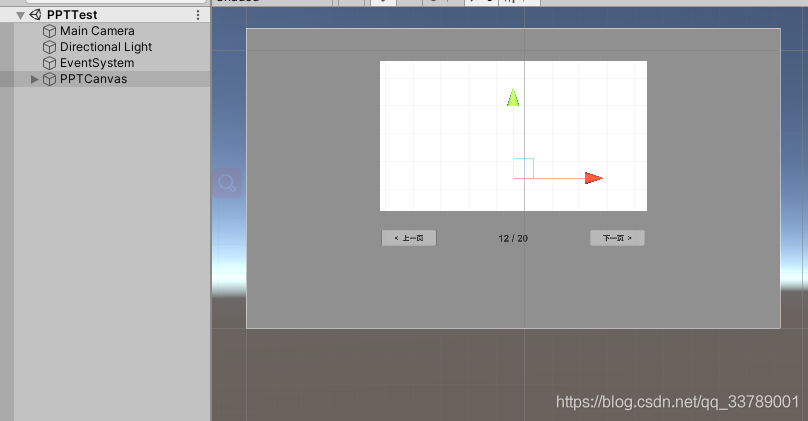
效果展示
效果是这样的:
项目源码
https://download.csdn.net/download/qq_33789001/16037517
功能实现
主要通过“Aspose.Slides.dll” 和“System.Drawing.dll”两个动态链接库的功能实现。
读取ppt文件
首先新建Presentation,在指定路径下读取文件。
 private void Start()
    {


        string PPTPath = Application.dataPath + "/PPT/ceshi.ppt";
        LoadPPTFile(PPTPath);
    }

    public void LoadPPTFile(string path)
    {


        presentation = new Presentation(path);
        SwitchPage(0);
}
获取BitMap
通过GetThumbnail函数获取当前页面的bitmap。
  var Content = presentation.Slides[page];
            var BM = Content.GetThumbnail(1f, 1f);
            //获取高宽
            int width = BM.Width;
            int height = BM.Height;
获取byte数组
通过bitmap获取字节数组
 private byte[] GetBitMapBytes(Bitmap bm)
    {


        try
        {


            using (MemoryStream ms = new MemoryStream())
            {


                bm.Save(ms, ImageFormat.Png);
                byte[] datas = new byte[ms.Length];
                ms.Seek(0, SeekOrigin.Begin);
                ms.Read(datas, 0, Convert.ToInt32(ms.Length));
                return datas;
            }
        }
        catch (Exception e)
        {


            Debug.LogWarning("Get Bytes faile:" + e.ToString());
            return null;
        }
    }
创建贴图和精灵
通过字节数组的数据创建贴图(Texture2D),并通过贴图创建精灵图片,最后将精灵赋值给展示的图片即完成。
 byte[] bytes = GetBitMapBytes(BM);
            Texture2D tex = new Texture2D(width, height);
            tex.LoadImage(bytes);  //创建贴图
            Sprite sp = Sprite.Create(tex, new Rect(0, 0, width, height), Vector2.zero);//创建精灵
            ShowImg.sprite = sp;
搭建简单UI
功能较简单:
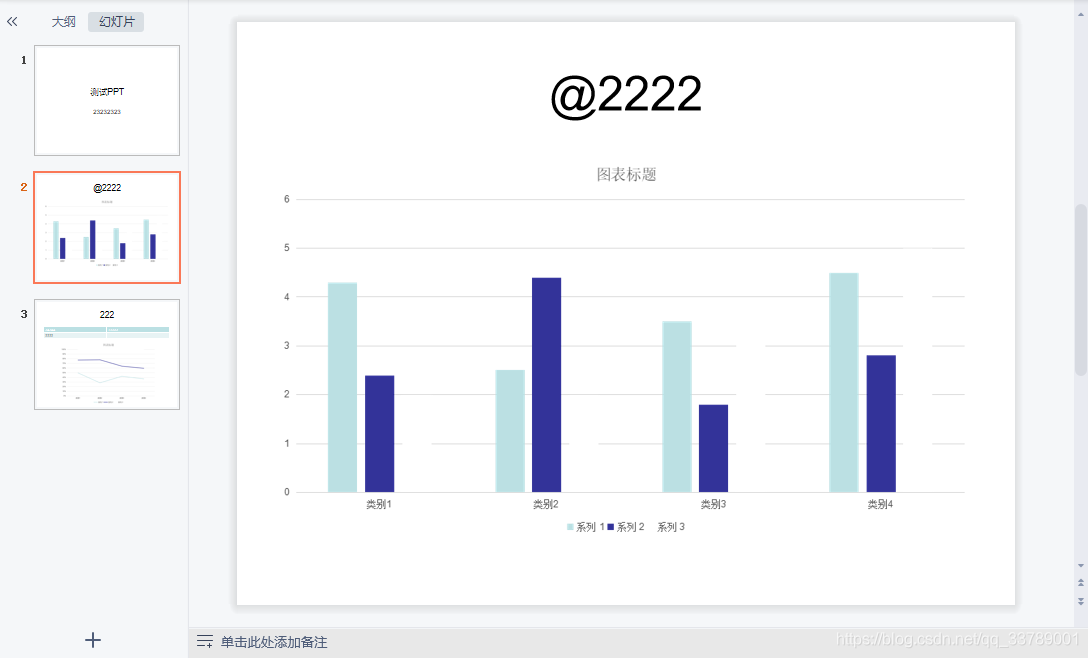
测试功能
新建个ppt文件:
总结
目前实现的就是每页PPT的最终展示效果,没有展示的动画过程。而且展示的路径也是固定的,有空可以加以完善。最好能实现选择文件展示。
后续已经实现手动选择ppt文件
https://editor.csdn.net/md/?articleId=115118776